Steps to Create IPA Files using Xcode
On this page, we will outline the steps to create IPA files using Xcode
Build applications to be distributed to Beta testers
It’s easy to launch applications under development in a simulator, but how about distributing them to beta testers?
DeployGate helps with this “distribution.”
Currently, you must prepare the “IPA file,” which is required for distribution, yourself. We will now explain how to create an IPA file from scratch.
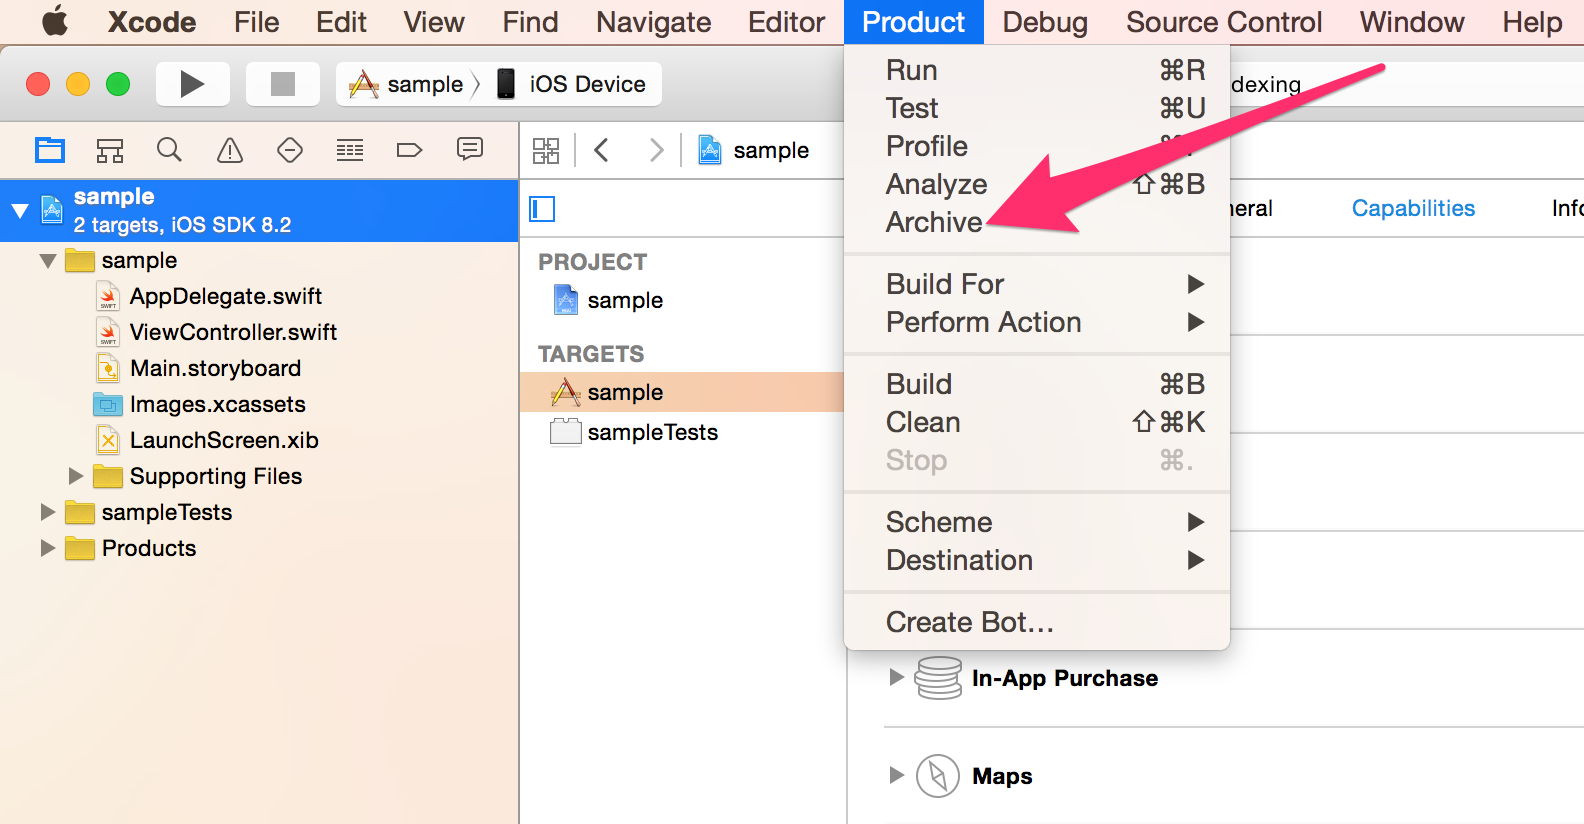
Archive
To build an iOS application as an IPA file, Xcode has an “Archive” menu under “Product.” While it may be grayed out and unselectable now, it should become selectable.
These are the conditions required to “Archive” installable and launchable IPA files at the distribution site. Save the Apple ID to Xcode.
- Select “iOS Device” or the connected iOS device from the build target menu.
- Create a Distribution Certificate.
- Create an Application ID (App ID).
- Register the Device to be used for tests.
- Create a Provisioning Profile.
Follow these steps one by one.
1. Save Apple ID
First, save your Apple ID to Xcode.
Once saved, Xcode will conduct several registration operations automatically.
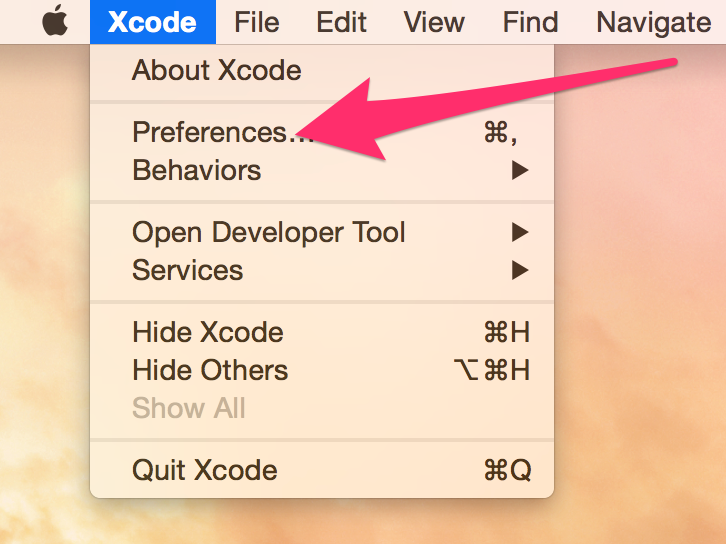
From the “Preferences…” menu,
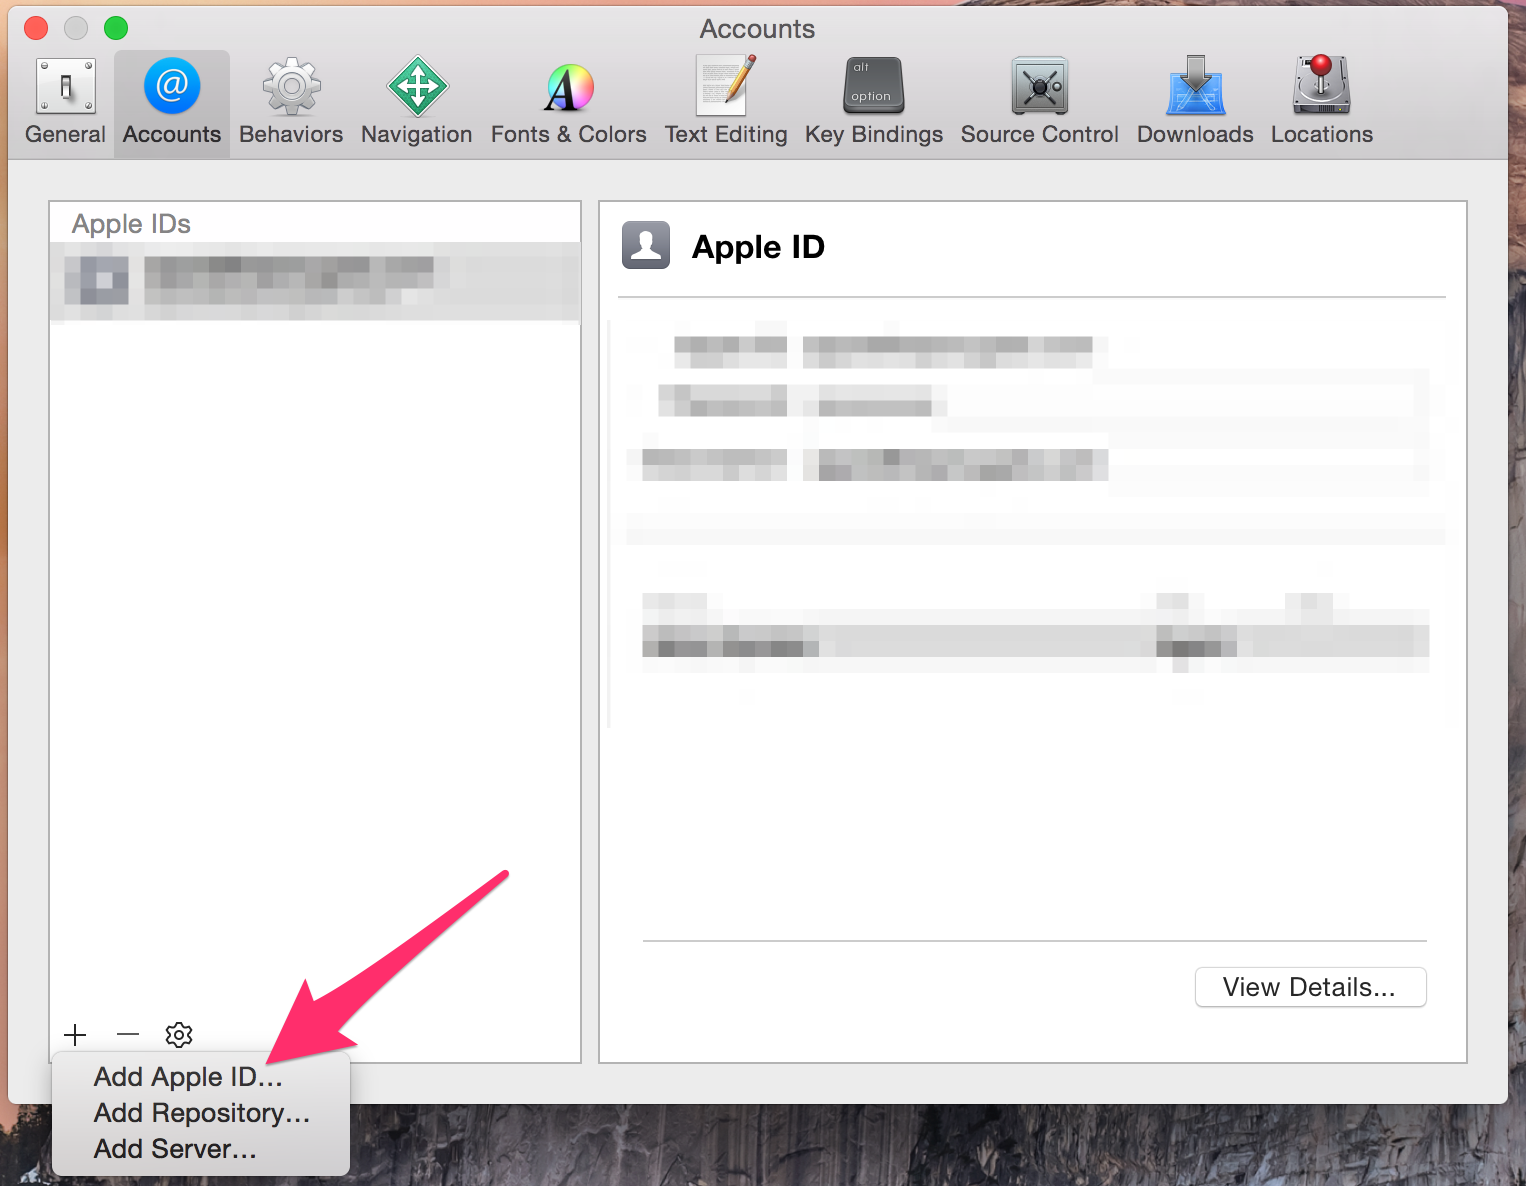
Go to the "Accounts" tab to add "Apple ID".
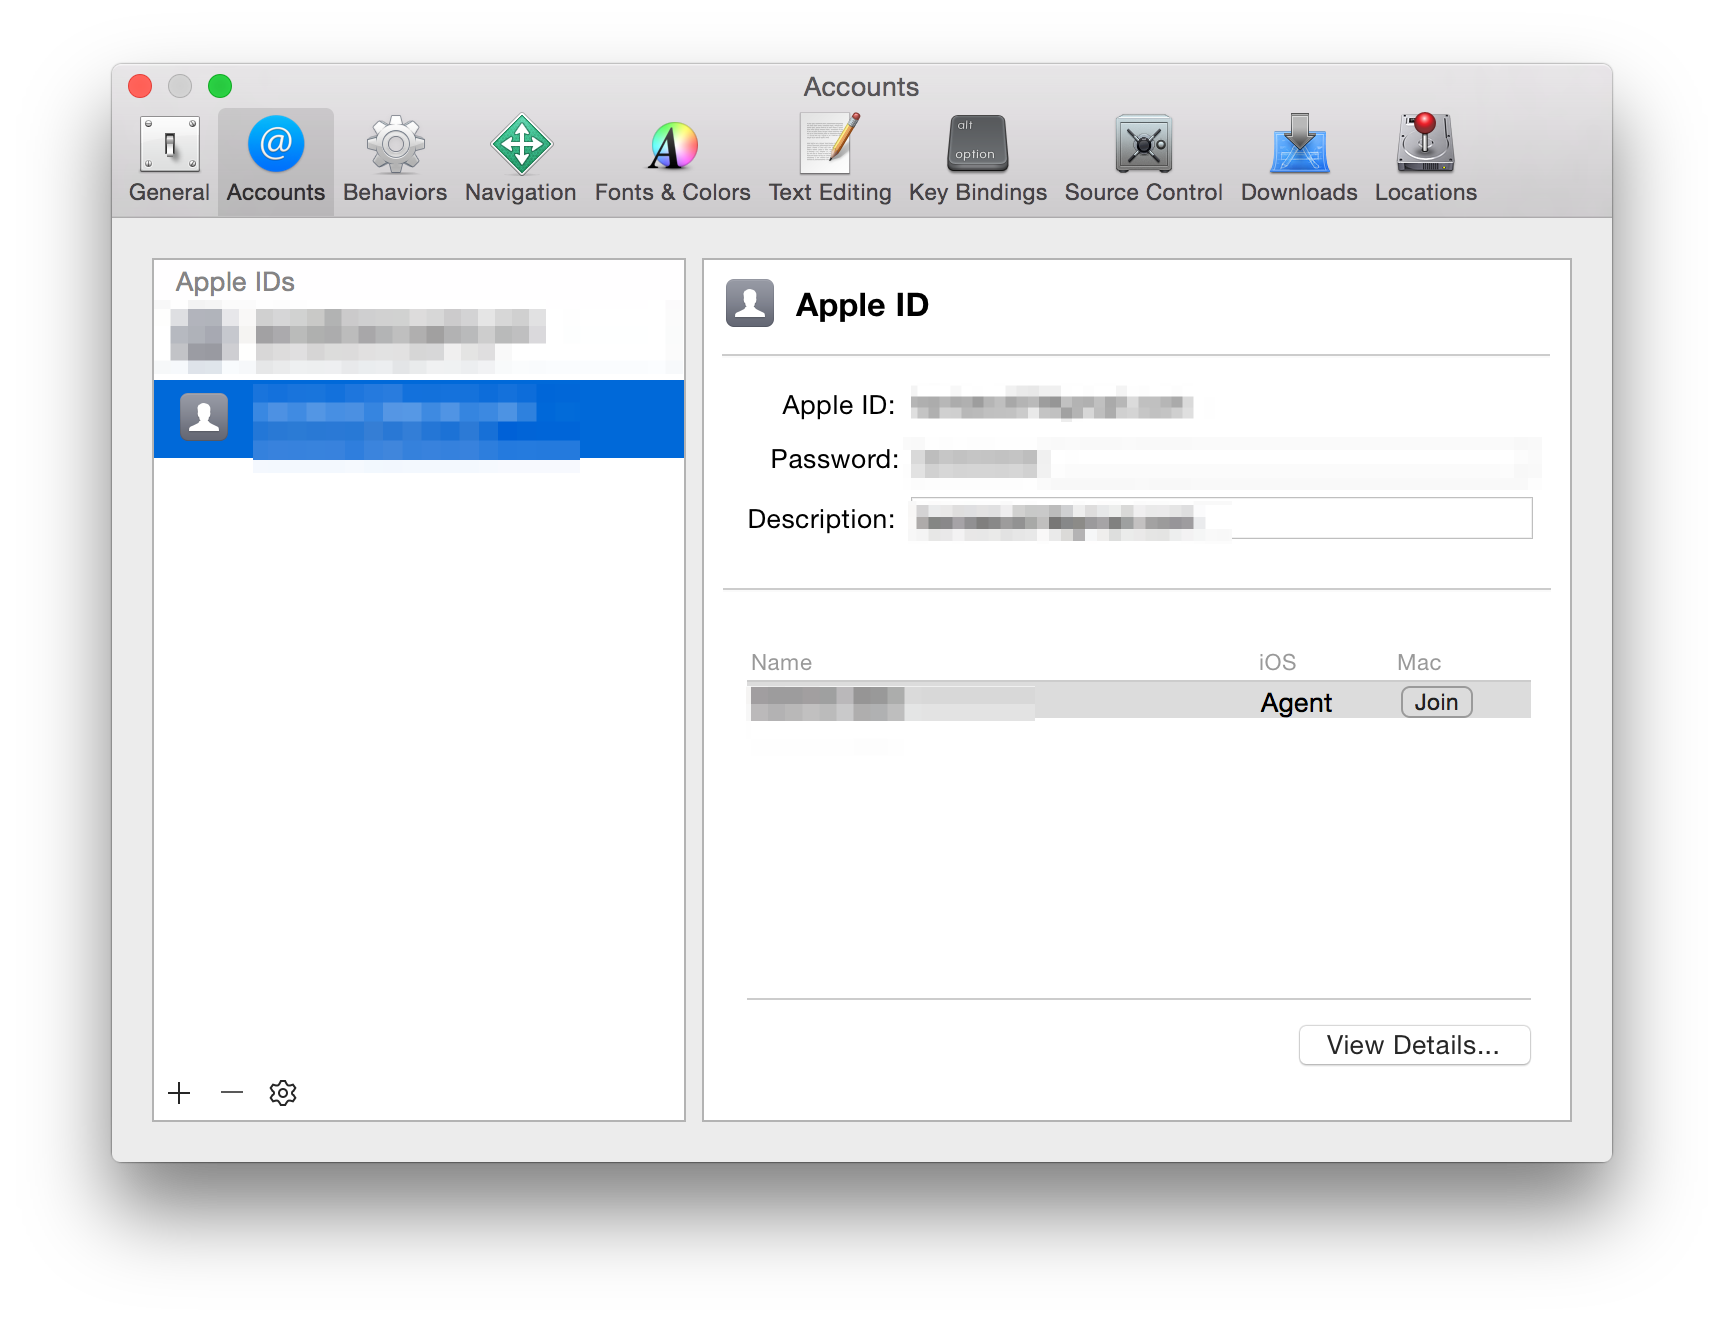
Apple ID added.
2. Select Build Target
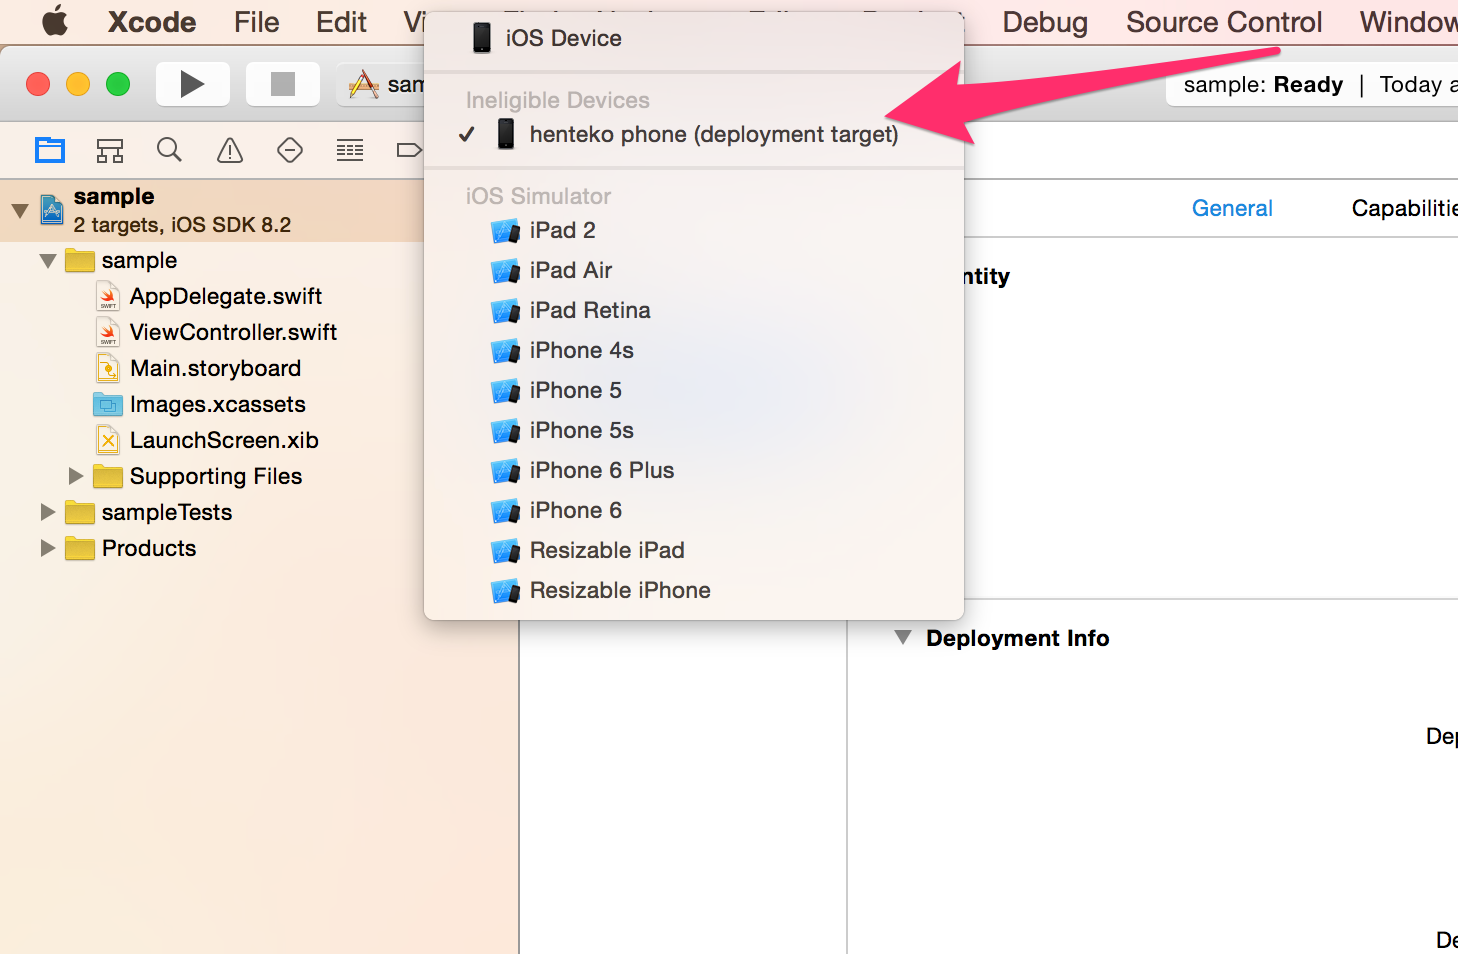
For a distribution build, select either “iOS Device” or the name of the device connected to the Mac as the scheme’s build target. Do not select a simulator.
3.Create Distribution Certificate
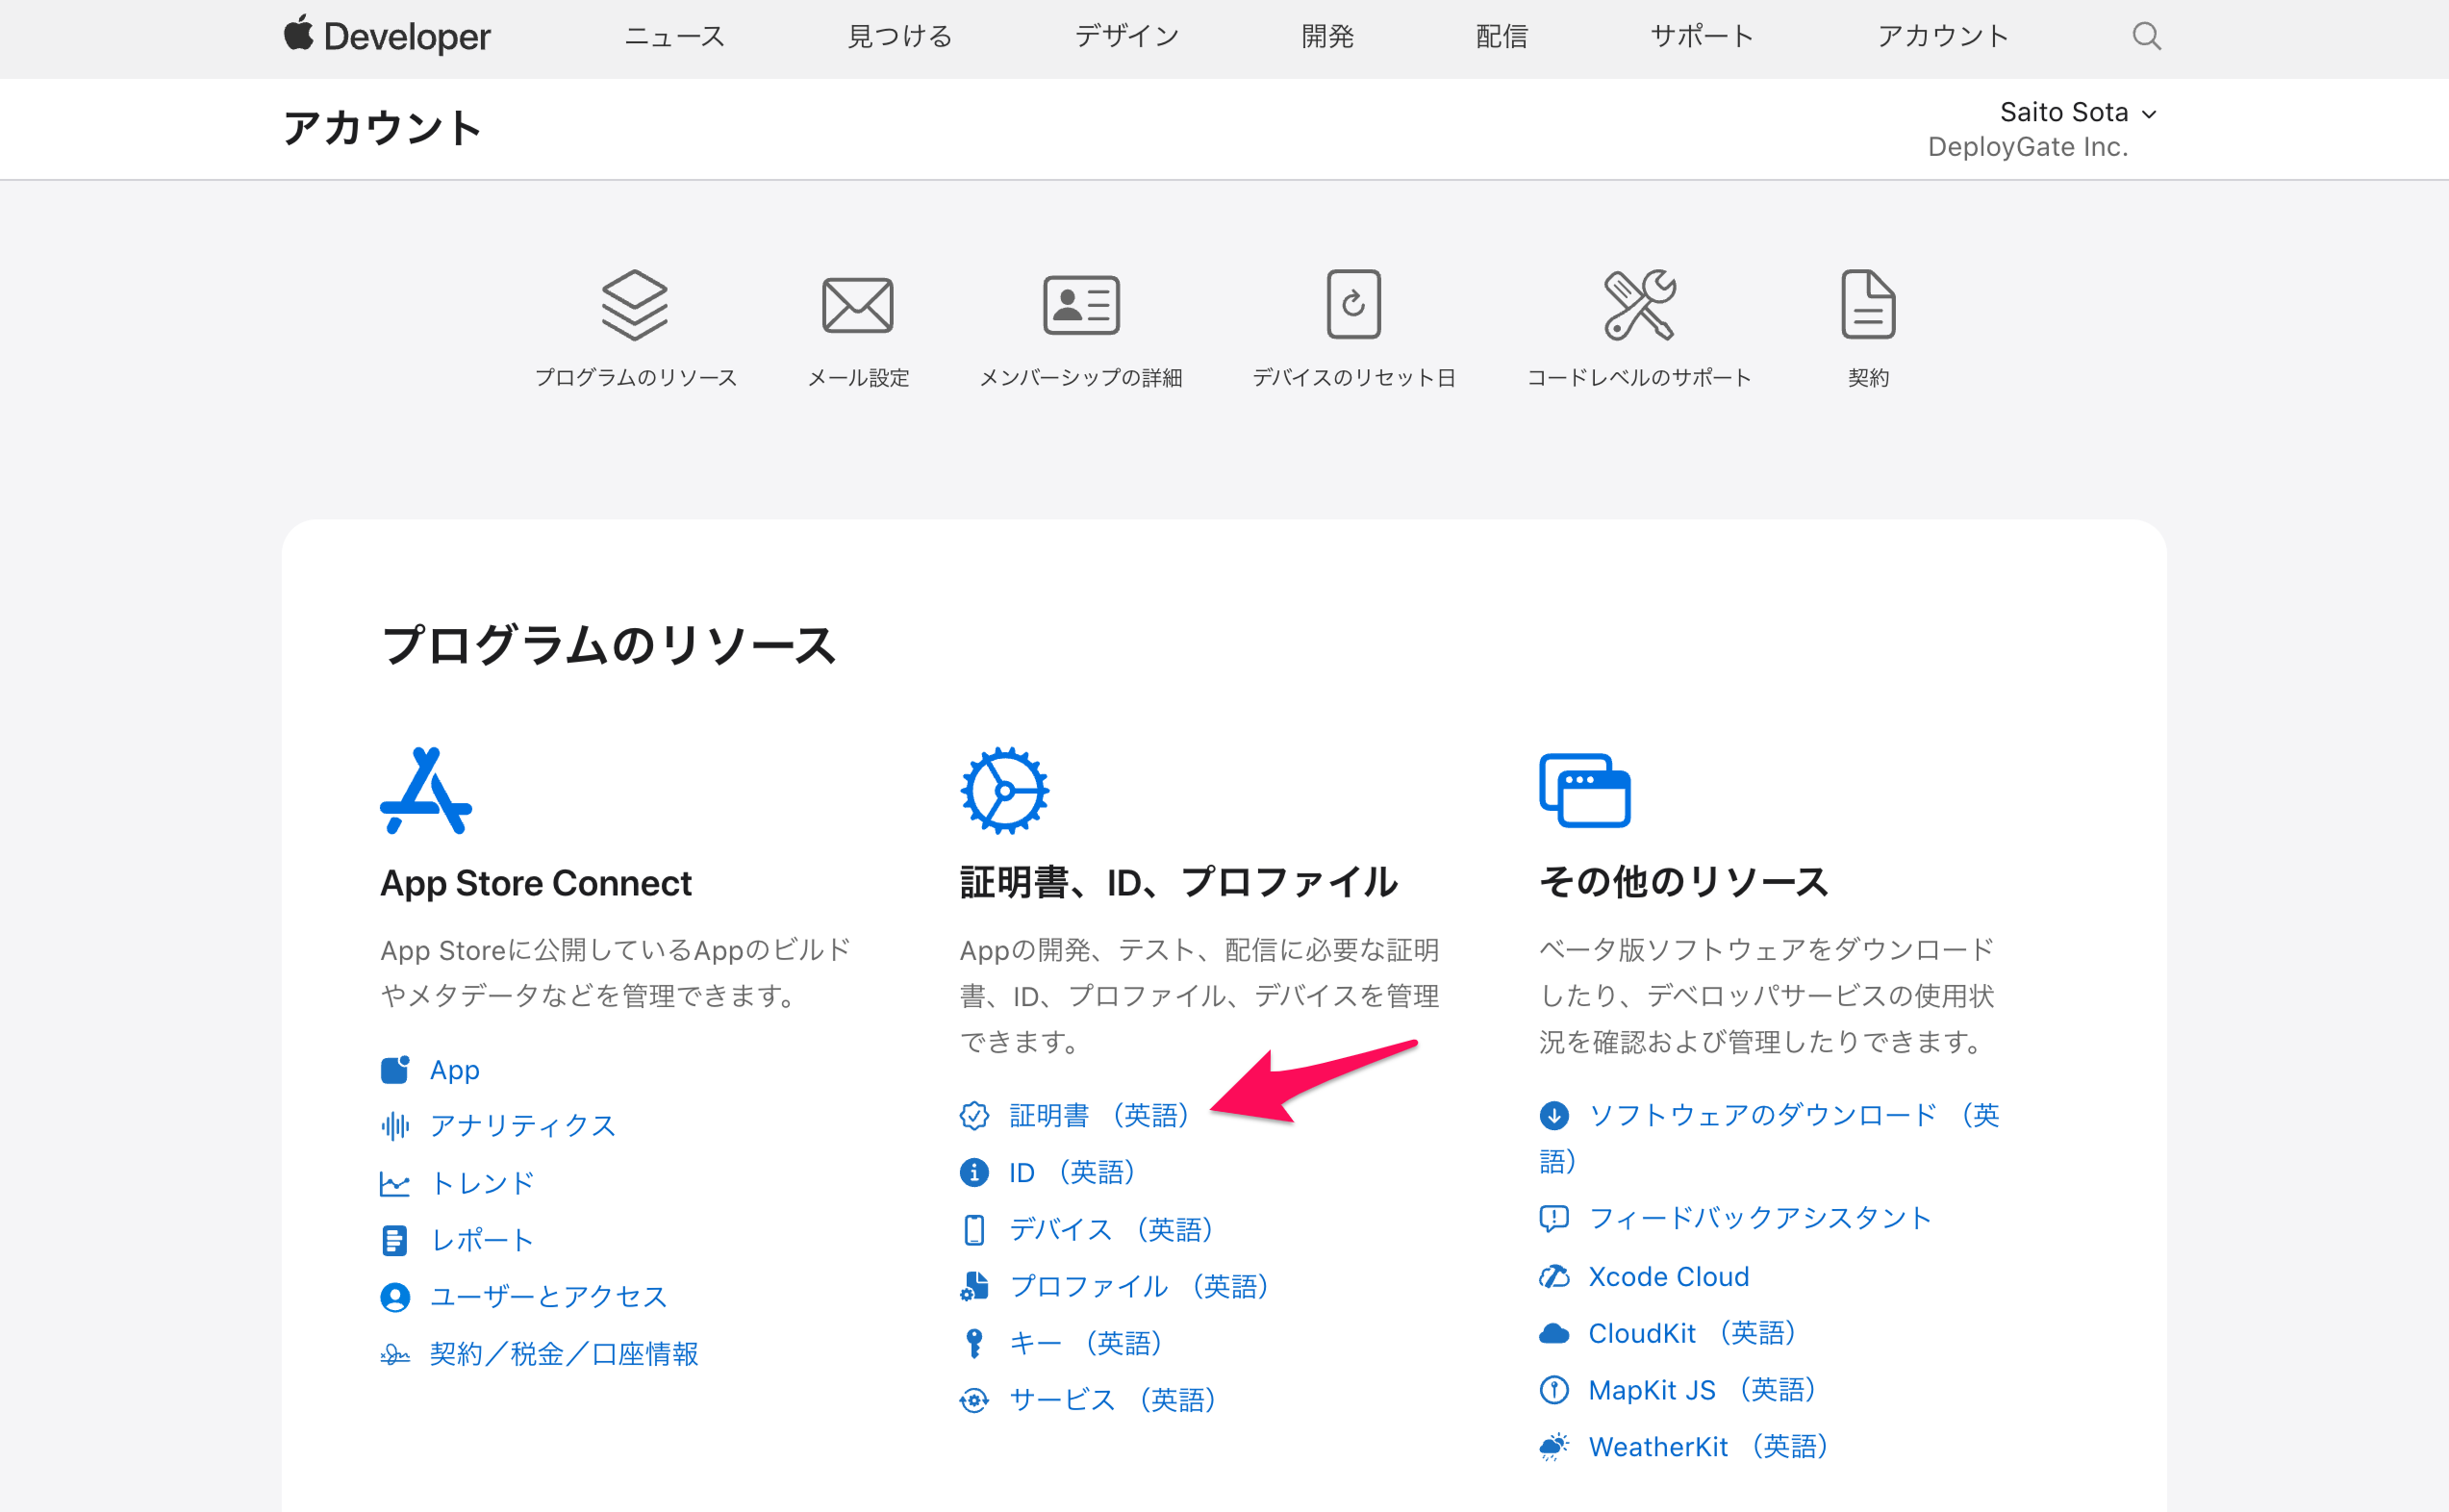
Briefly step away from Xcode and access "Apple Developer" through a browser. Click on "Account" at the top right of the menu to log in.
You can register and create everything needed for distribution here. Click on “Certificates” next.
Certificates prove that you, as the developer of an application to be distributed, are an iOS developer with the necessary credentials from Apple. Without these, your applications cannot be installed or launched on actual devices.
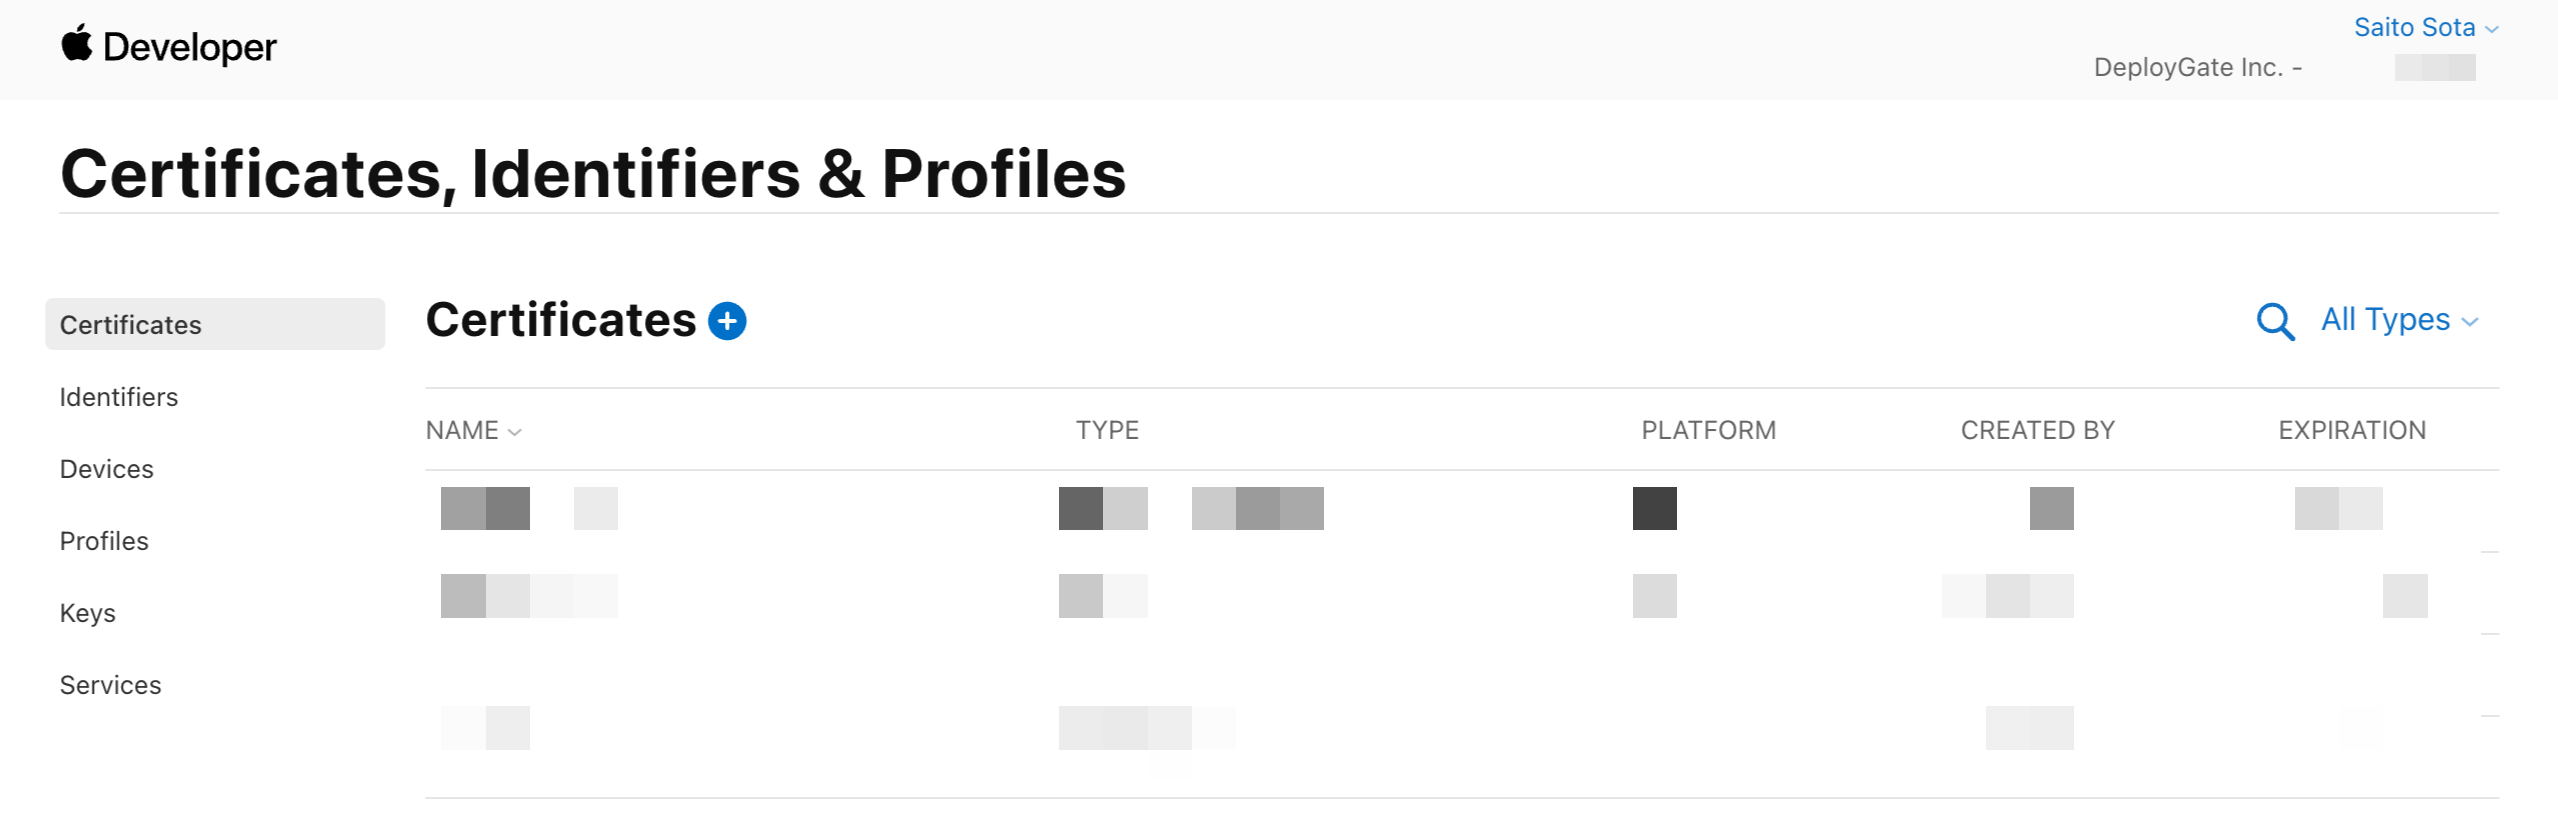
Some Certificates, including the ones created here, can be created in Xcode (sometimes automatically in the background), but some can only be created in "Certificates, Identifiers & Profiles" For practice, let’s create some manually.
Click on the "+" button to start creating a new Certificate.
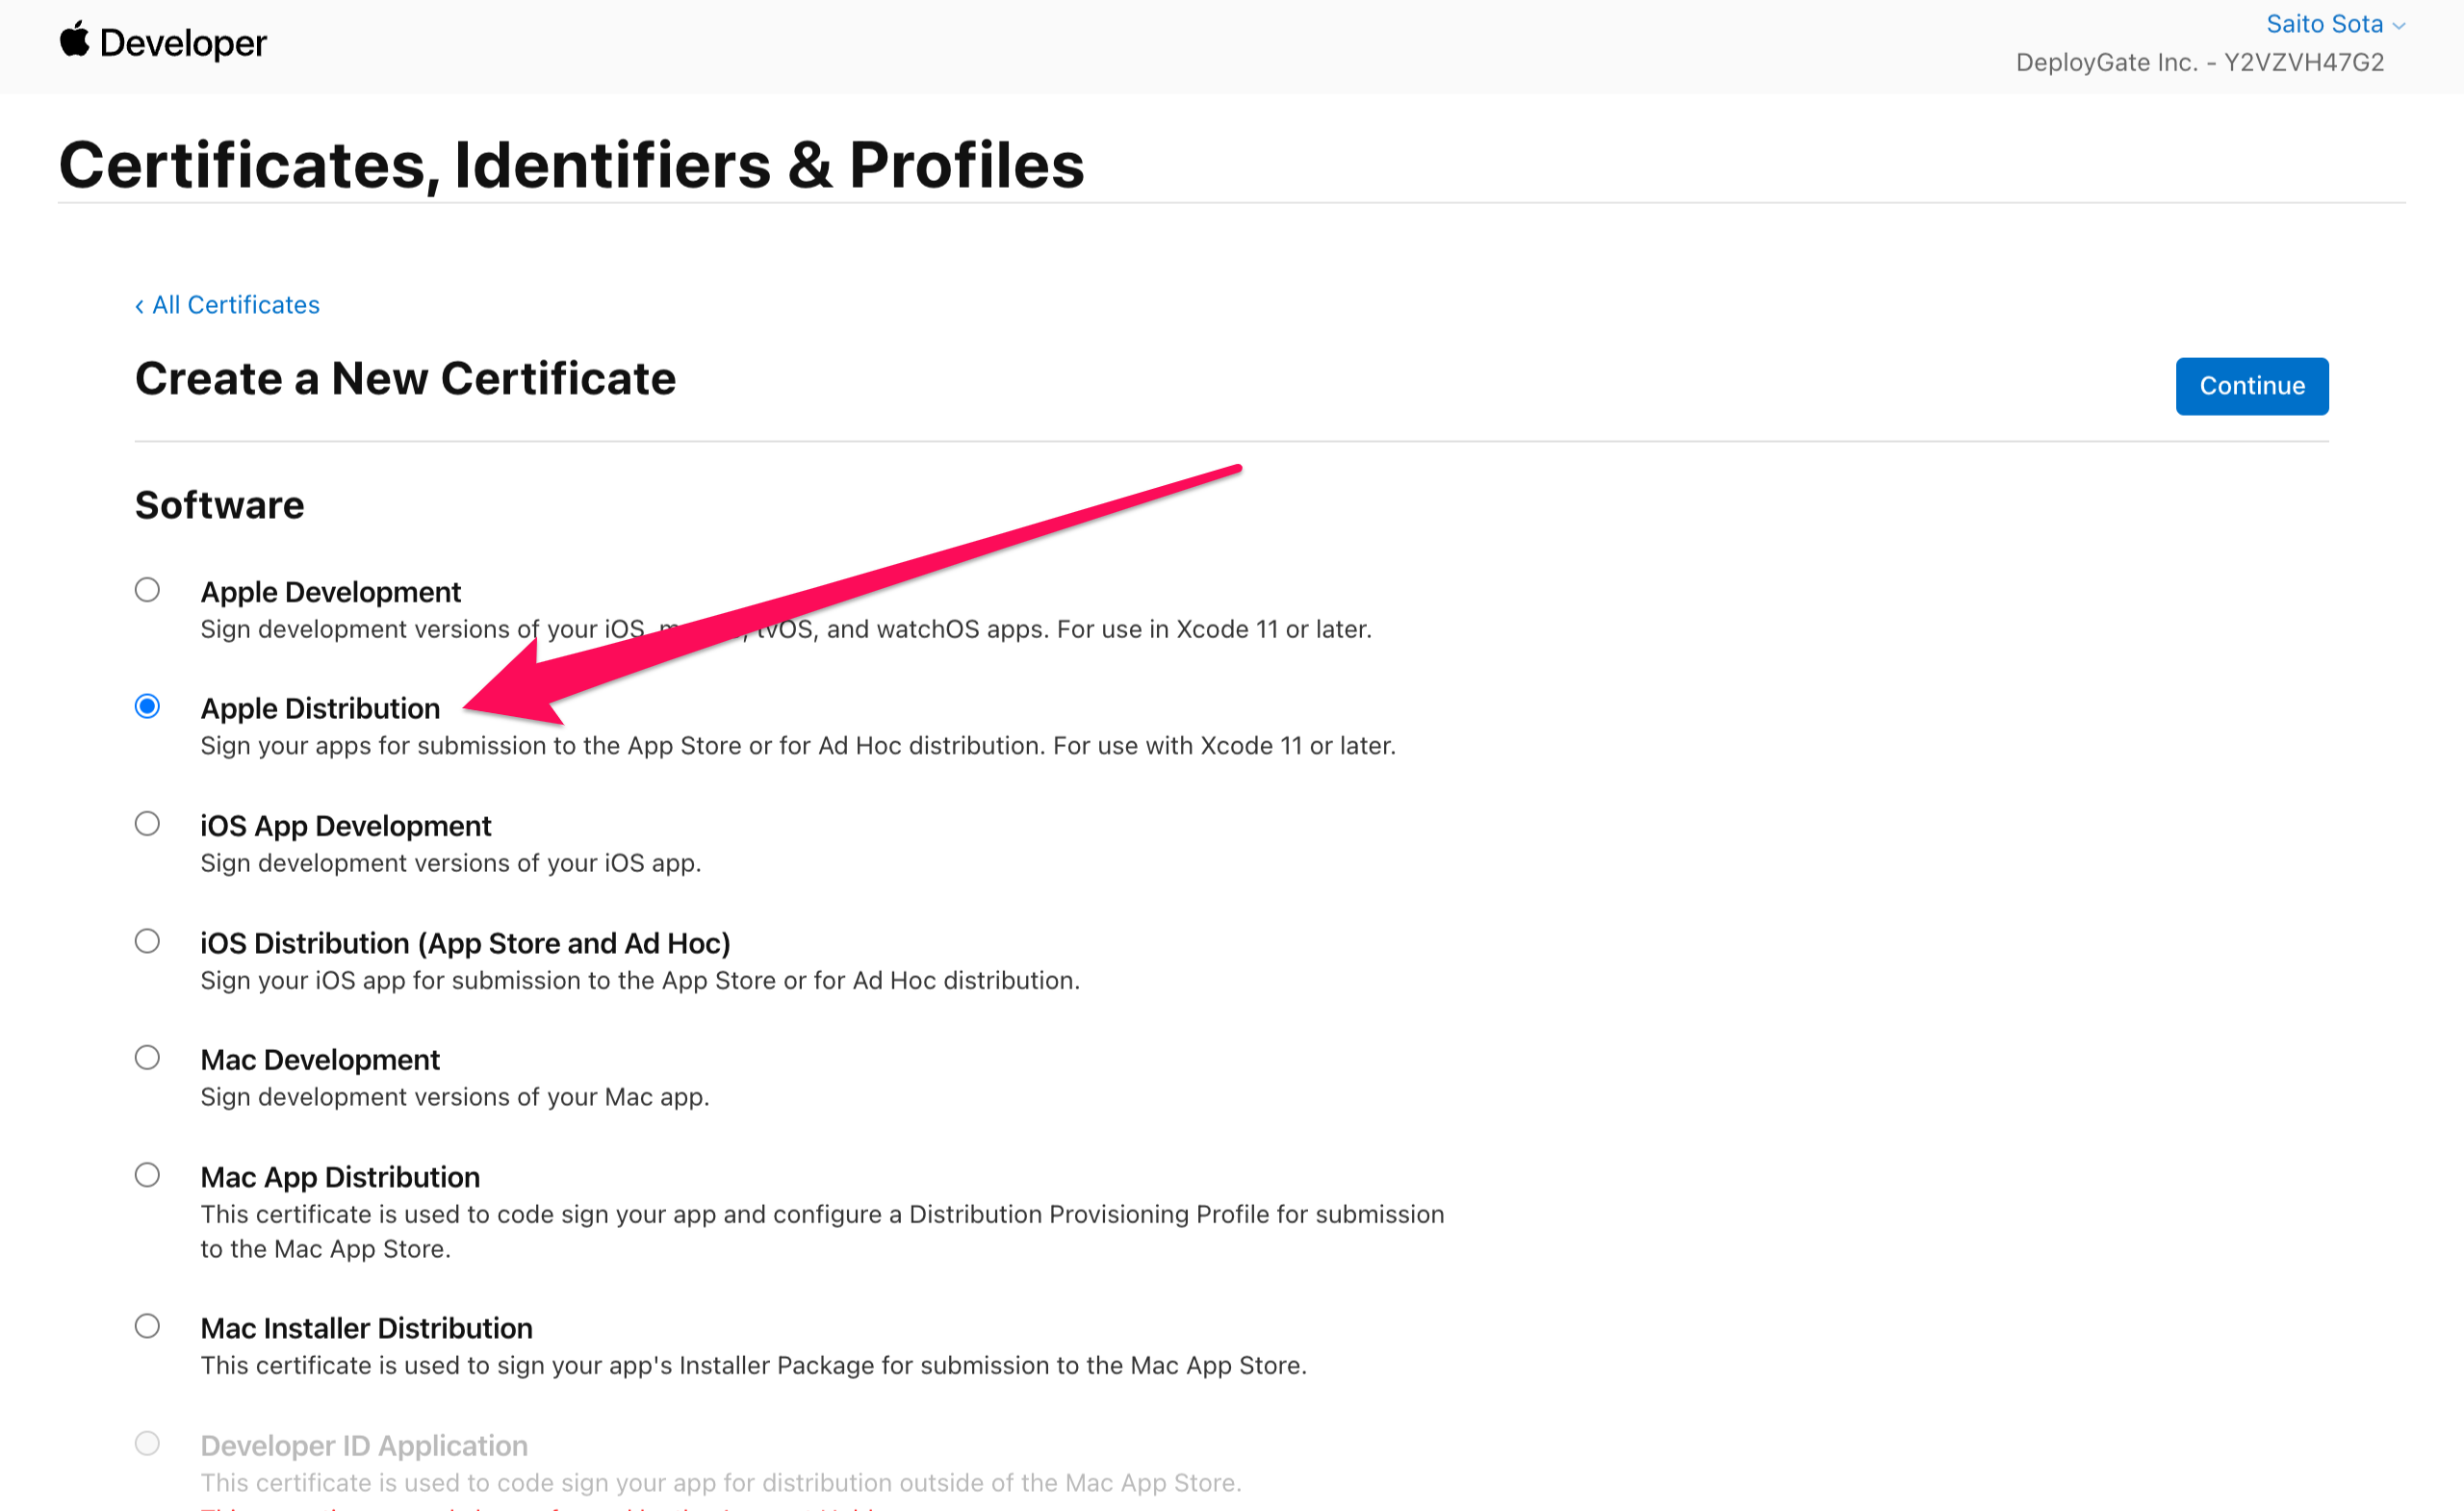
When prompted for the type, select "Apple Distribution" for distribution to beta testers.
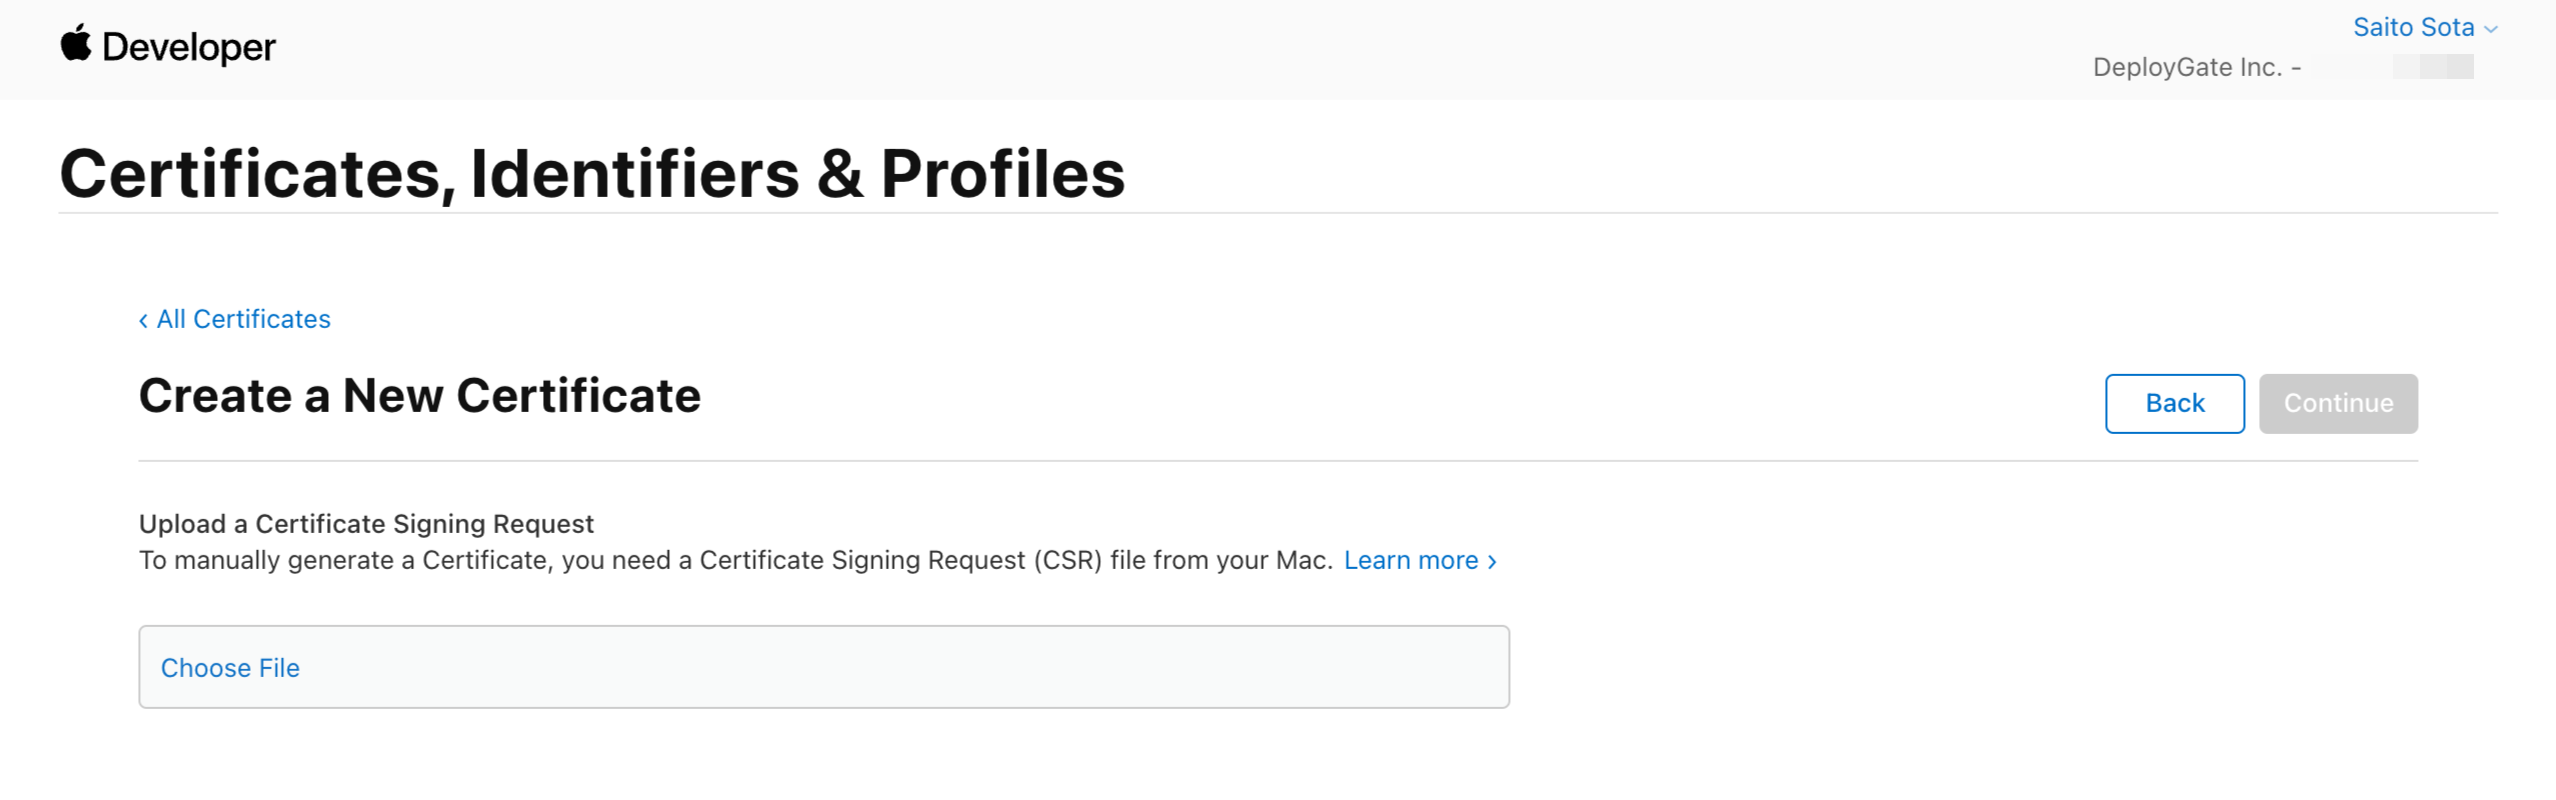
To create a Certificate, Apple will ask you to create a "Certificate Signing Request (CSR)."
This is essentially an application (similar to other applications you may complete). Create a name for your private key, enter your email address, and submit them both to Apple.
Apple will then create a Certificate and private key for you. While Apple will also have the Certificate stored, the private key is for your sole use.
Create a CSR with Mac’s "Keychain Access."
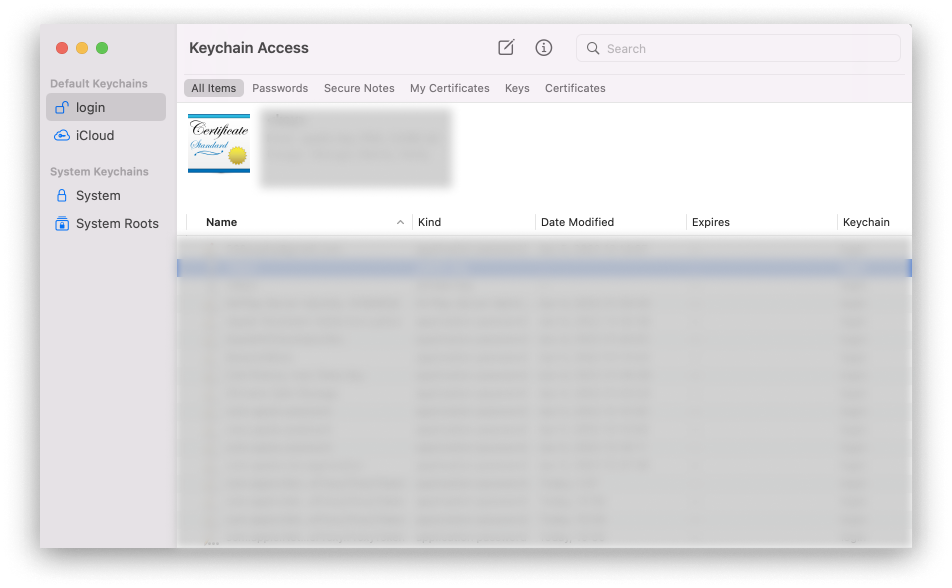
"Keychain Access" looks like this.
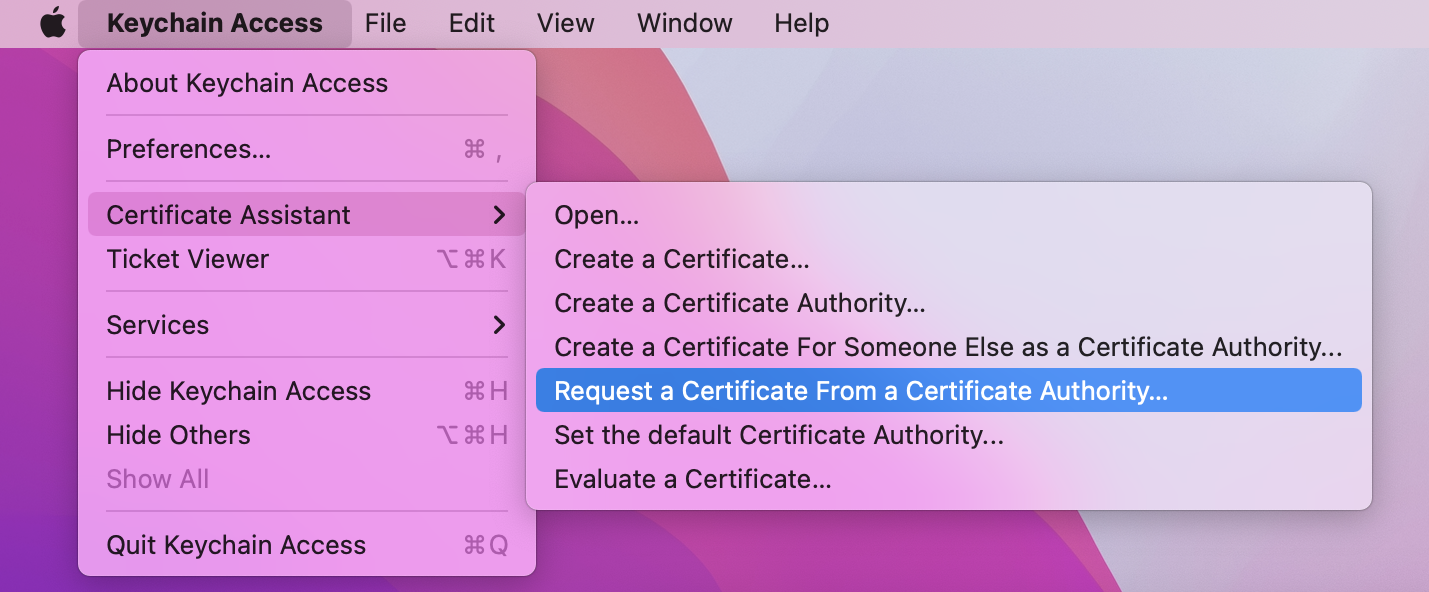
Select "Request a Certificate From a Certificate Authority" from the "Certificate Assistant" menu.
Complete the application fields.
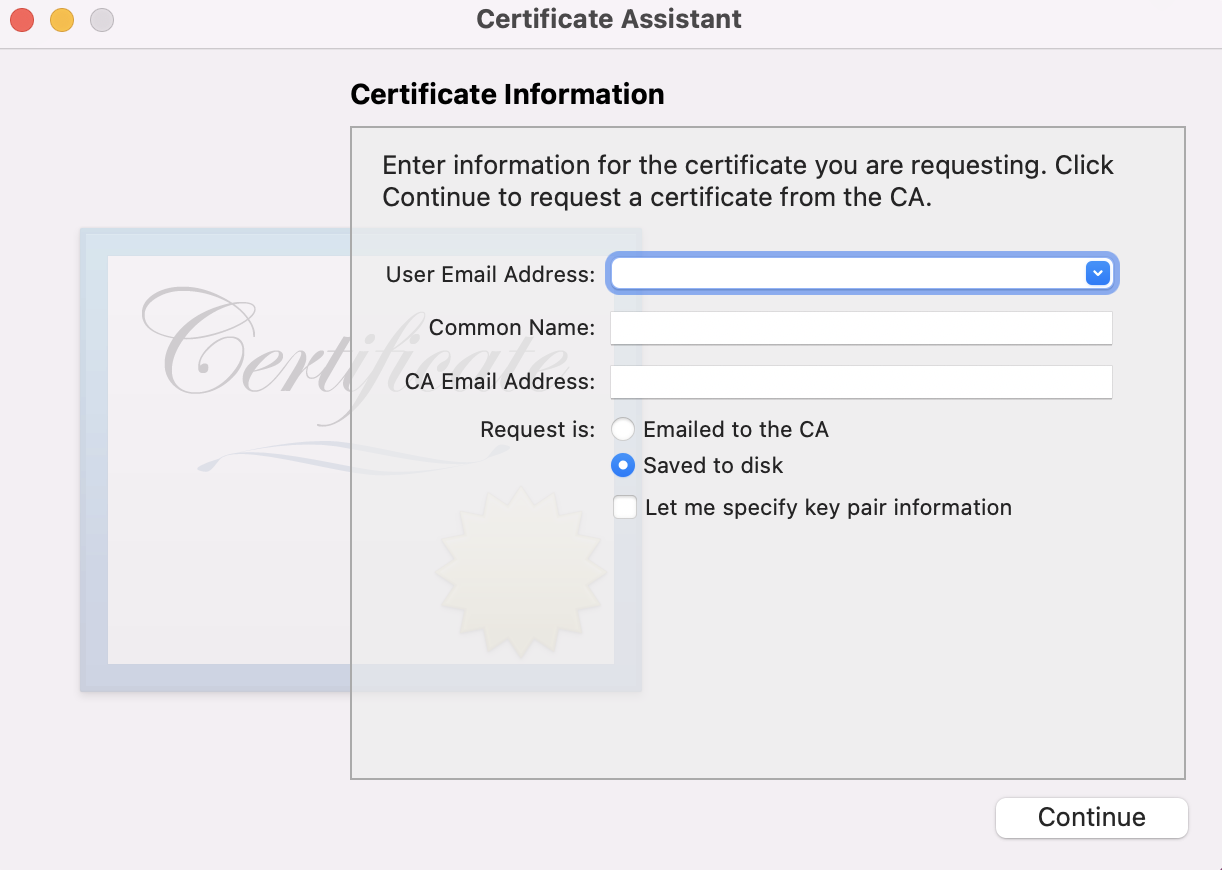
In the "User Email Address" field, enter the Apple ID email address registered with the Developer Program.
In the "Common Name" field, enter the name of your private key. Apple will return this to you with the certificate.
Select Saved to disk for "Request is." Leave the "CA Email Address" field blank when selecting the Saved to disk option.
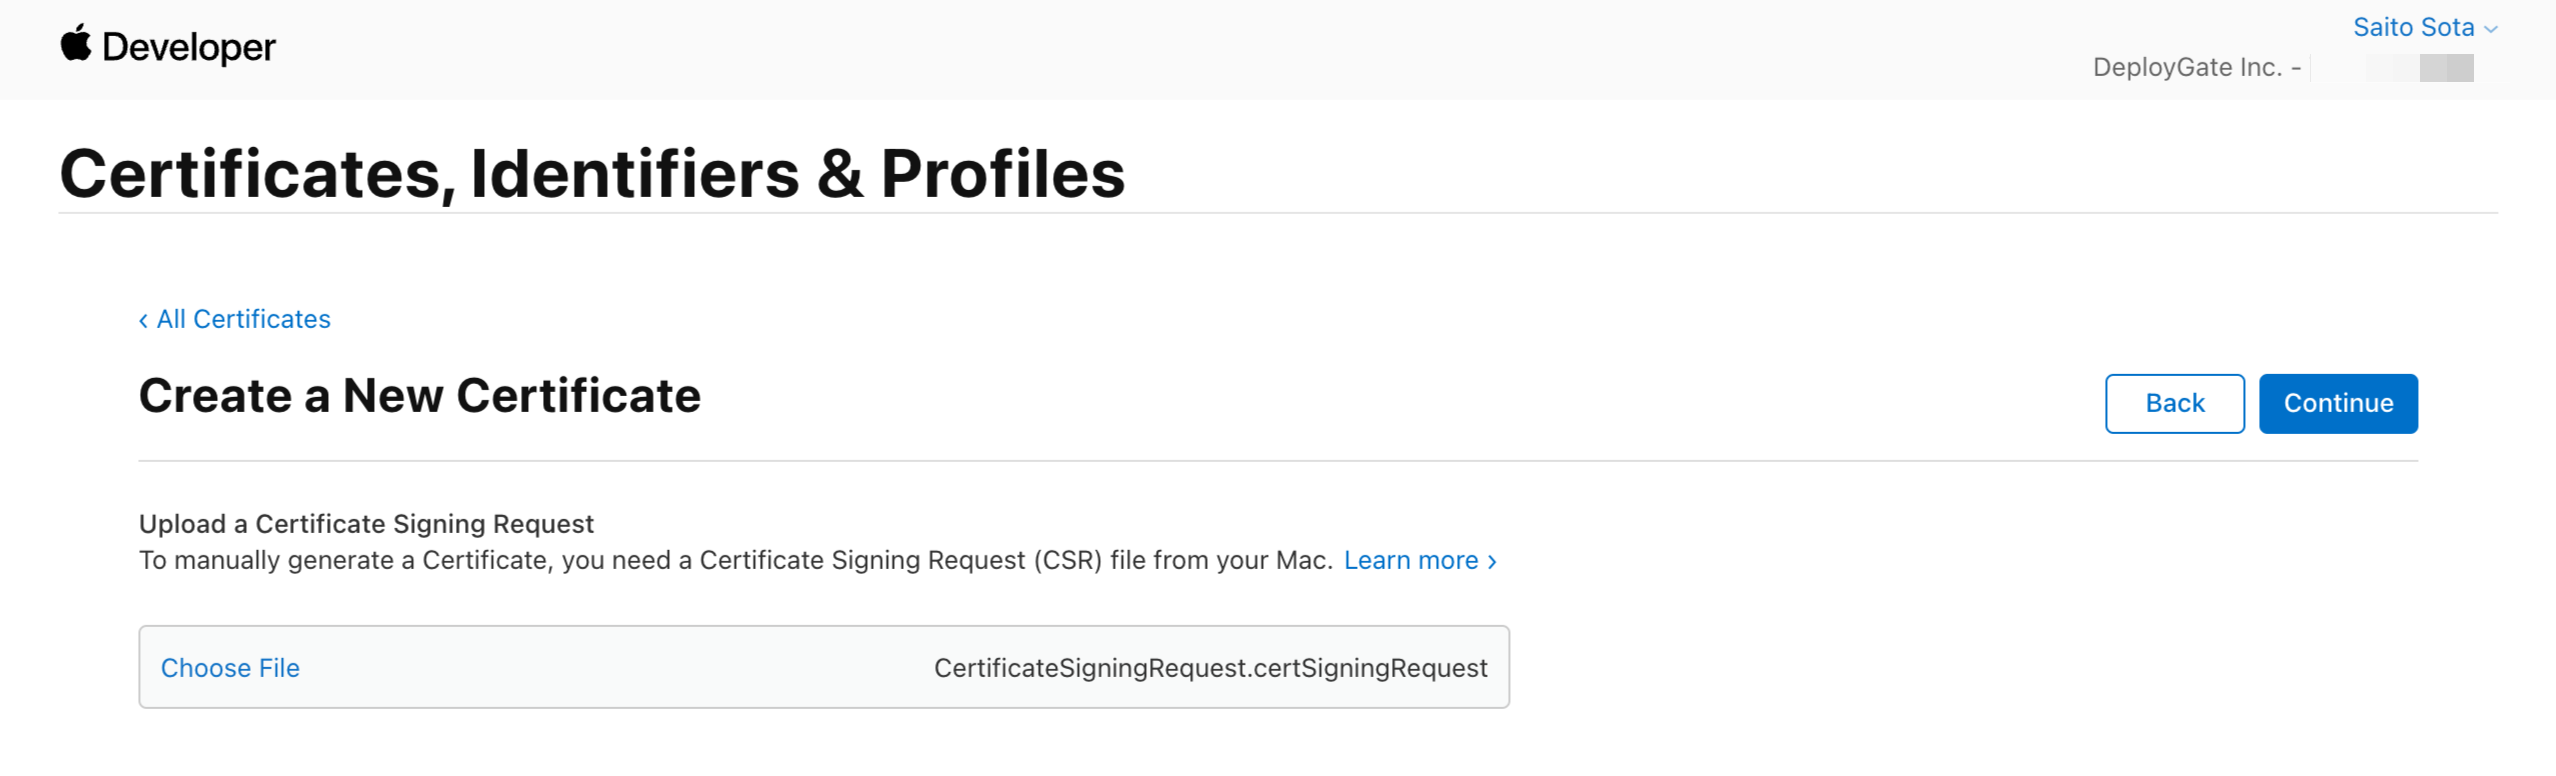
After saving the CSR to disk, return to the browser and submit it to Apple. Click on "Choose File" and select the CSR you created. Click on "Continue."
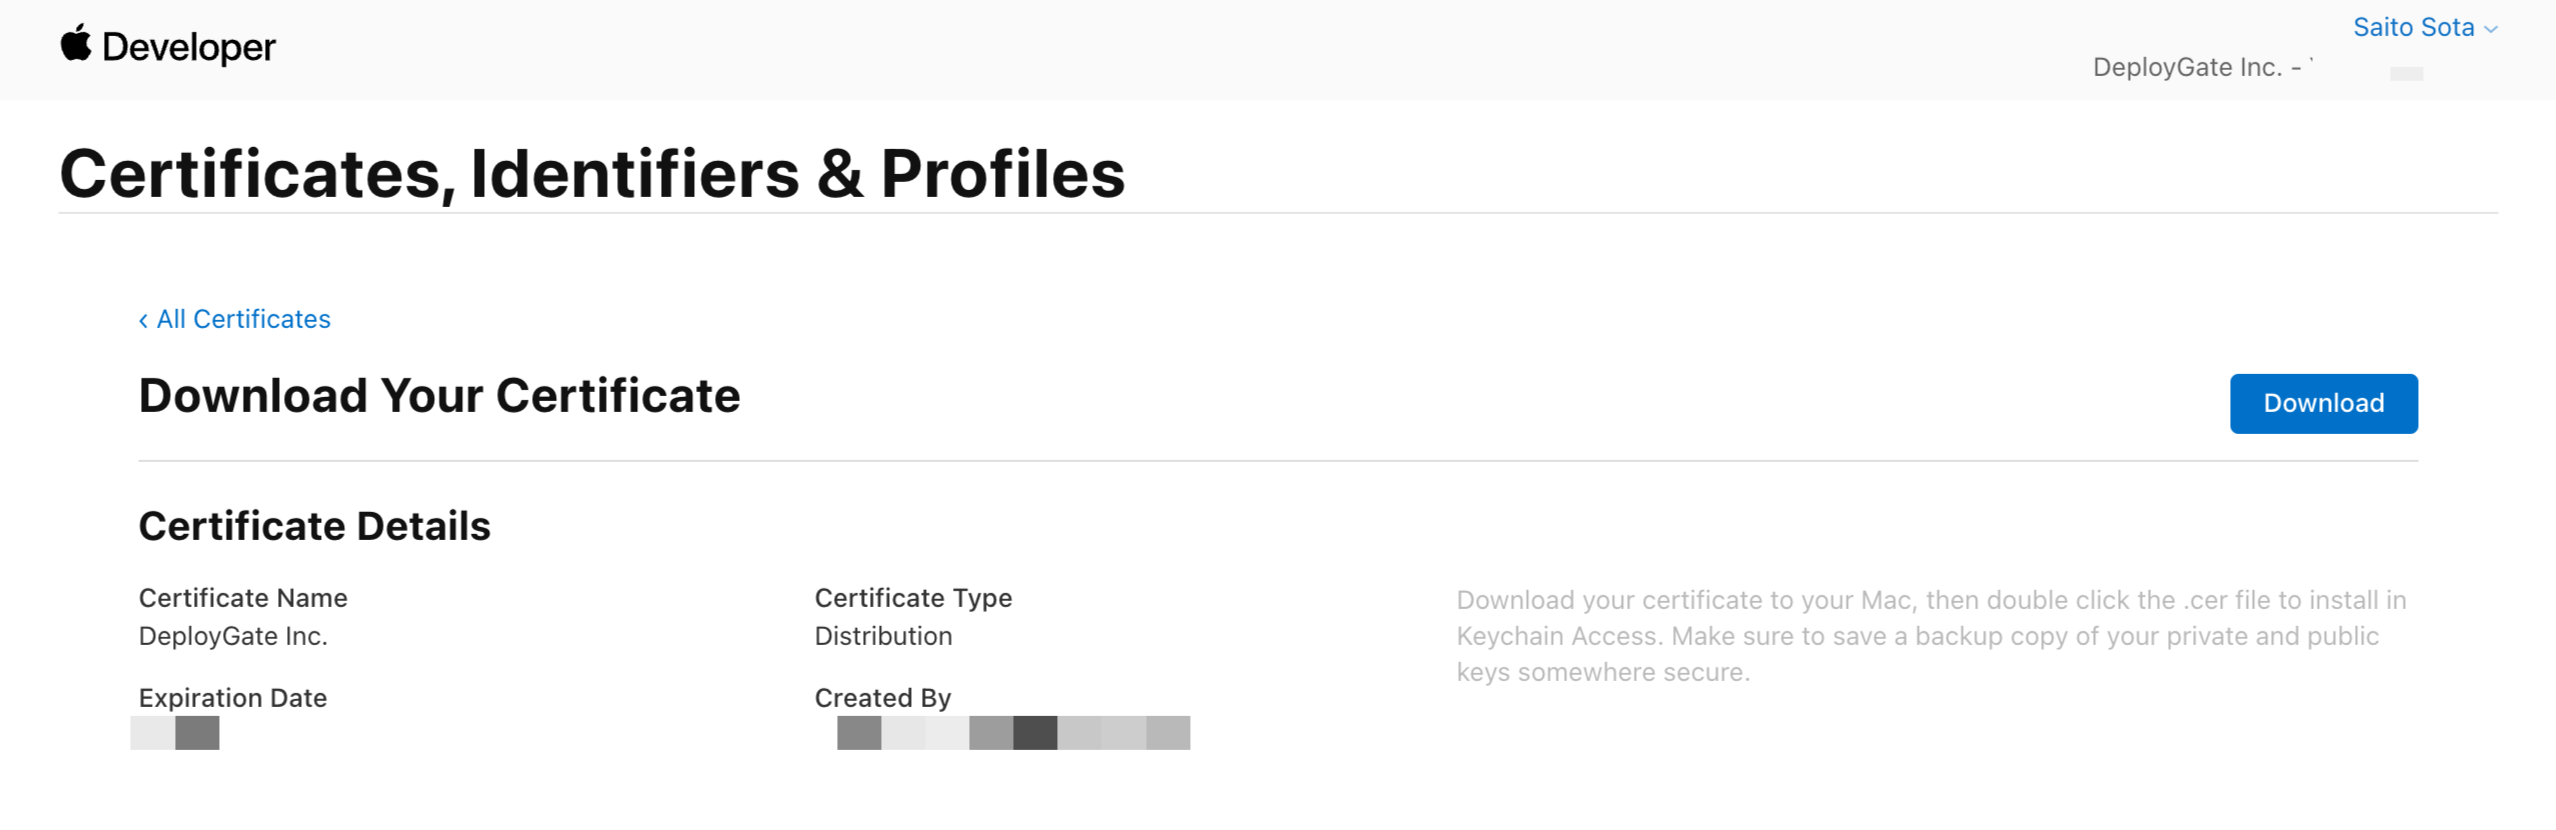
Once the upload is complete, you can download your "iOS Distribution Certificate". Download and click on it to install it in Keychain Access.
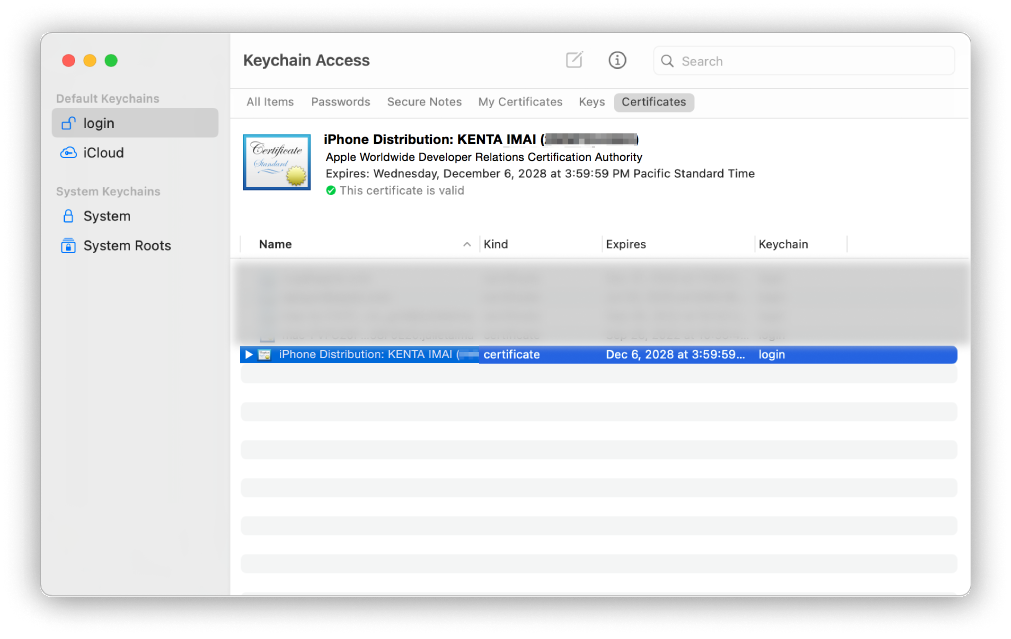
You can view installed Certificates in the "My Certificates" category of Keychain Access.
4. Create Application ID (App ID)
Please note that this section is about the "Application ID" (or "App ID") and not an "Apple ID."
App ID functions like a URL for your application and is used in various circumstances. For example, it is used as an ID that allows you to link with other services and as an ID to prove that an app is yours. Apple assigns a prefix, so your application will not overlap with other developers’ applications.
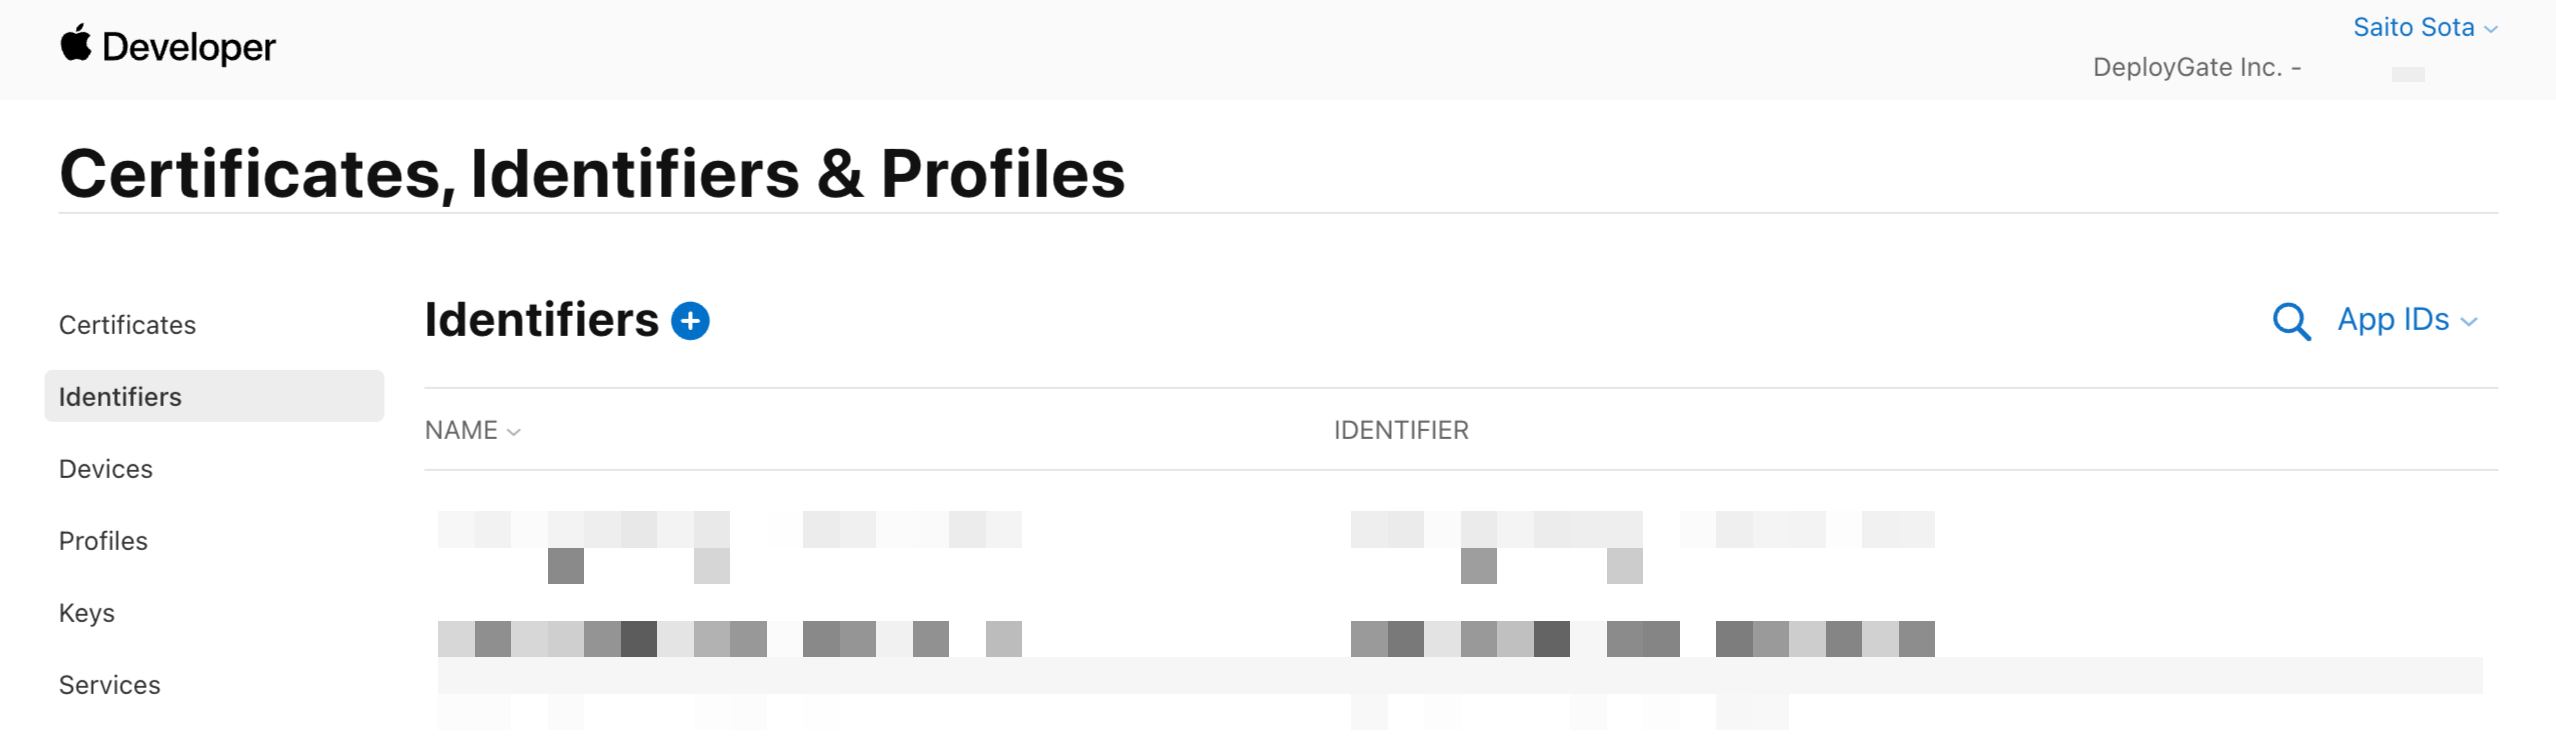
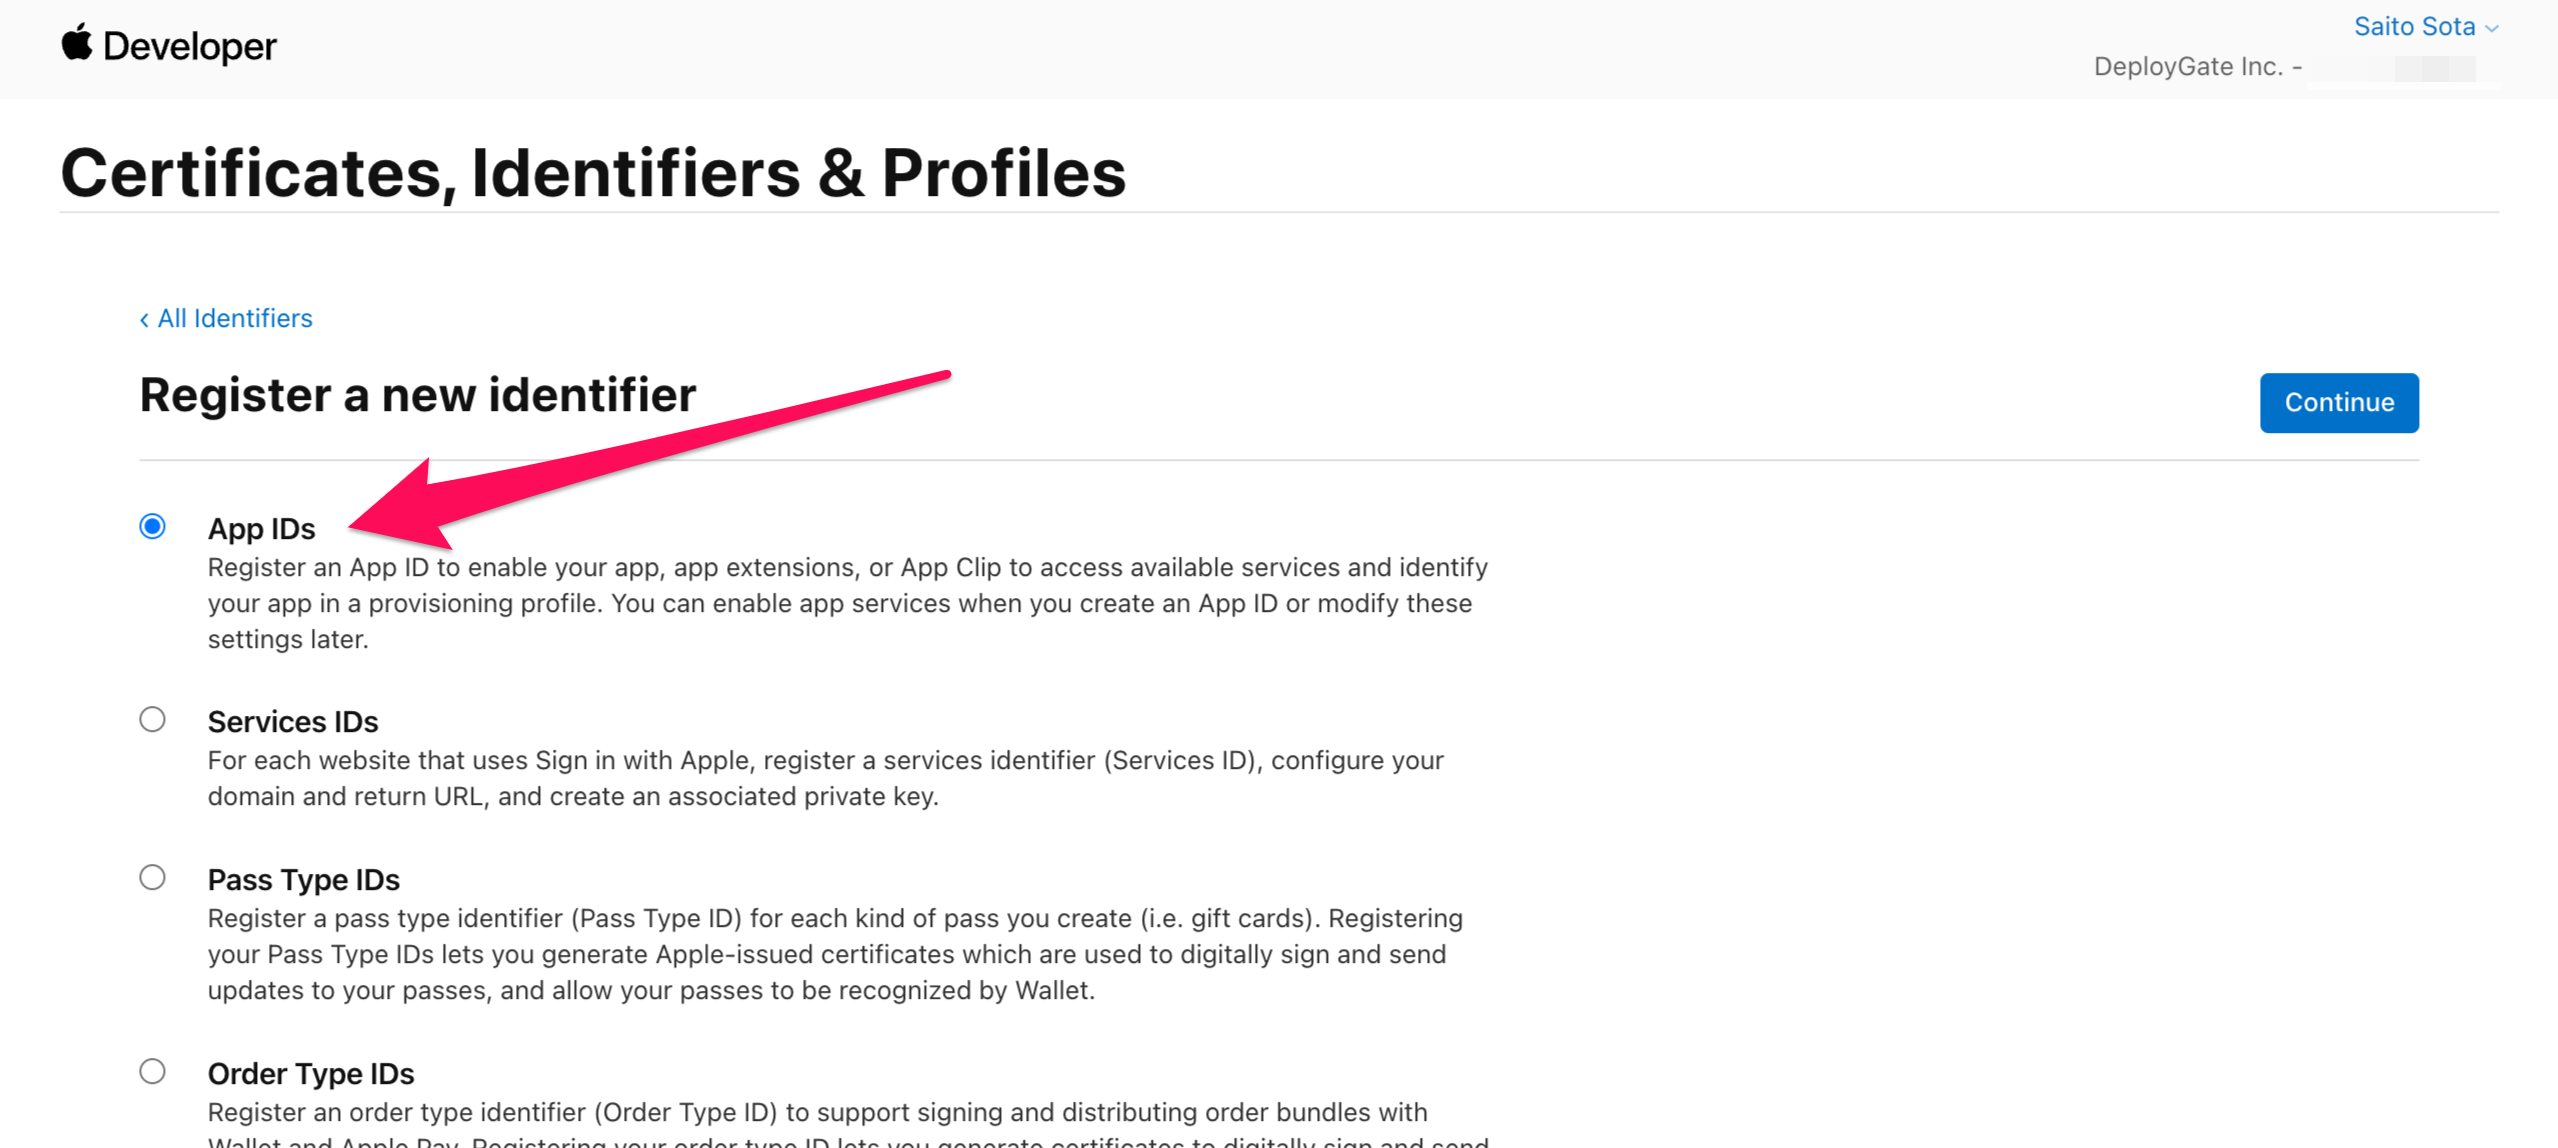
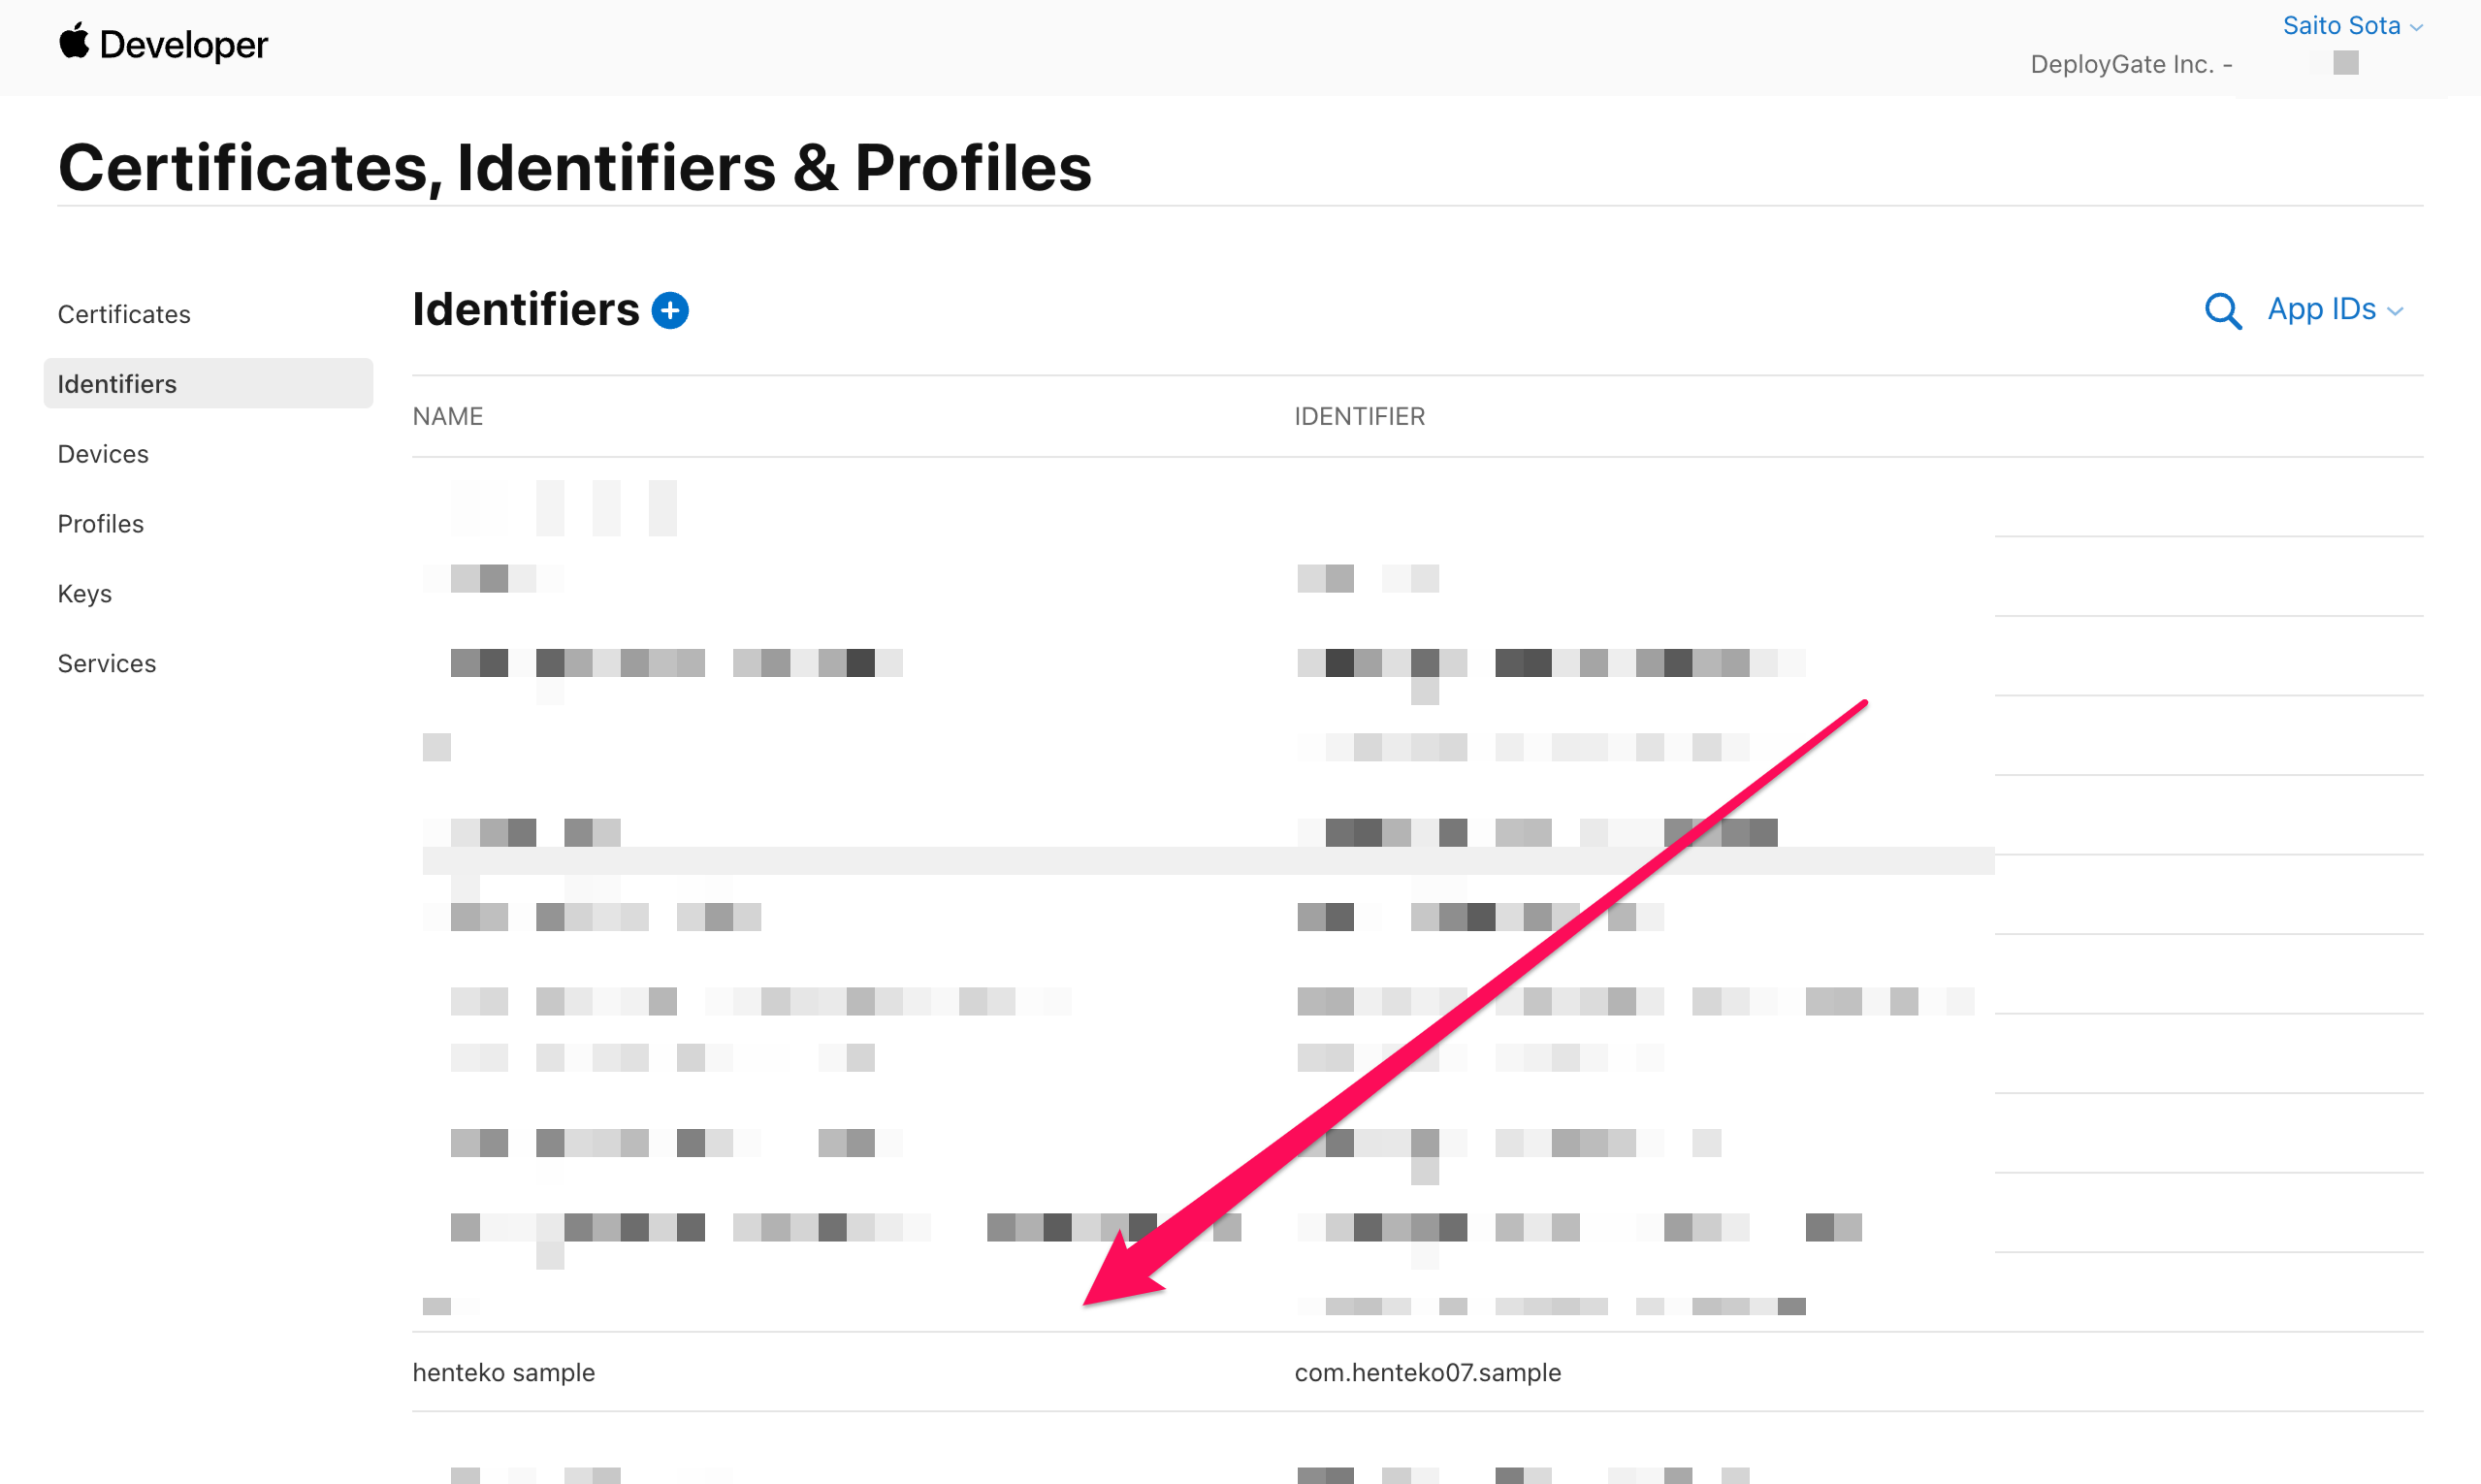
First, return to the previous site and select Identifiers from the menu. Click on the “+” button to start creating a new App ID.
On the next screen, select "App IDs" and continue.
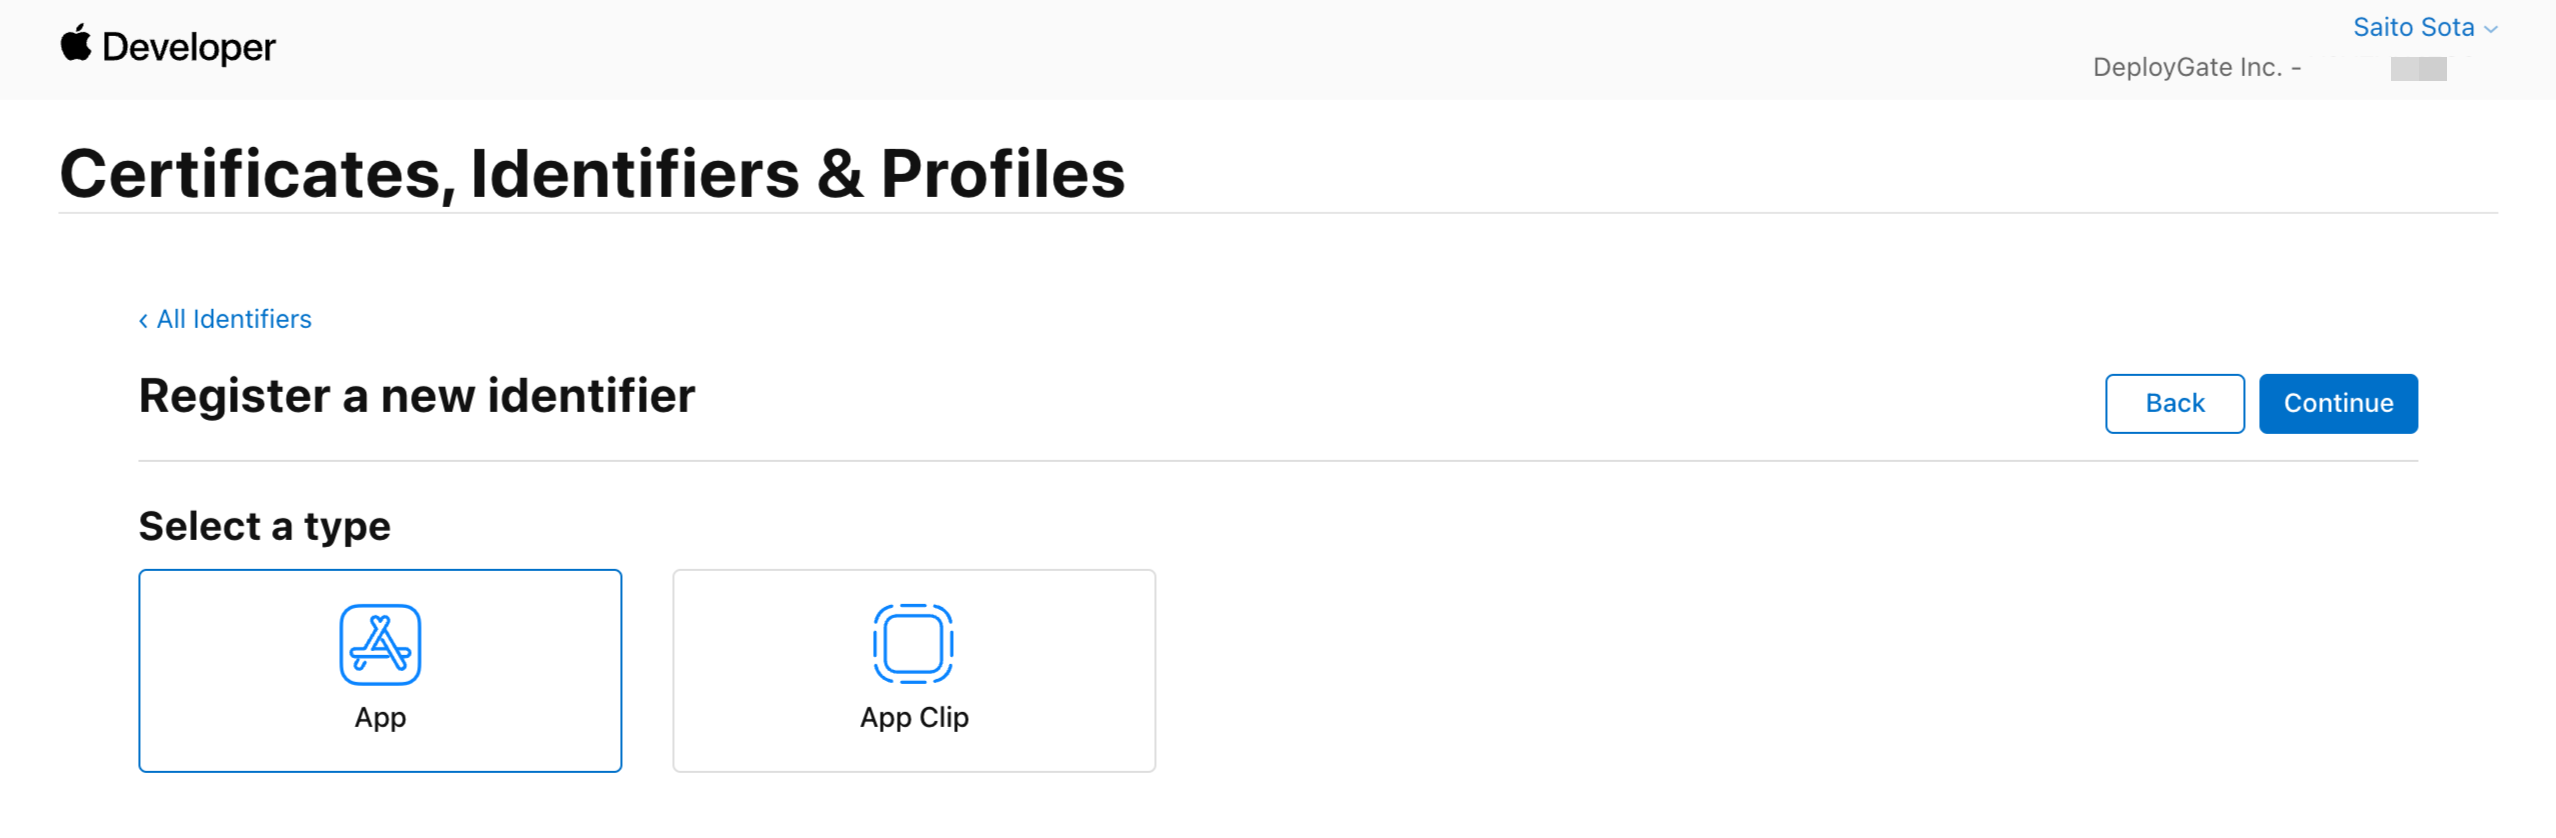
If you have a regular app, select "App" and continue.
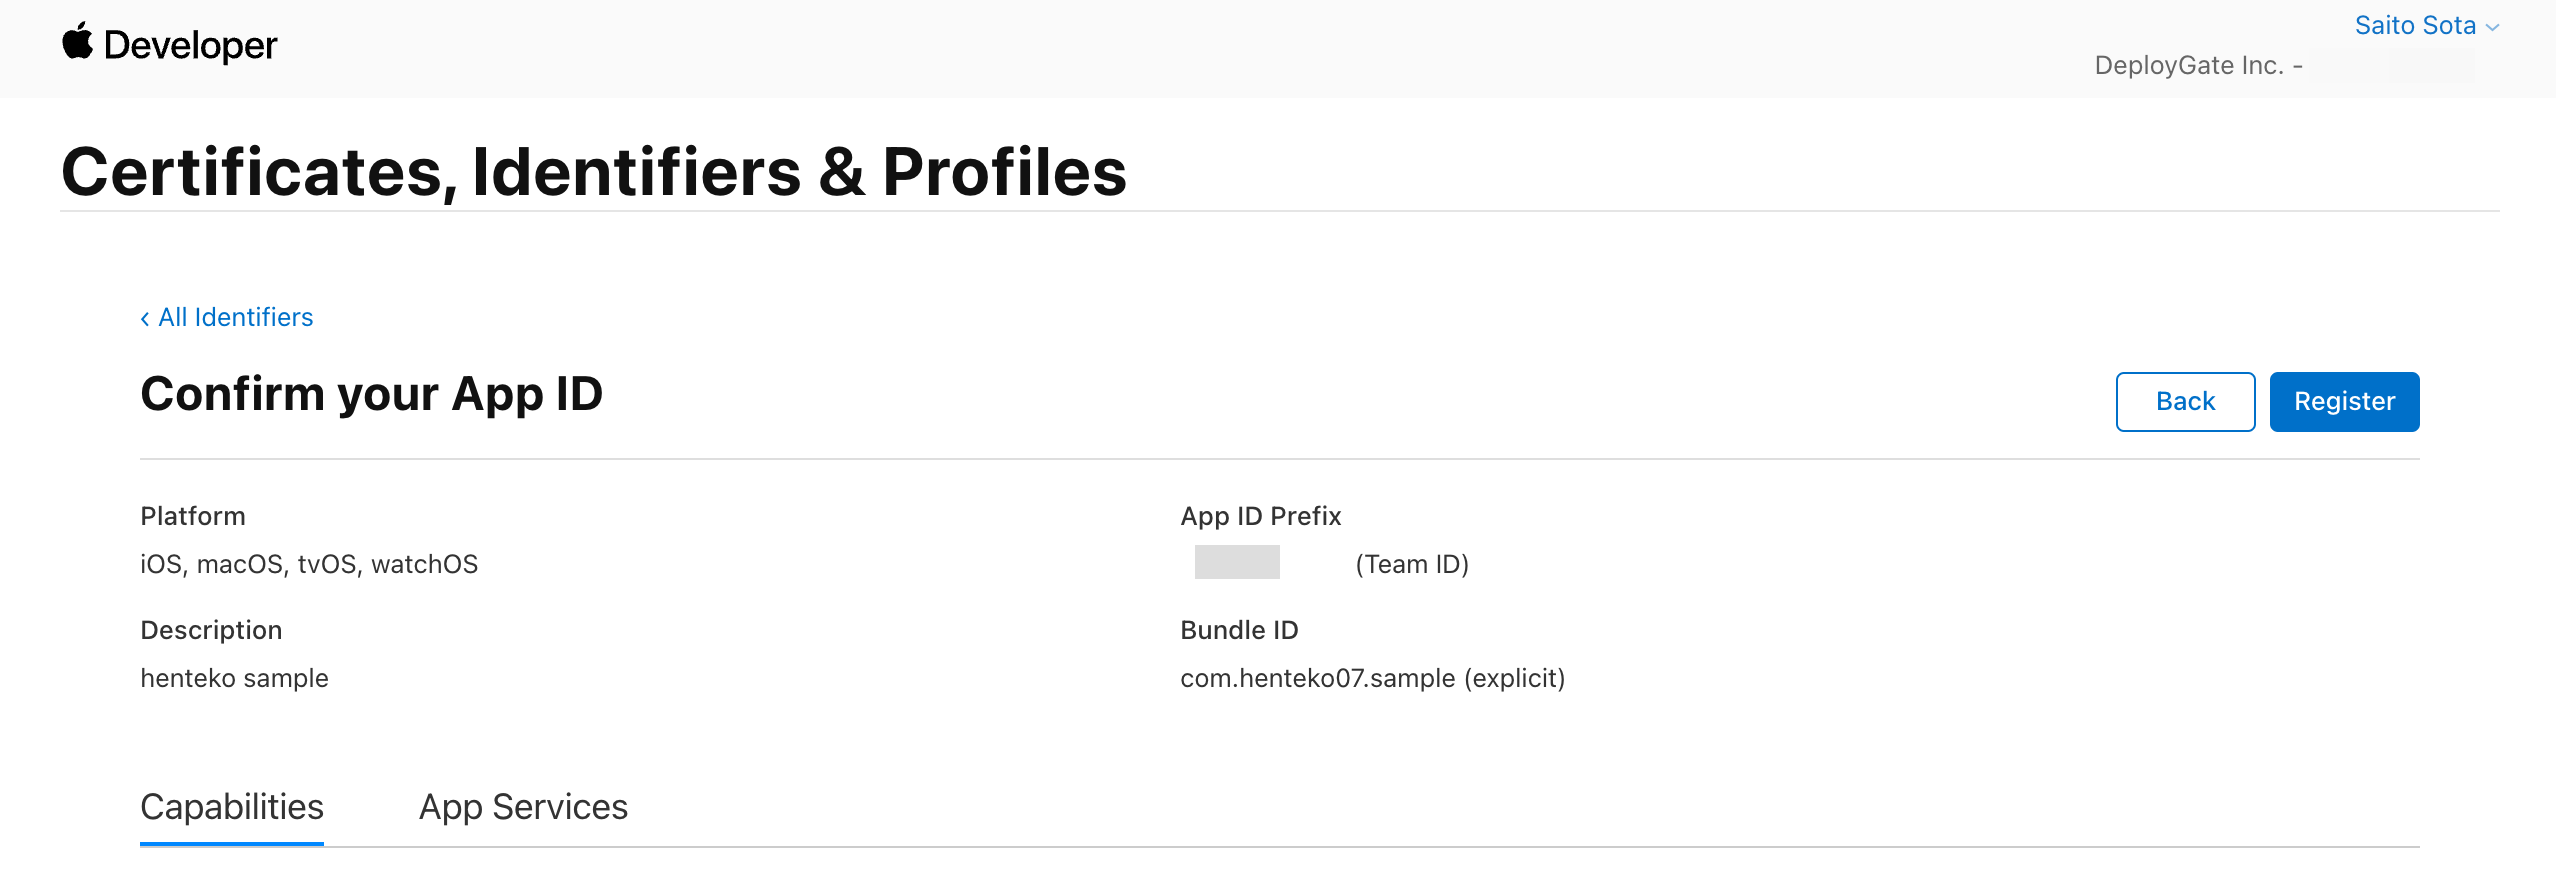
"Description" is a tag/administrator name/display name, which you can fill in at your discretion. "Prefix" is assigned by Apple. "Bundle ID" is your choice. For our purposes today, select "Explicit" to enter a "Bundle ID" and continue.
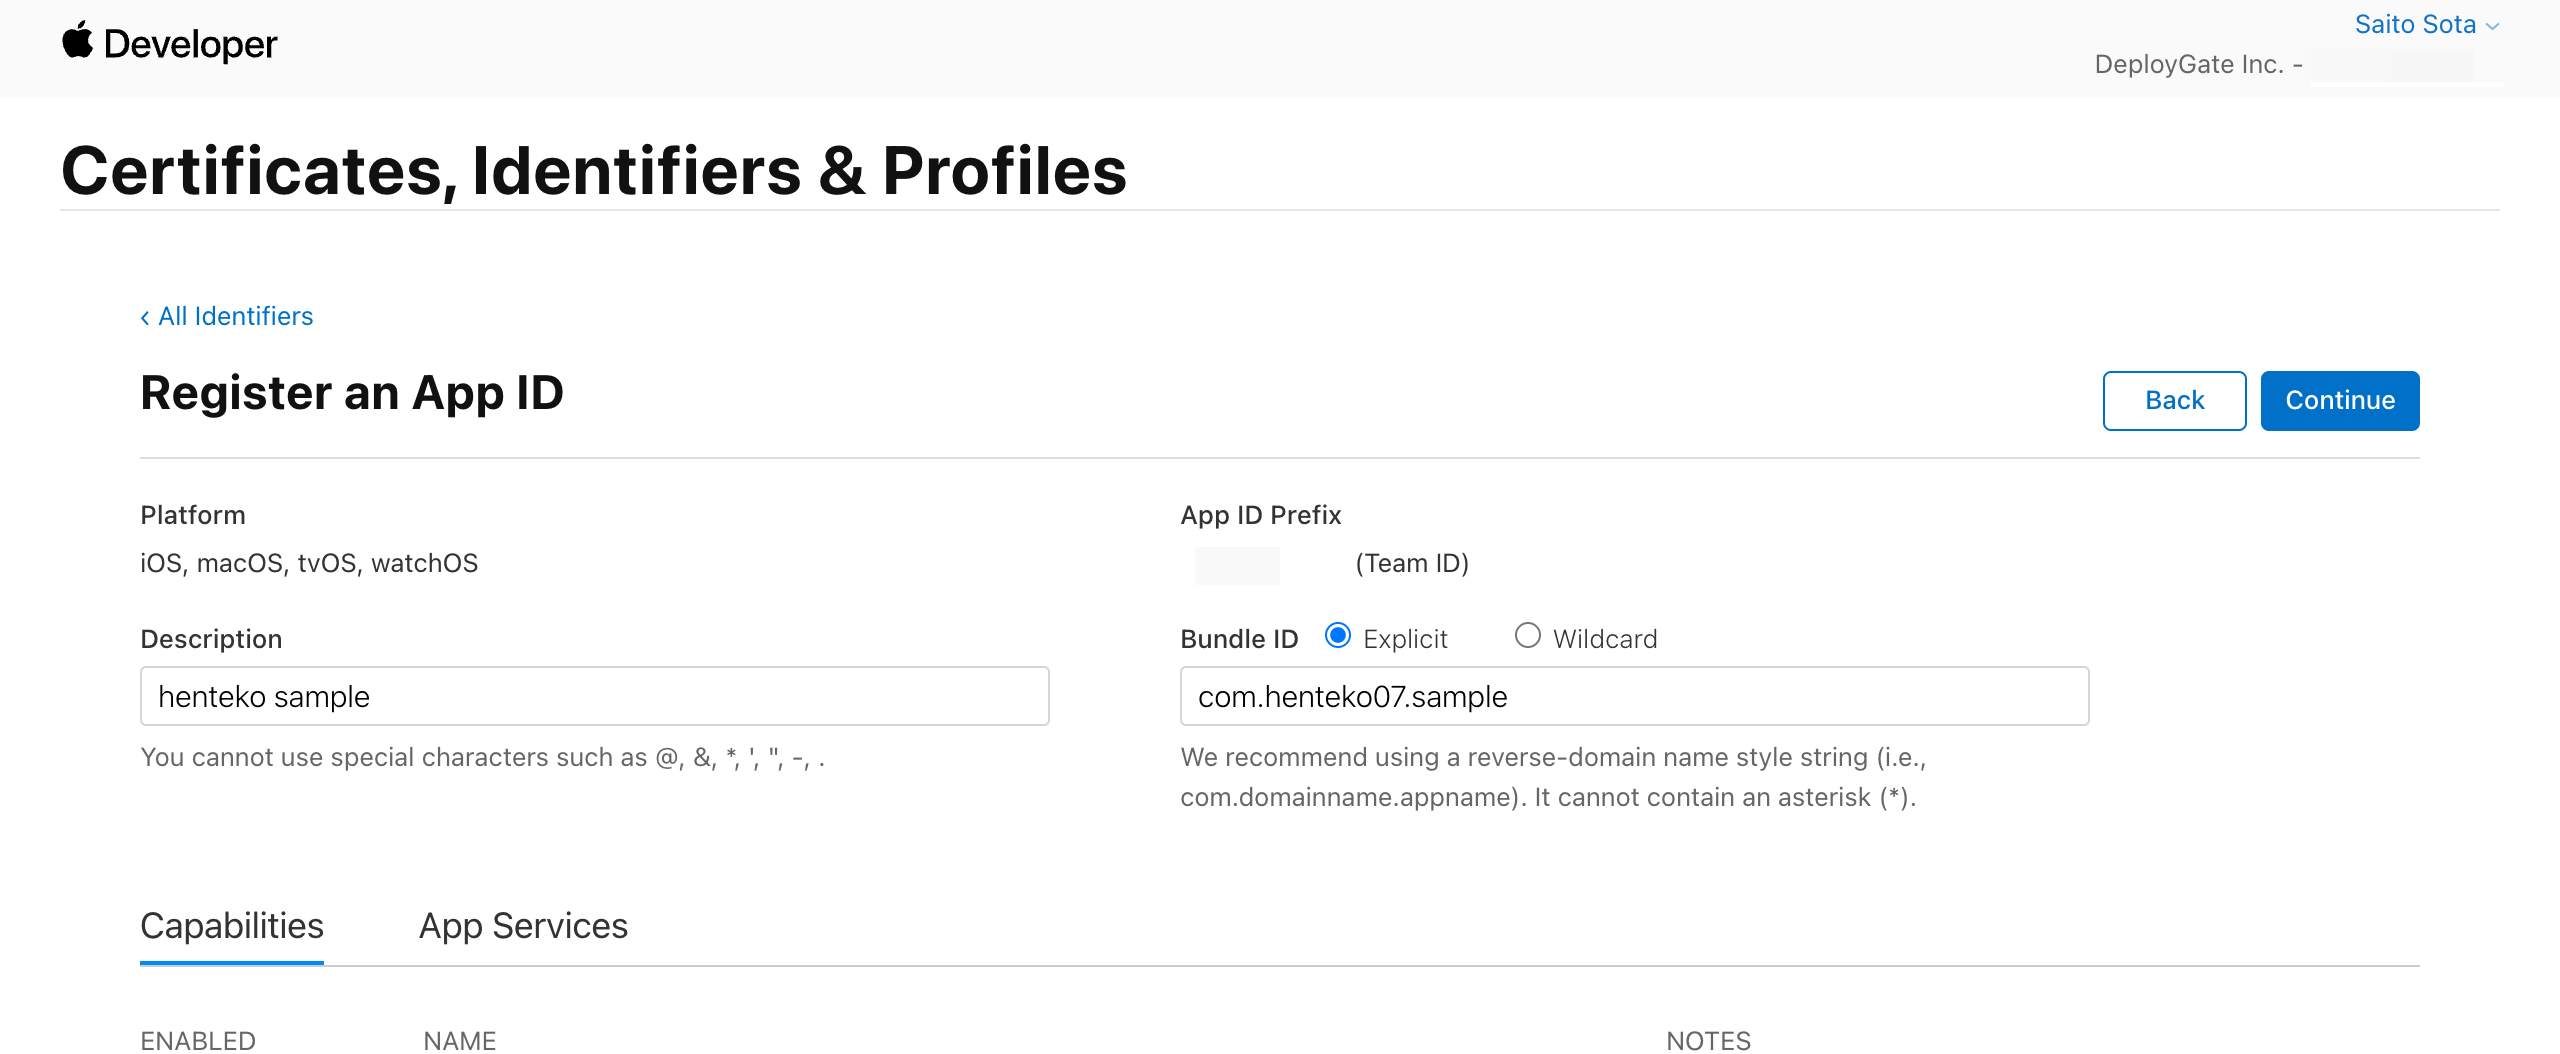
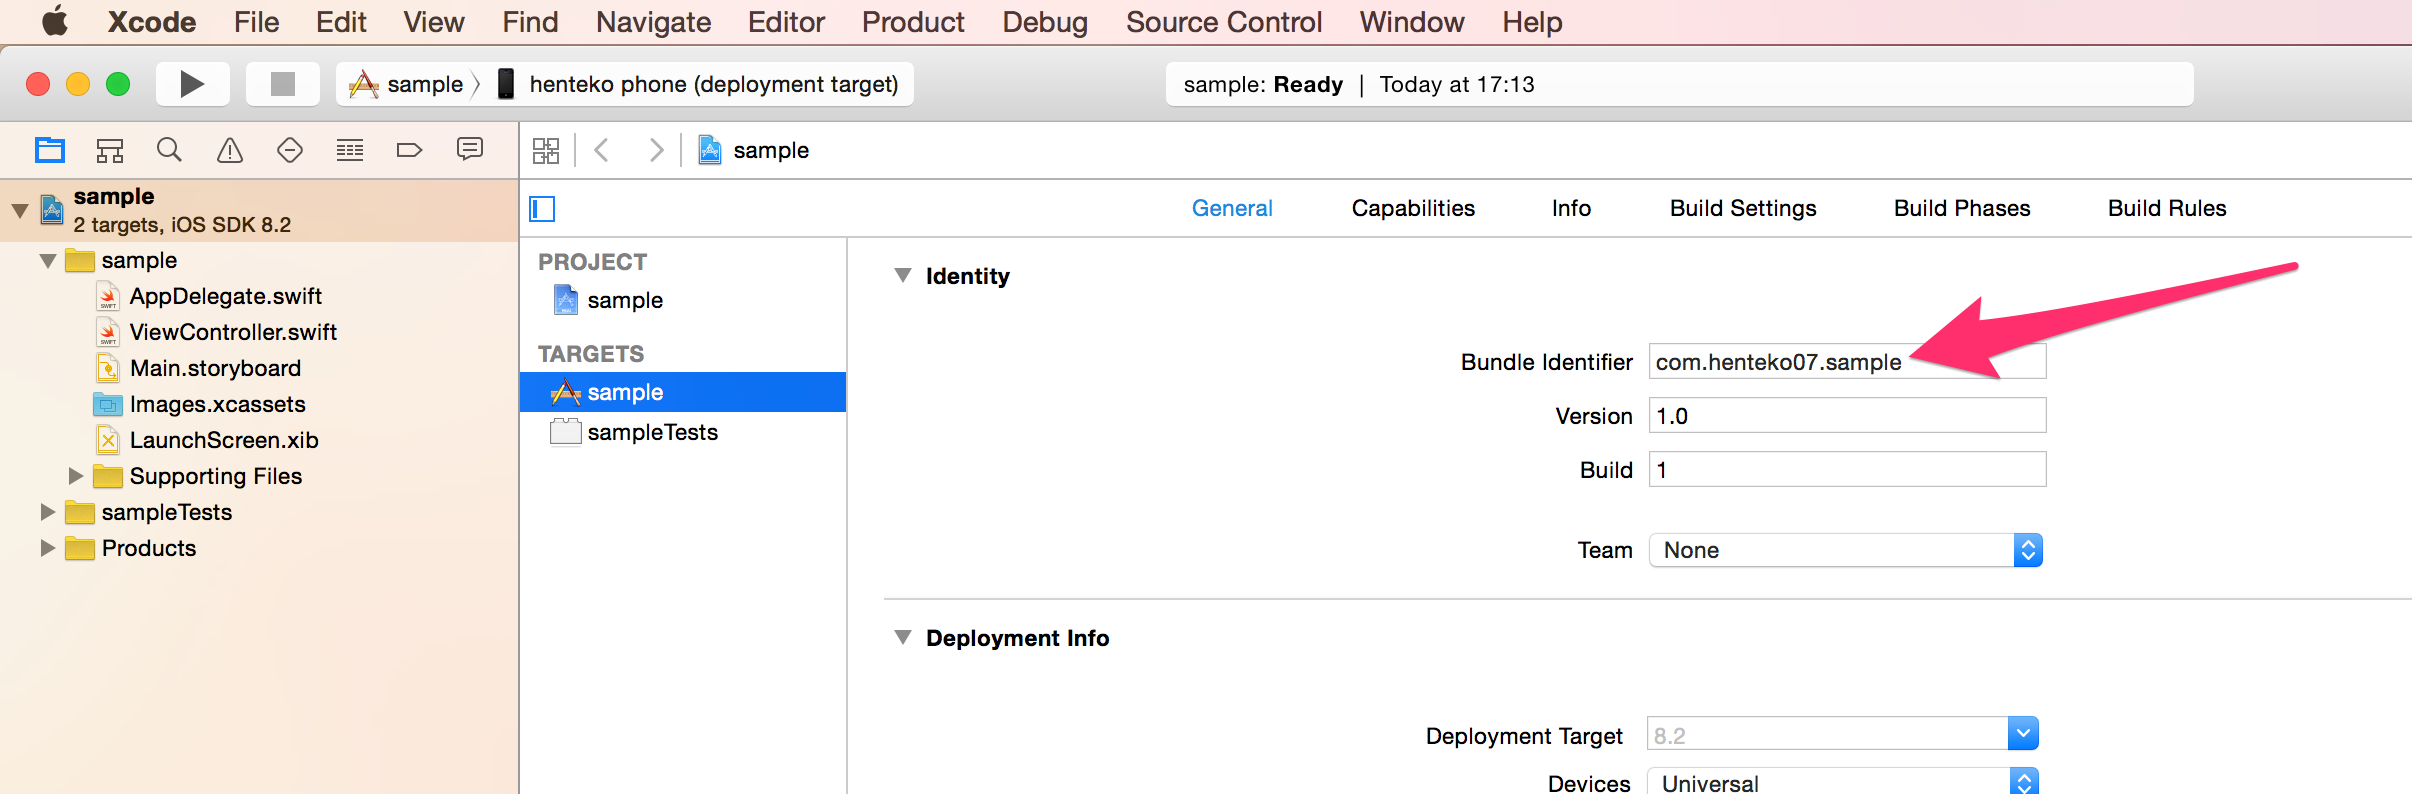
Your application’s "Bundle ID" will be in Xcode. It is something you named in the previous step.
Finally, click on "Register" to complete your registration.
Were you able to complete these steps? Apple will remember the "App ID" you created here, so you do not need to download it for future use.
5. Register Devices
Unlike Android apk files, iOS IPA files built for beta testers will only work on preregistered devices. As such, both the app and developer must be aware of the specific device before running an app.
Please skip this Devices section if you are a developer registered with the "Enterprise Program" and are distributing an "In House" application for internal use.
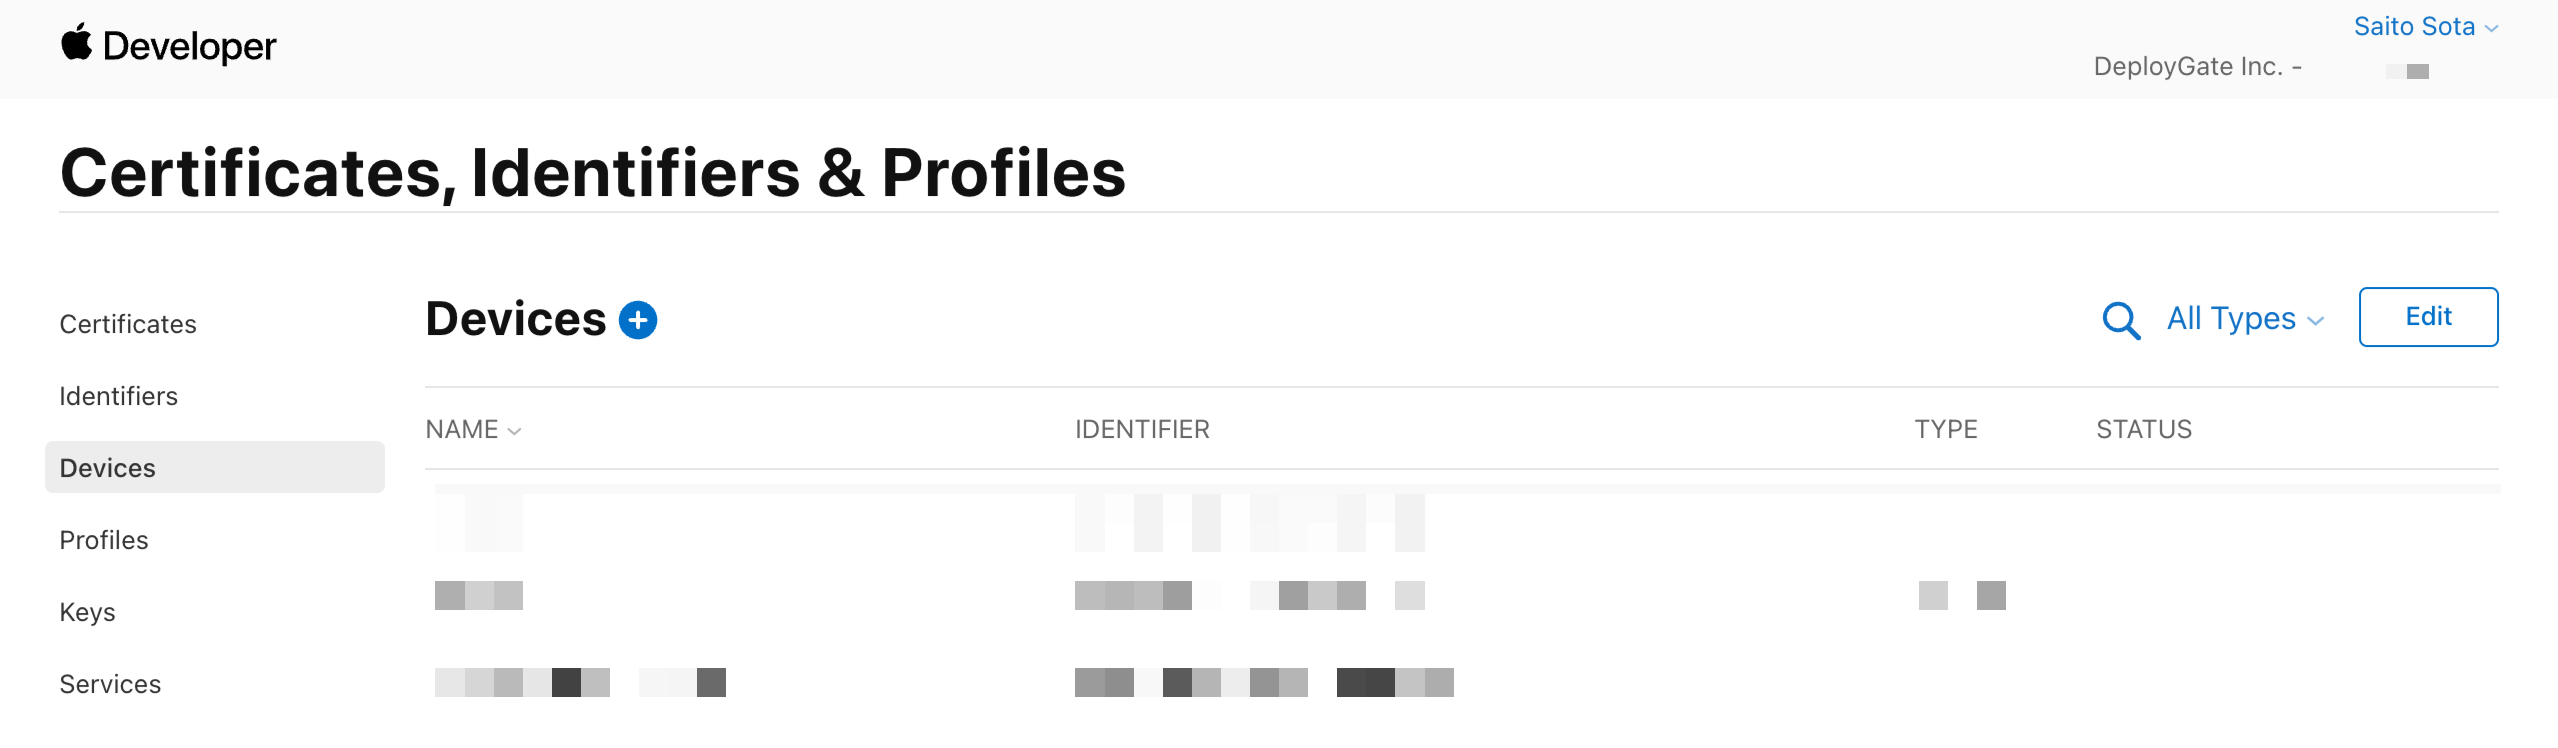
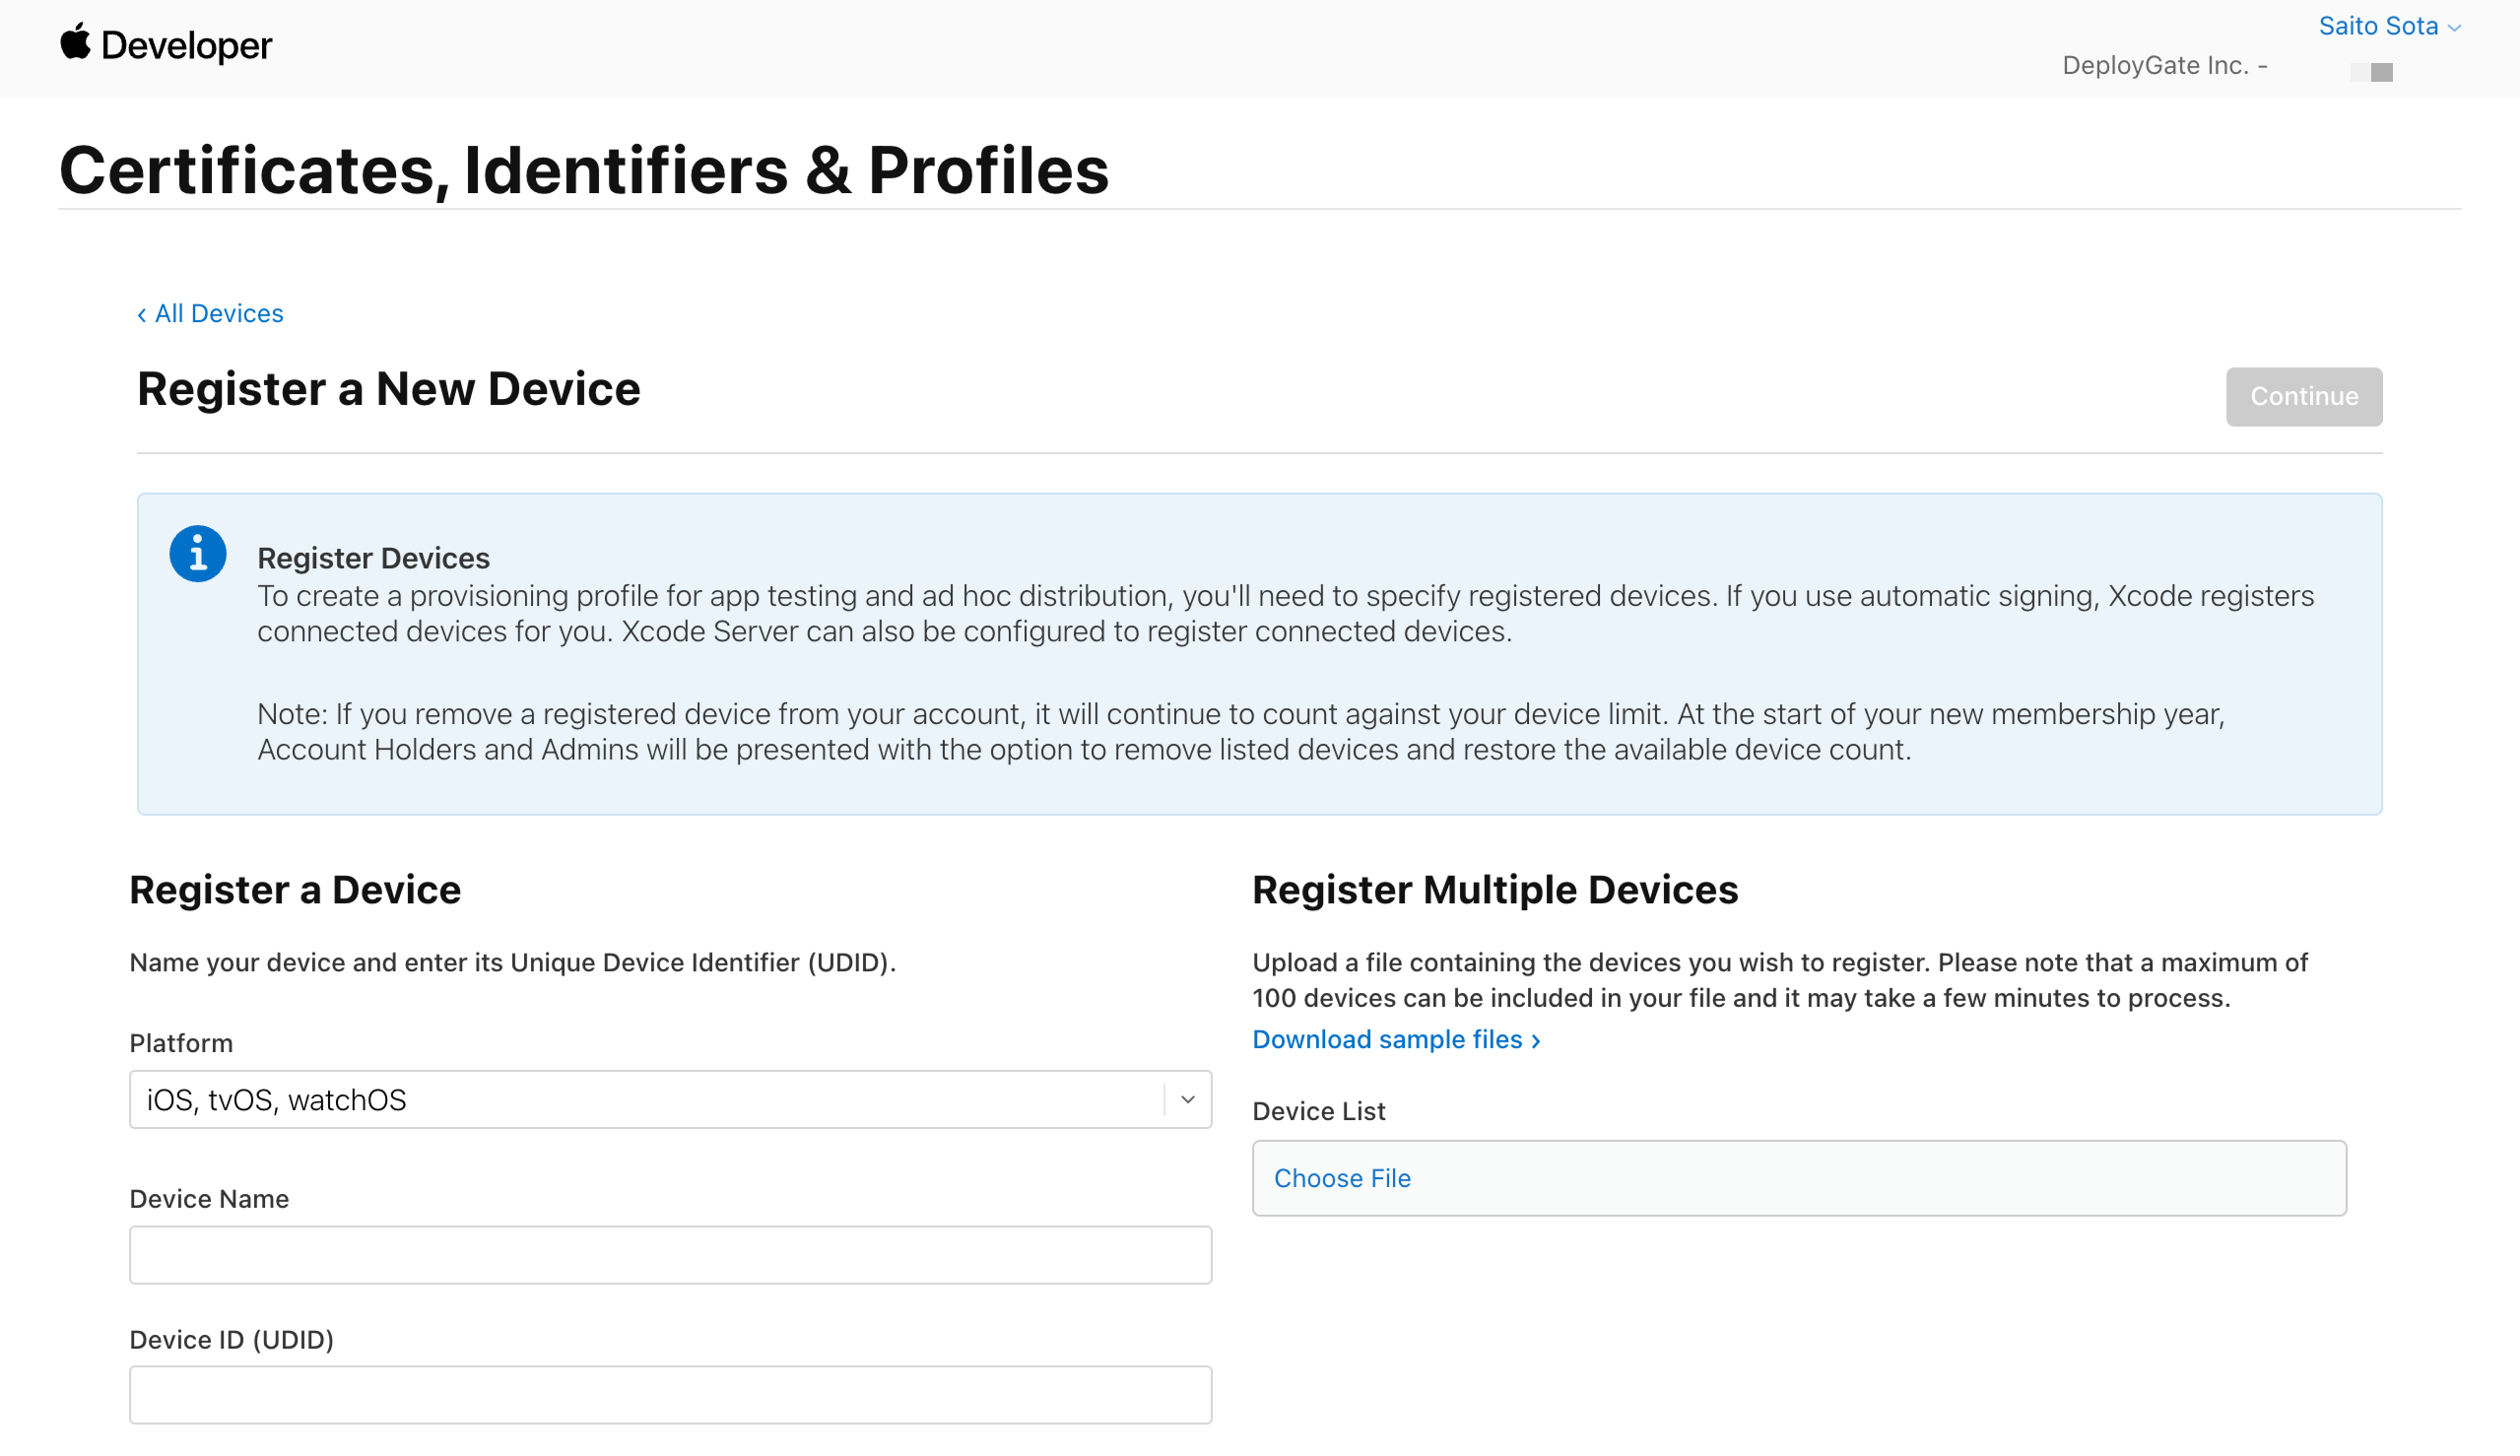
If you click on "Devices" from the menu, you should see several devices already registered. These are usually registered by Xcode’s "Devices" automatically.
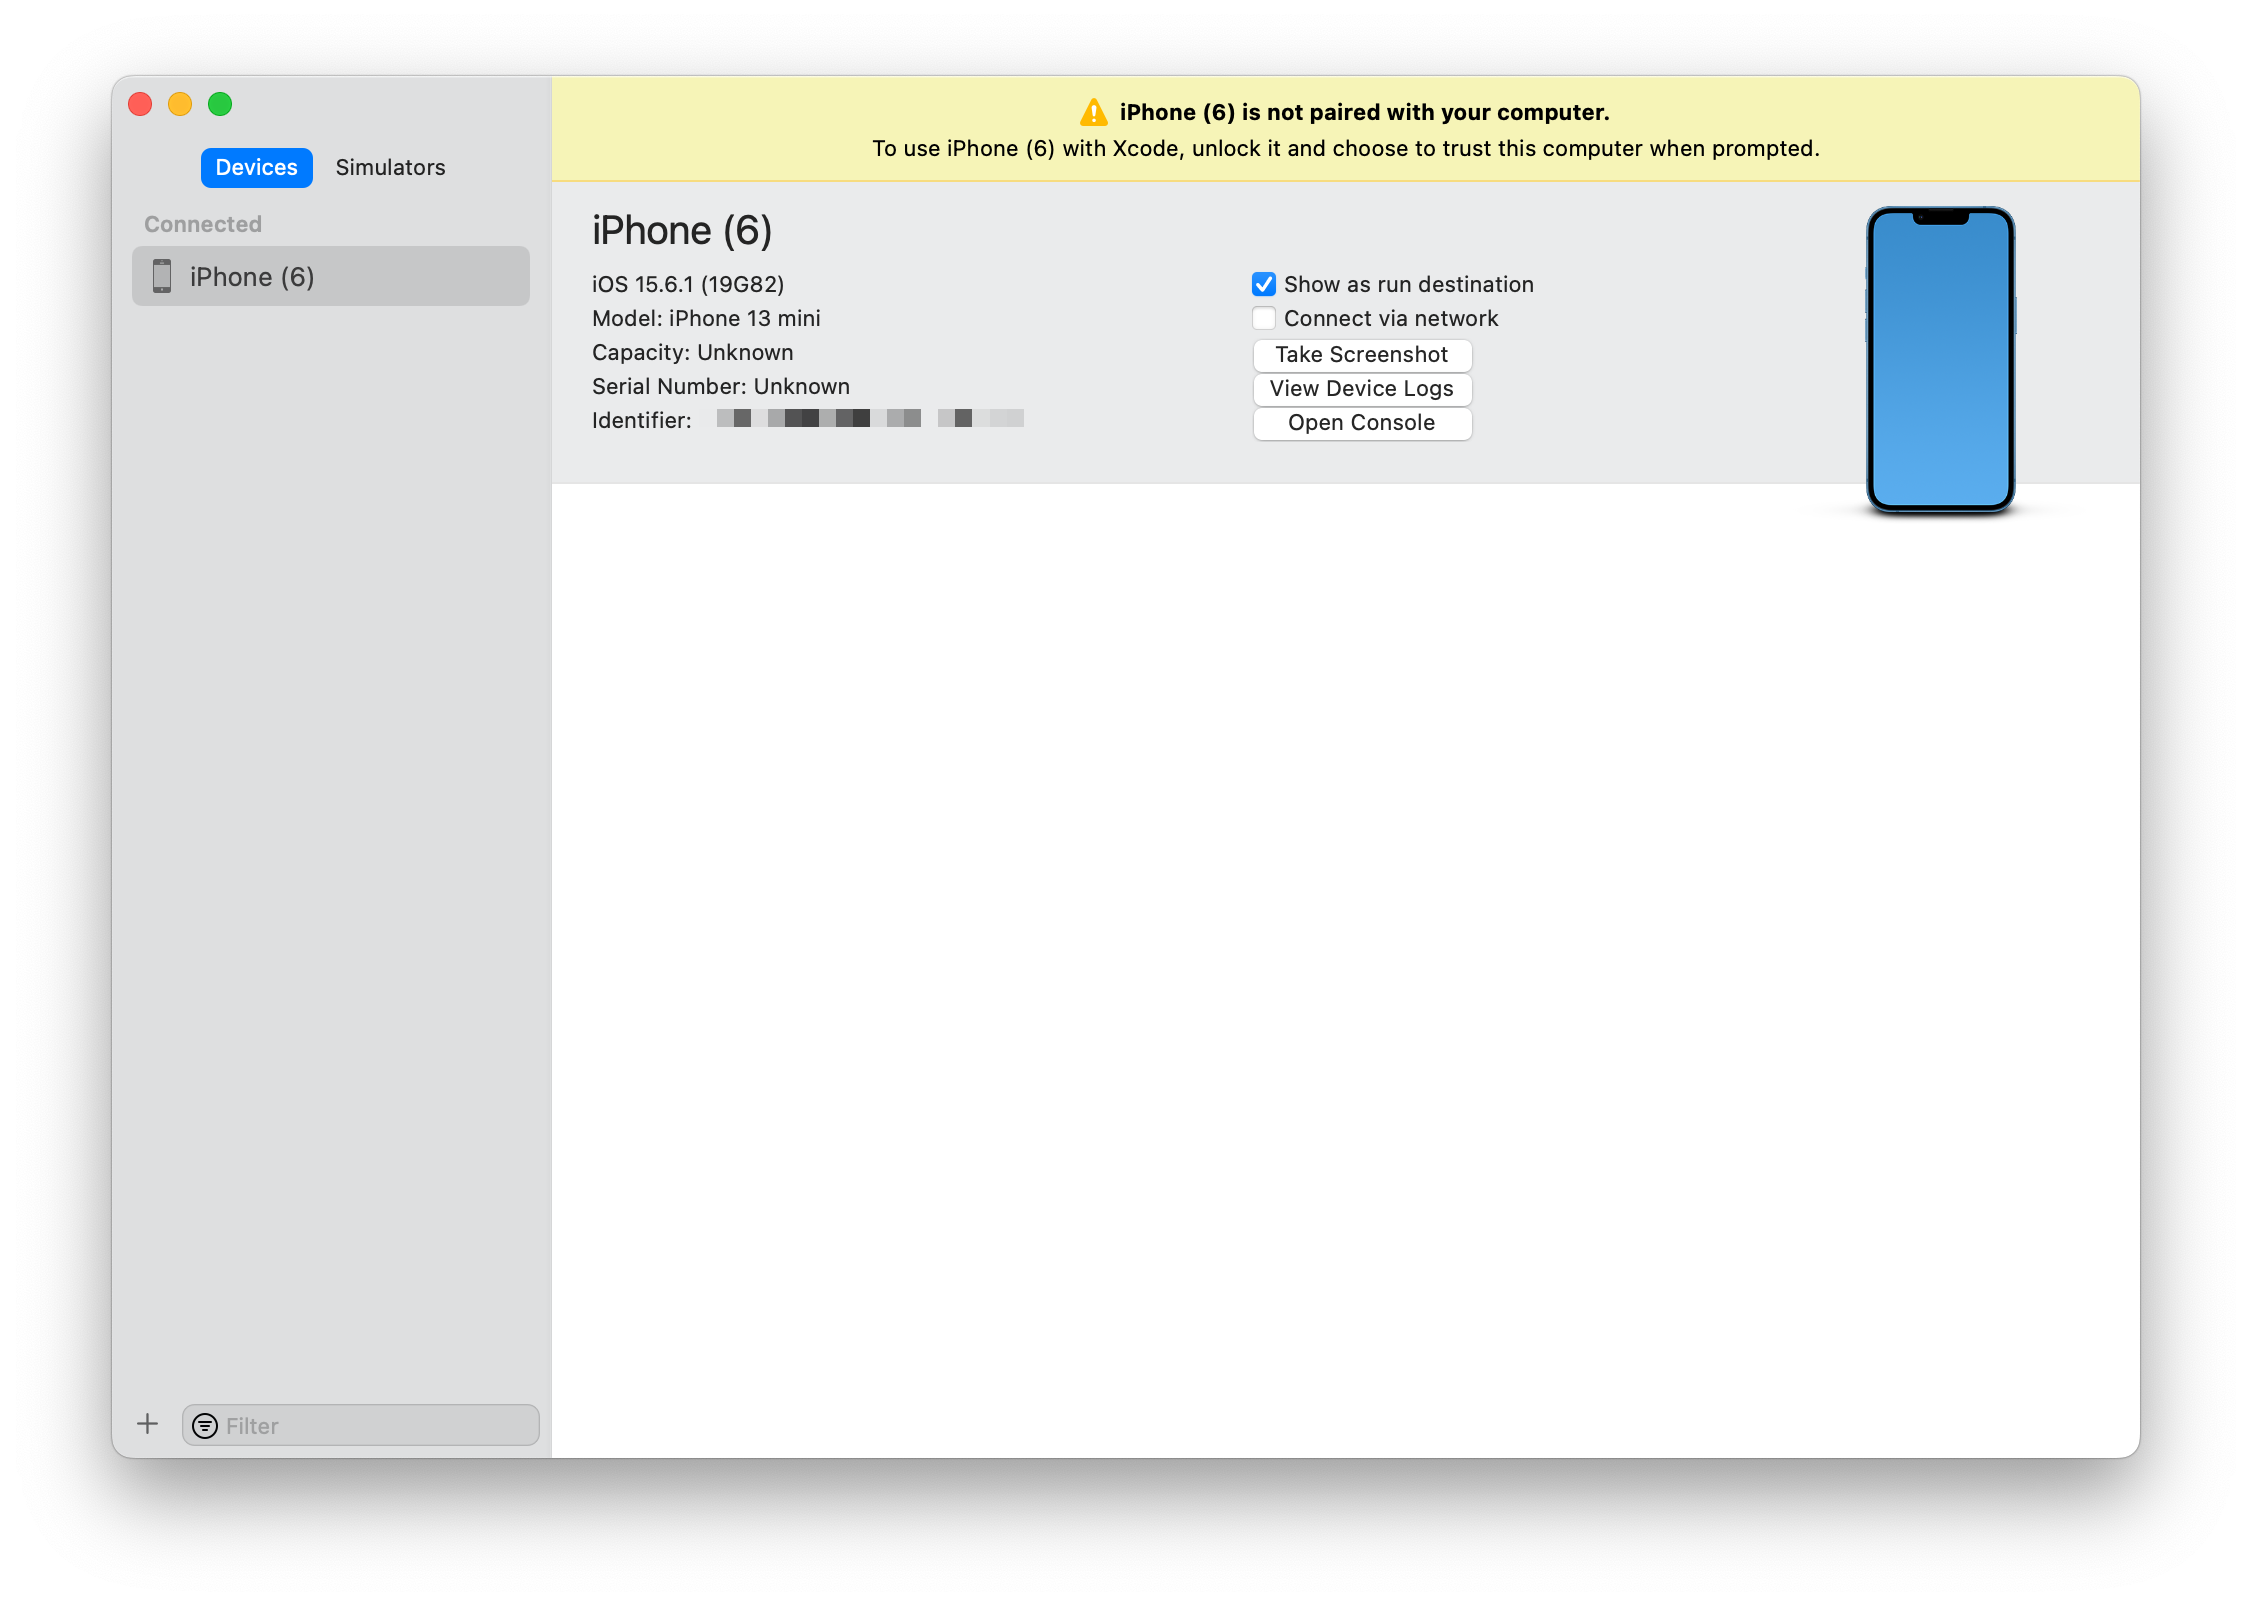
If you have all the devices that you want to run your app, register each device's "UDID" simply by connecting them. Repeat as necessary until complete.
However, if you plan to have many beta testers, you will need to obtain the "UDID" for a large number of devices.
You can register each "UDID" individually or as a batch with a single file. However, you still need to know the UDIDs in advance. DeployGate helps you by collecting device UDIDs of testers and compiling them into a file.
One thing to be aware of is that Apple has a device limit of 100 for running “Ad Hoc” apps. Once you register a device, you cannot cancel its registration for one year.
Conversely, you can install and run "In House" apps on any device, as long as you have the IPA file. However, several conditions apply, including the fact that the device owners are members of your Project/Organization.
Under some circumstances, the courage to break the rules is commendable. However, we advise you to not break the rules in this case, as doing so will result in you losing your account.
6. Create Provisioning Profile
We can finally work on the Provisioning Profile.
The Provisioning Profile allows you to create an IPA file for distribution and serves as a blueprint for builds, including instructions for the use of certificates, IDs, and devices.
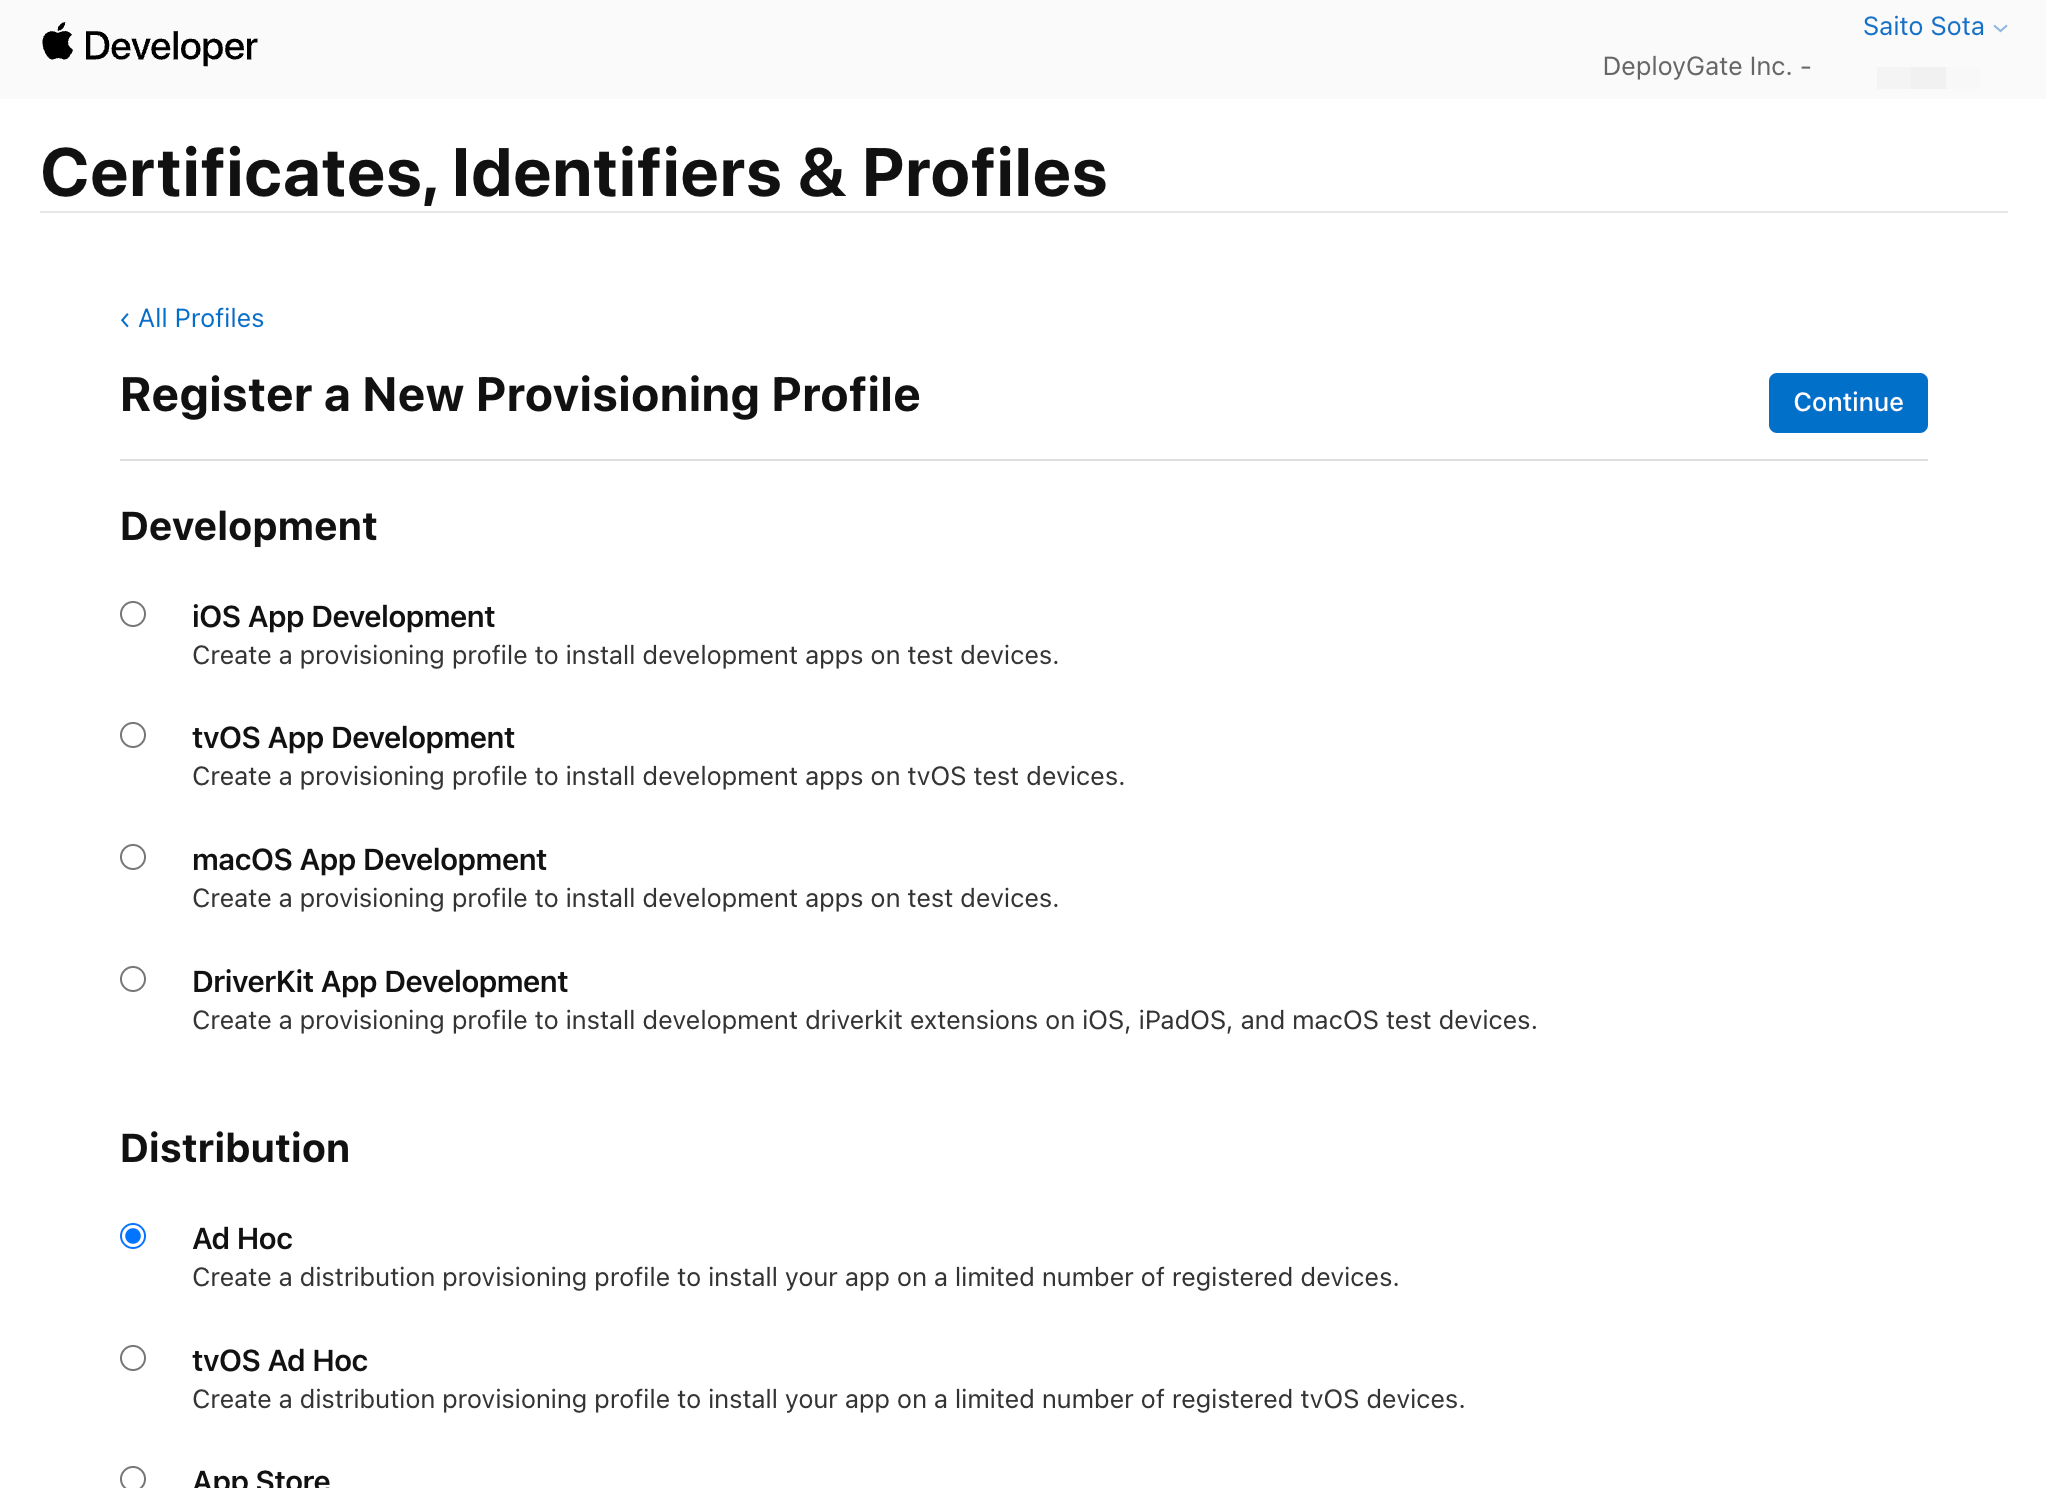
Select "Profiles" from the menu and click on the "+" button to start creating profiles. Select "Ad Hoc" (for those with Enterprise accounts, please be very mindful of your selection between "Ad Hoc" and "In House." This tutorial does not cover the Enterprise Program, but it may be a future topic.)
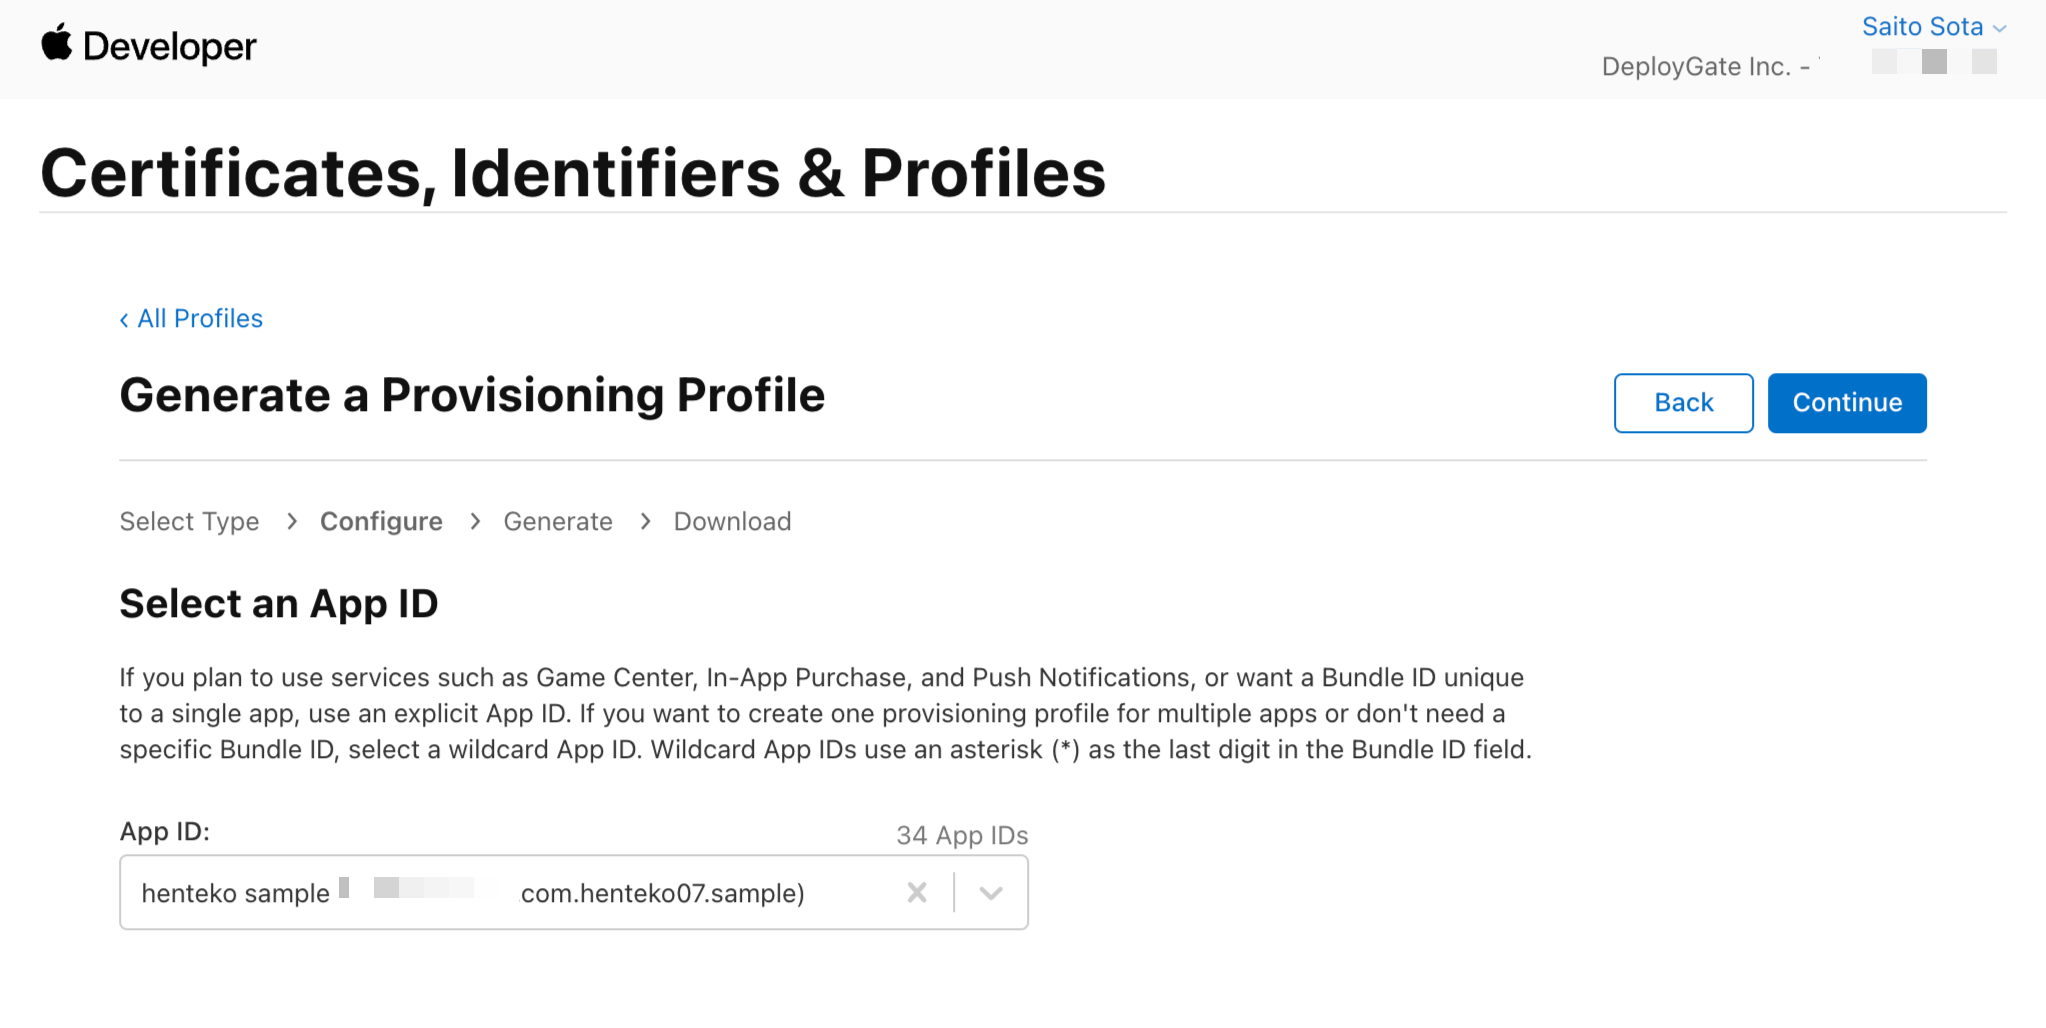
Select "App ID" next.
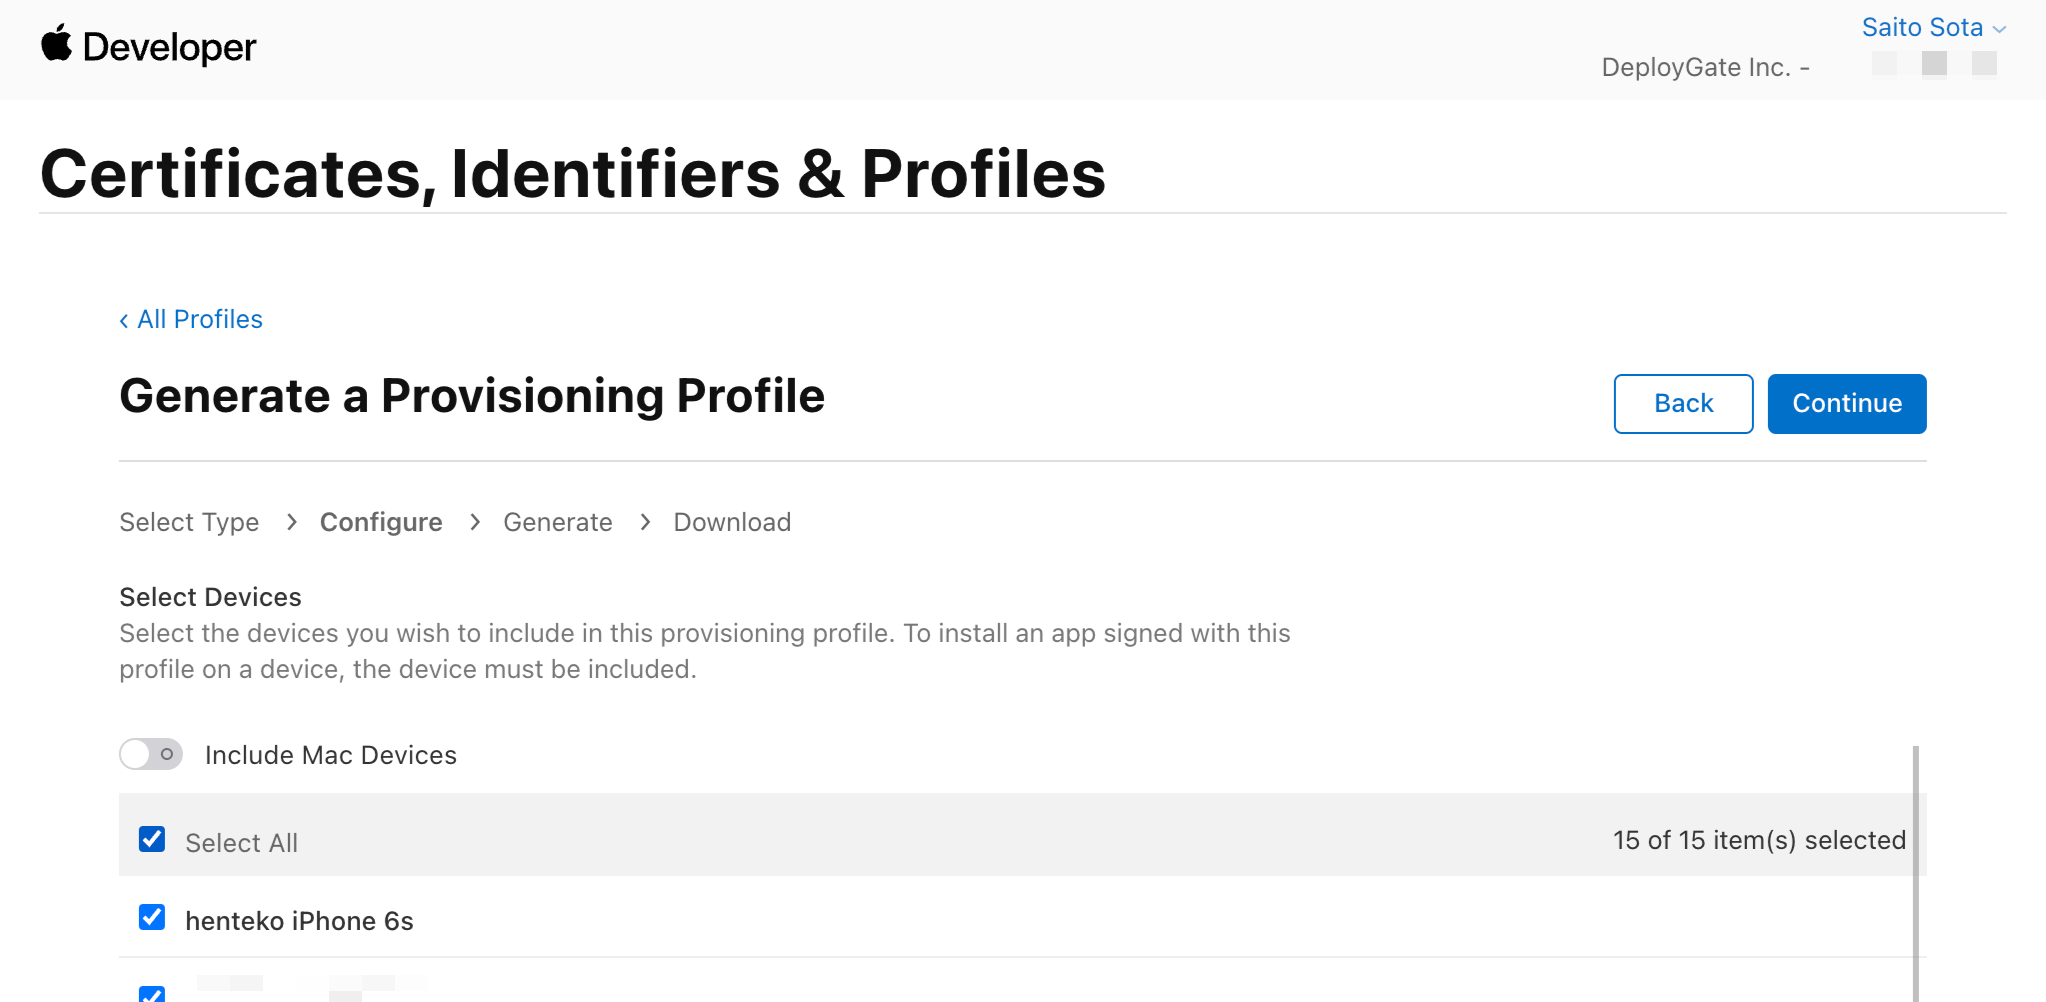
Select Certificates and Devices. You should see the certificates and devices that you created. If not, return to the applicable sections to complete the steps.

Finally, select a name. We suggest that you choose a unique name for each profile. As you create more profiles, it becomes more difficult to distinguish them.
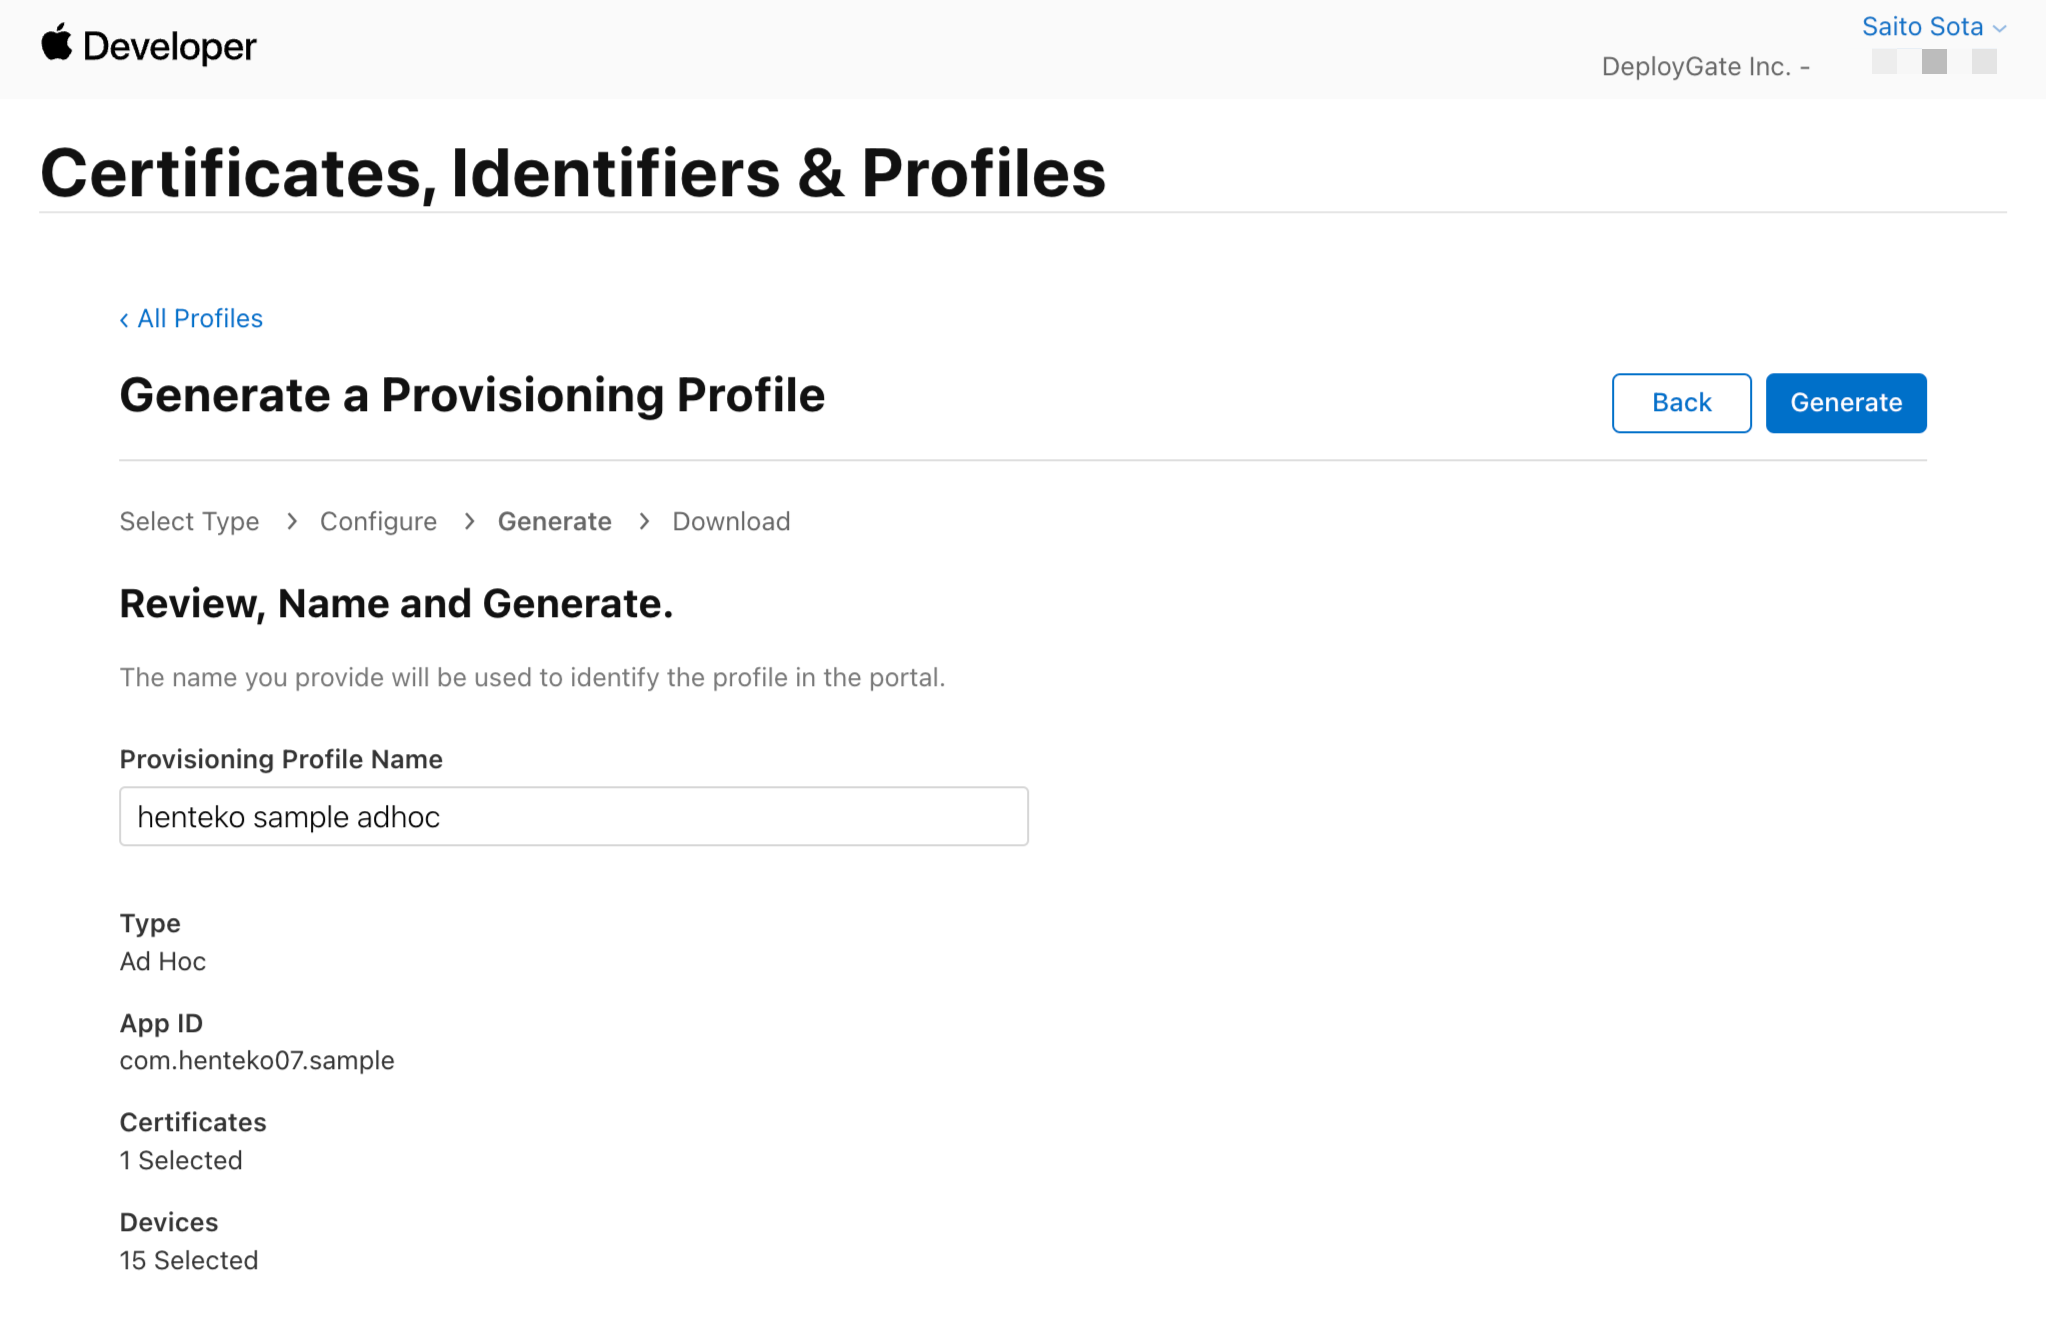
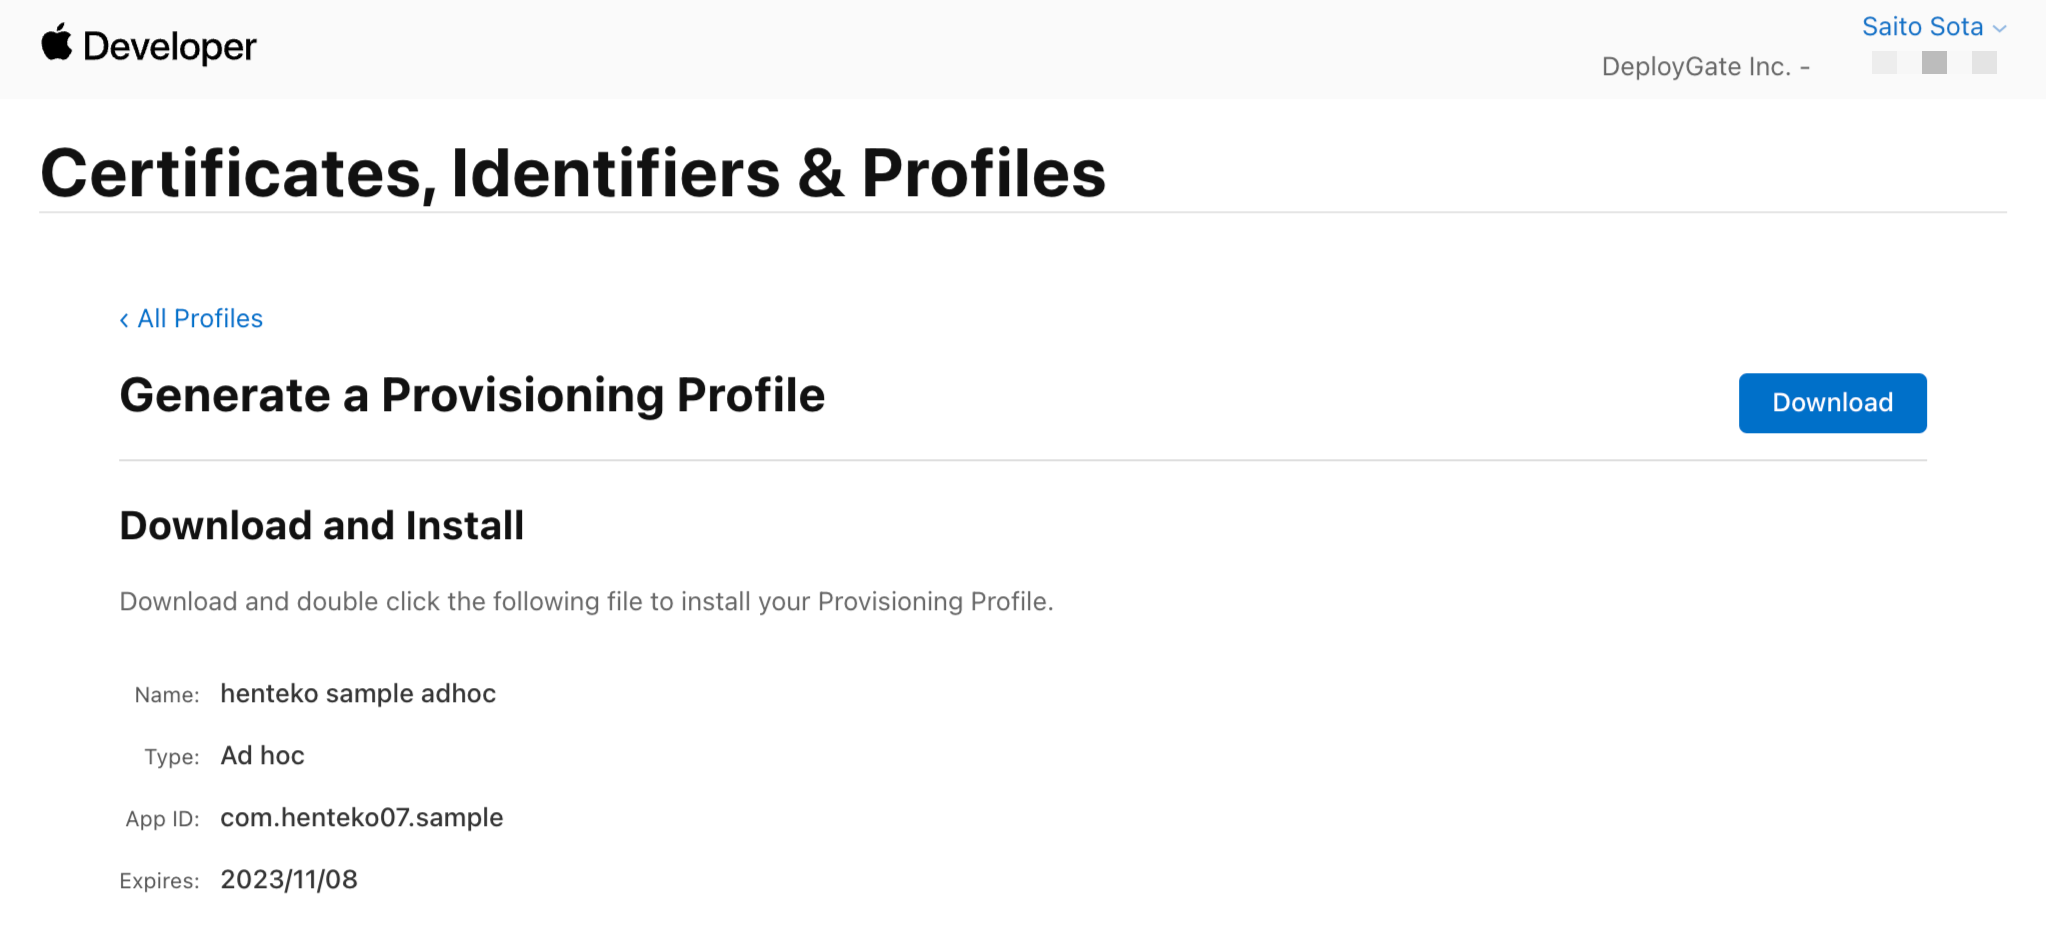
When you’re finished, download, click, and install.
7. Archive (Revisited)
First, click on the "Archive" menu
If you encounter problems from this point forward, first check to see if you (your Apple ID) is set as the app creator.
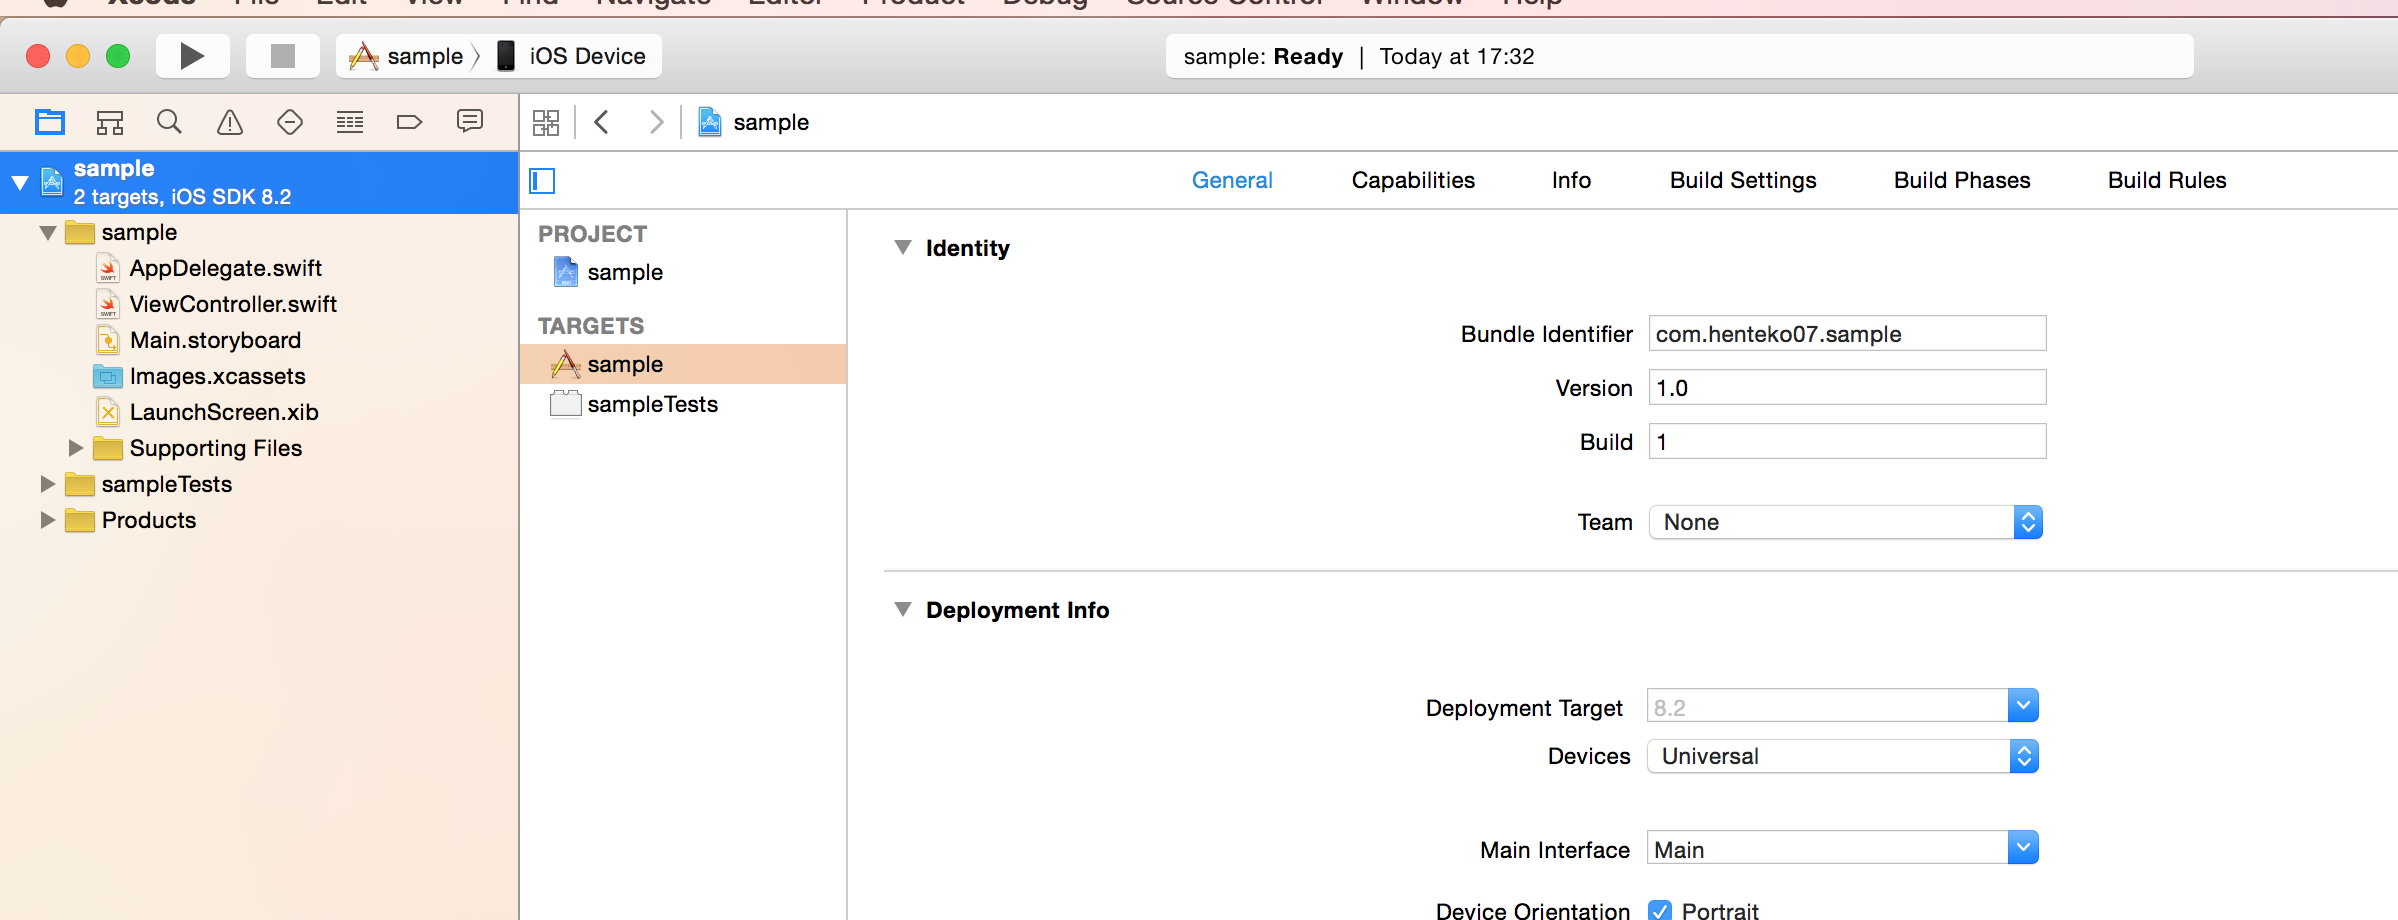
The "Team" shown here doesn’t necessarily indicate a group of multiple people. If you are the only developer associated with the Apple ID (always with the individual iOS Development Program), you are the account’s "Agent," "Admin," and "Member" per Apple.
The "Organizer" launches once the archive is successful.
Select the app you just archived and click on "Export..."
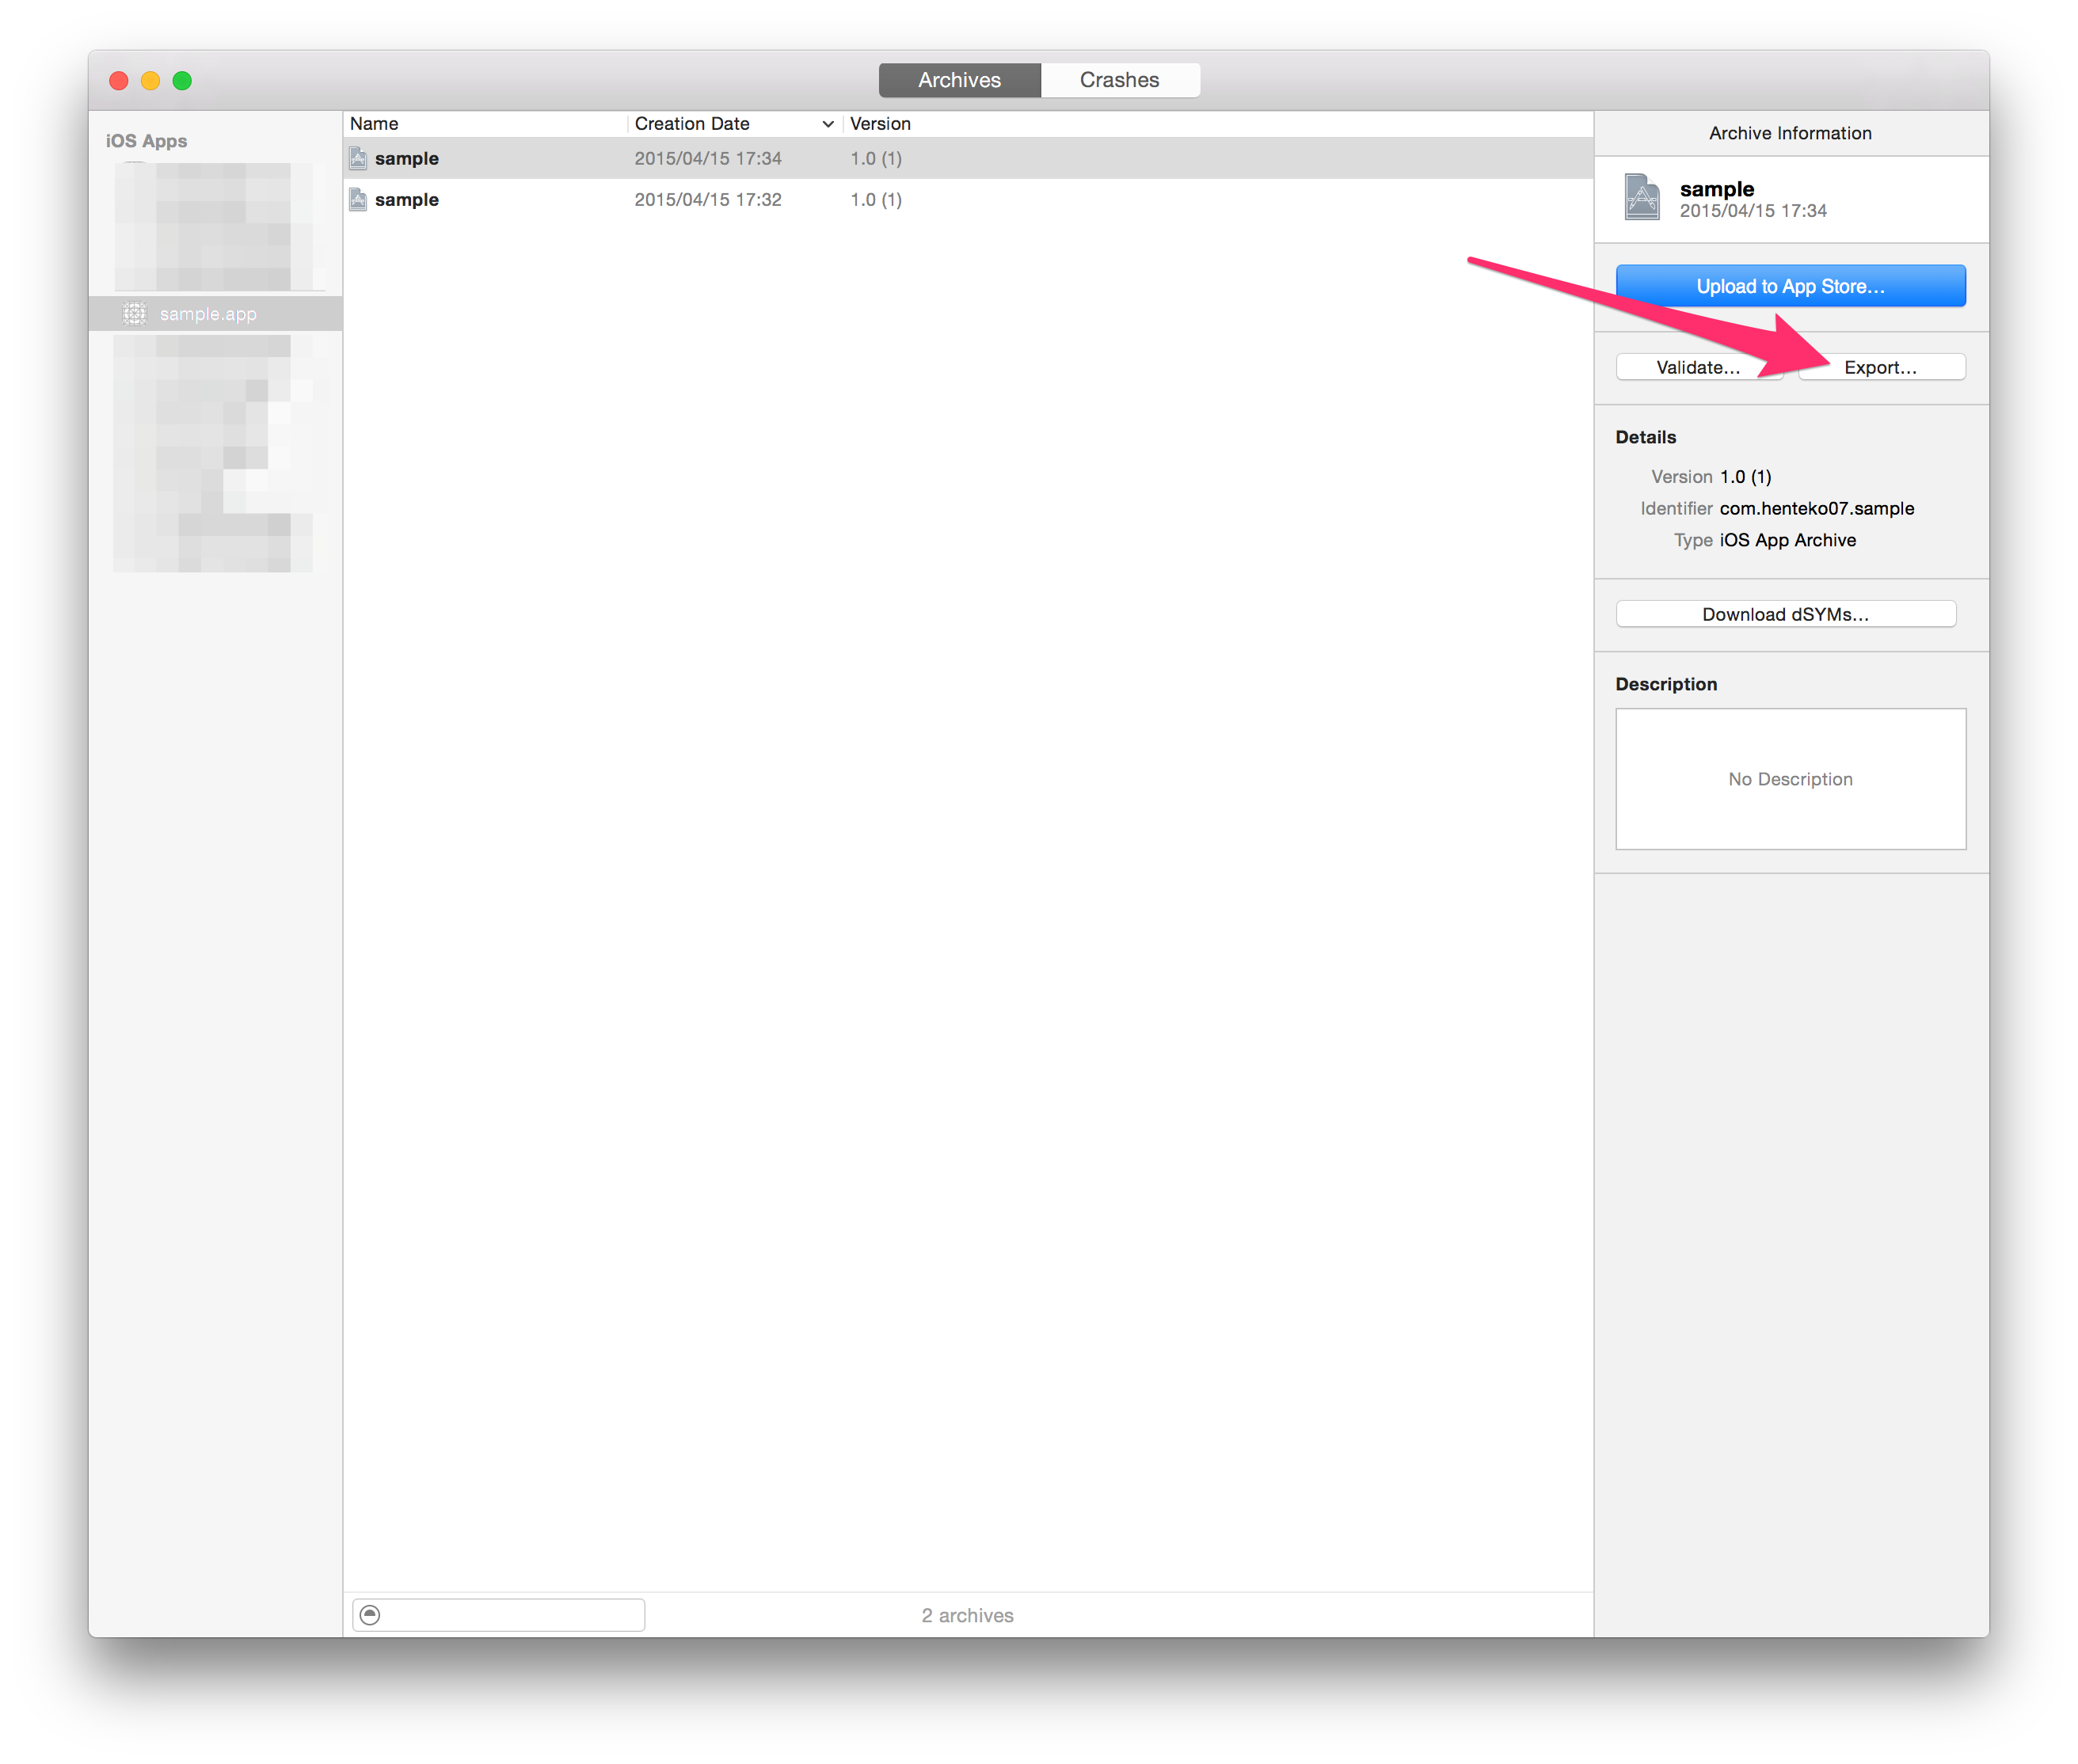
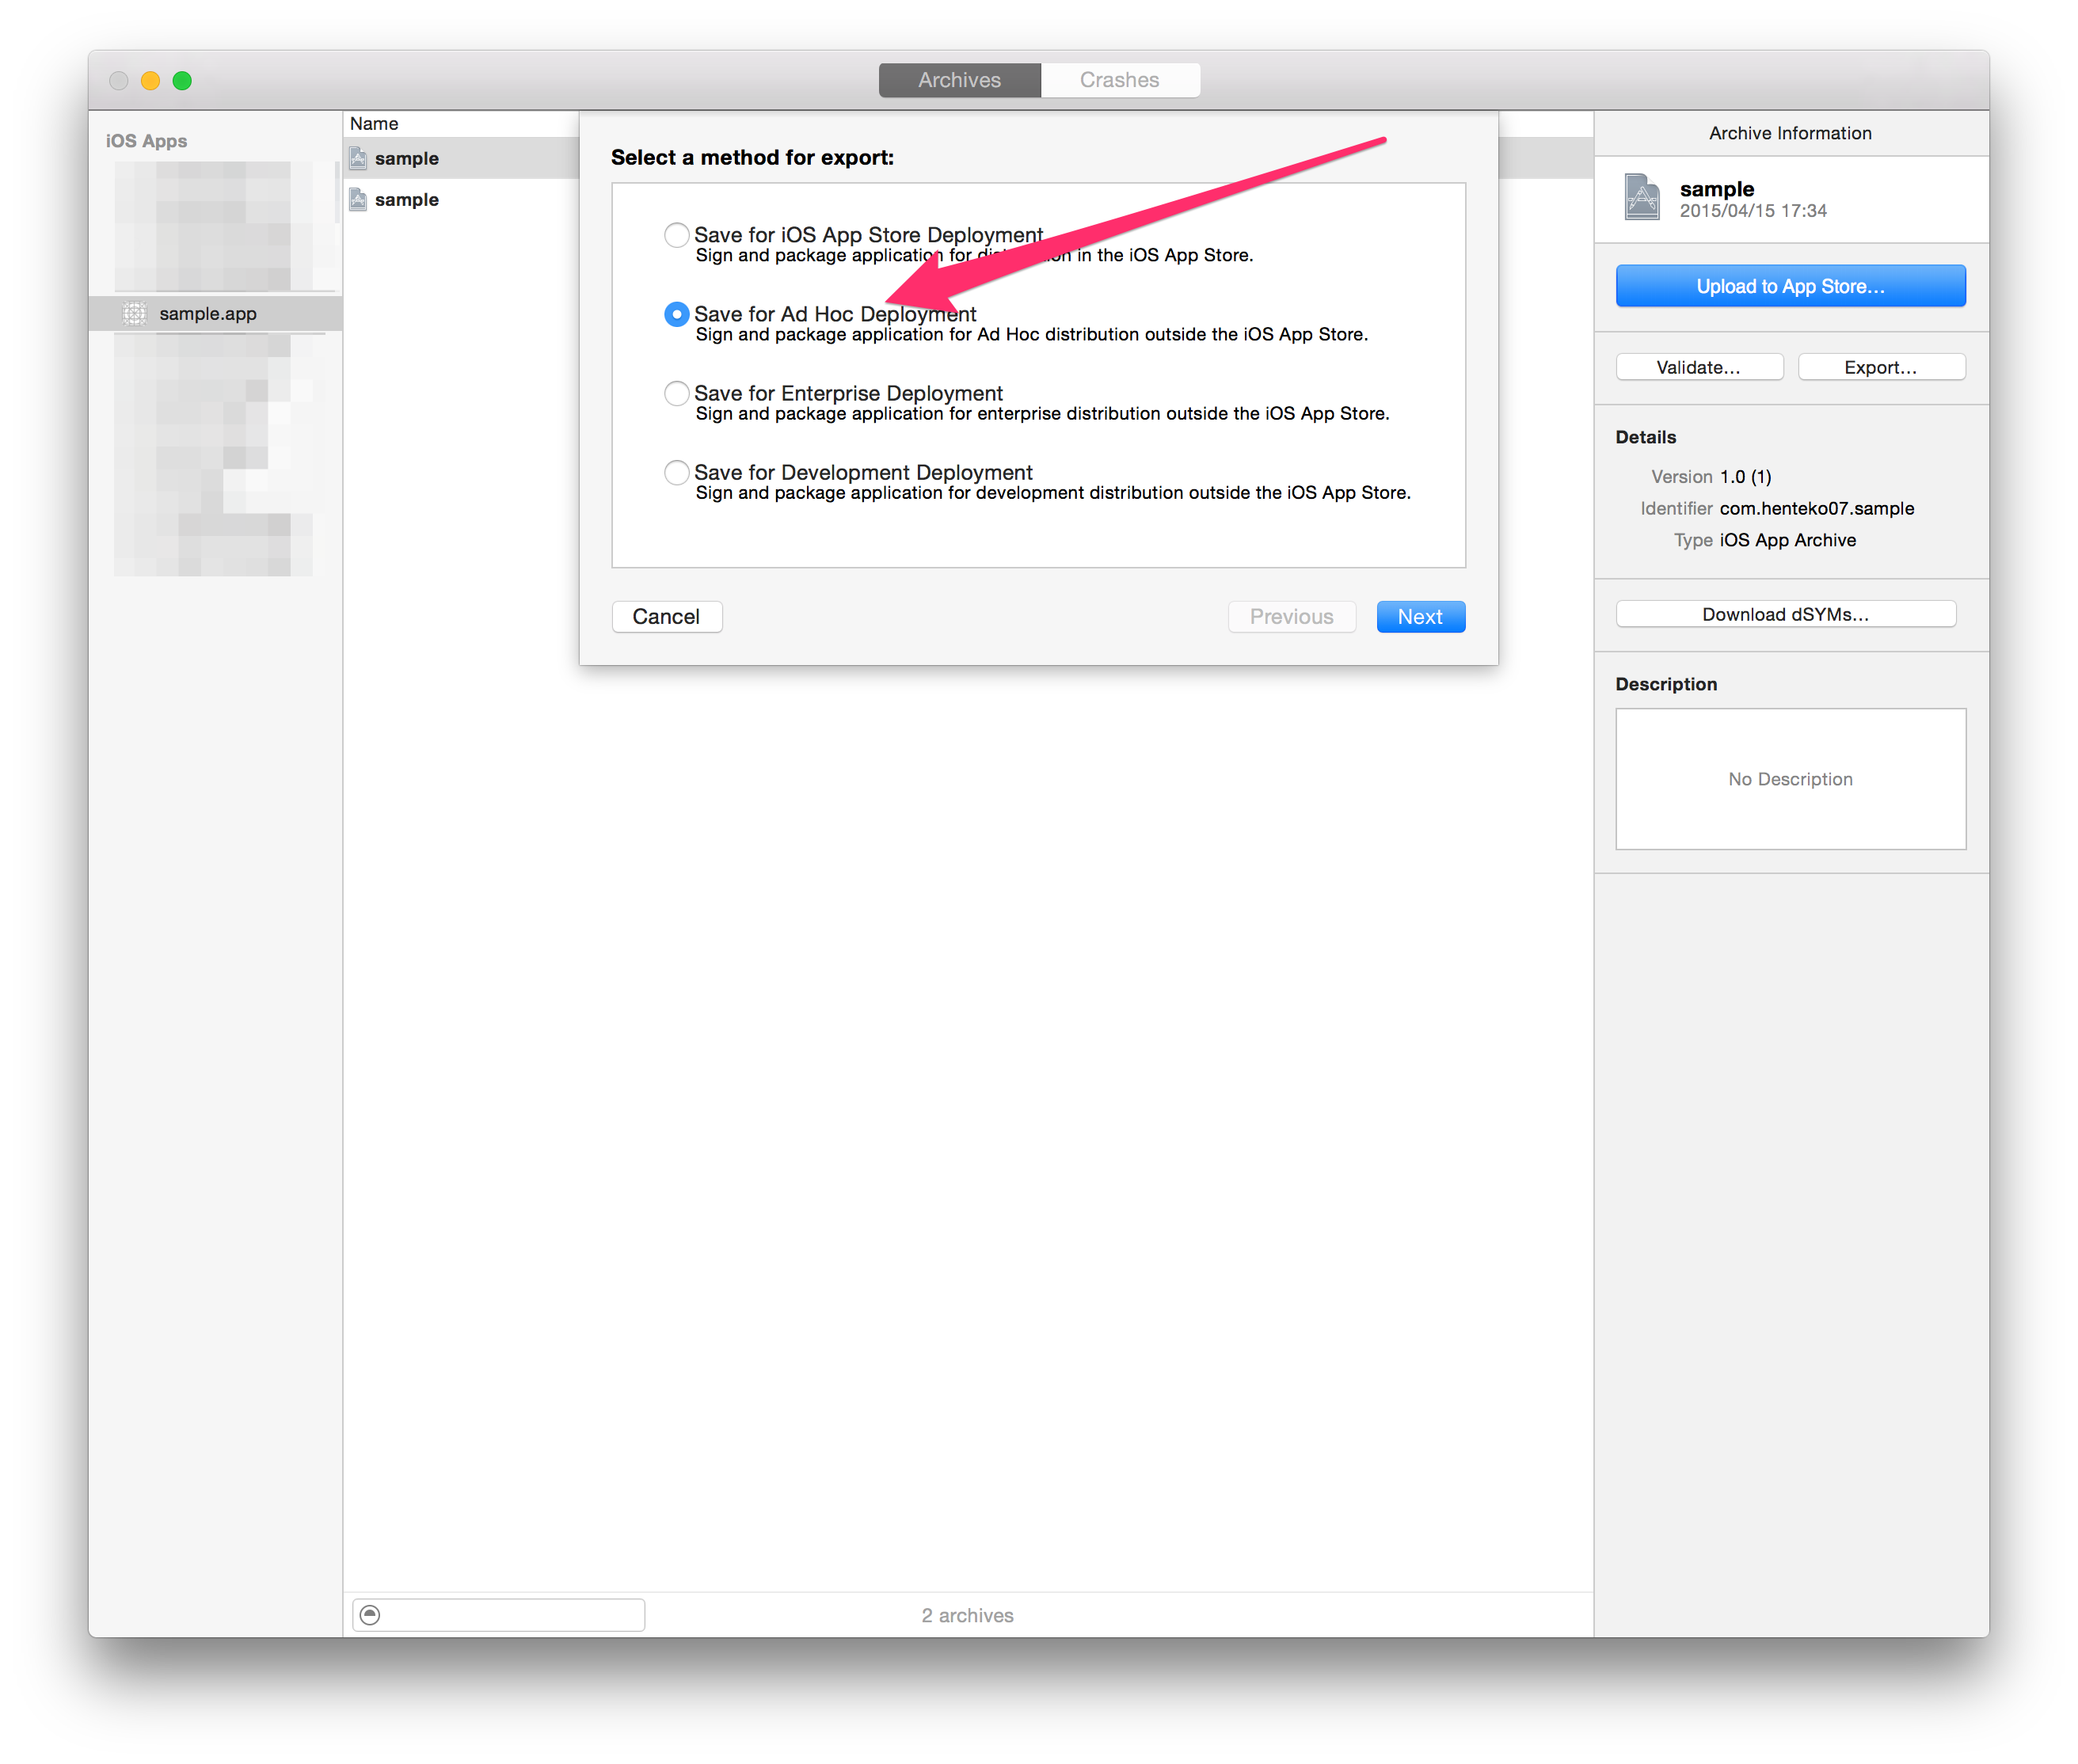
Select "Save for Ad Hoc Deployment" to proceed.
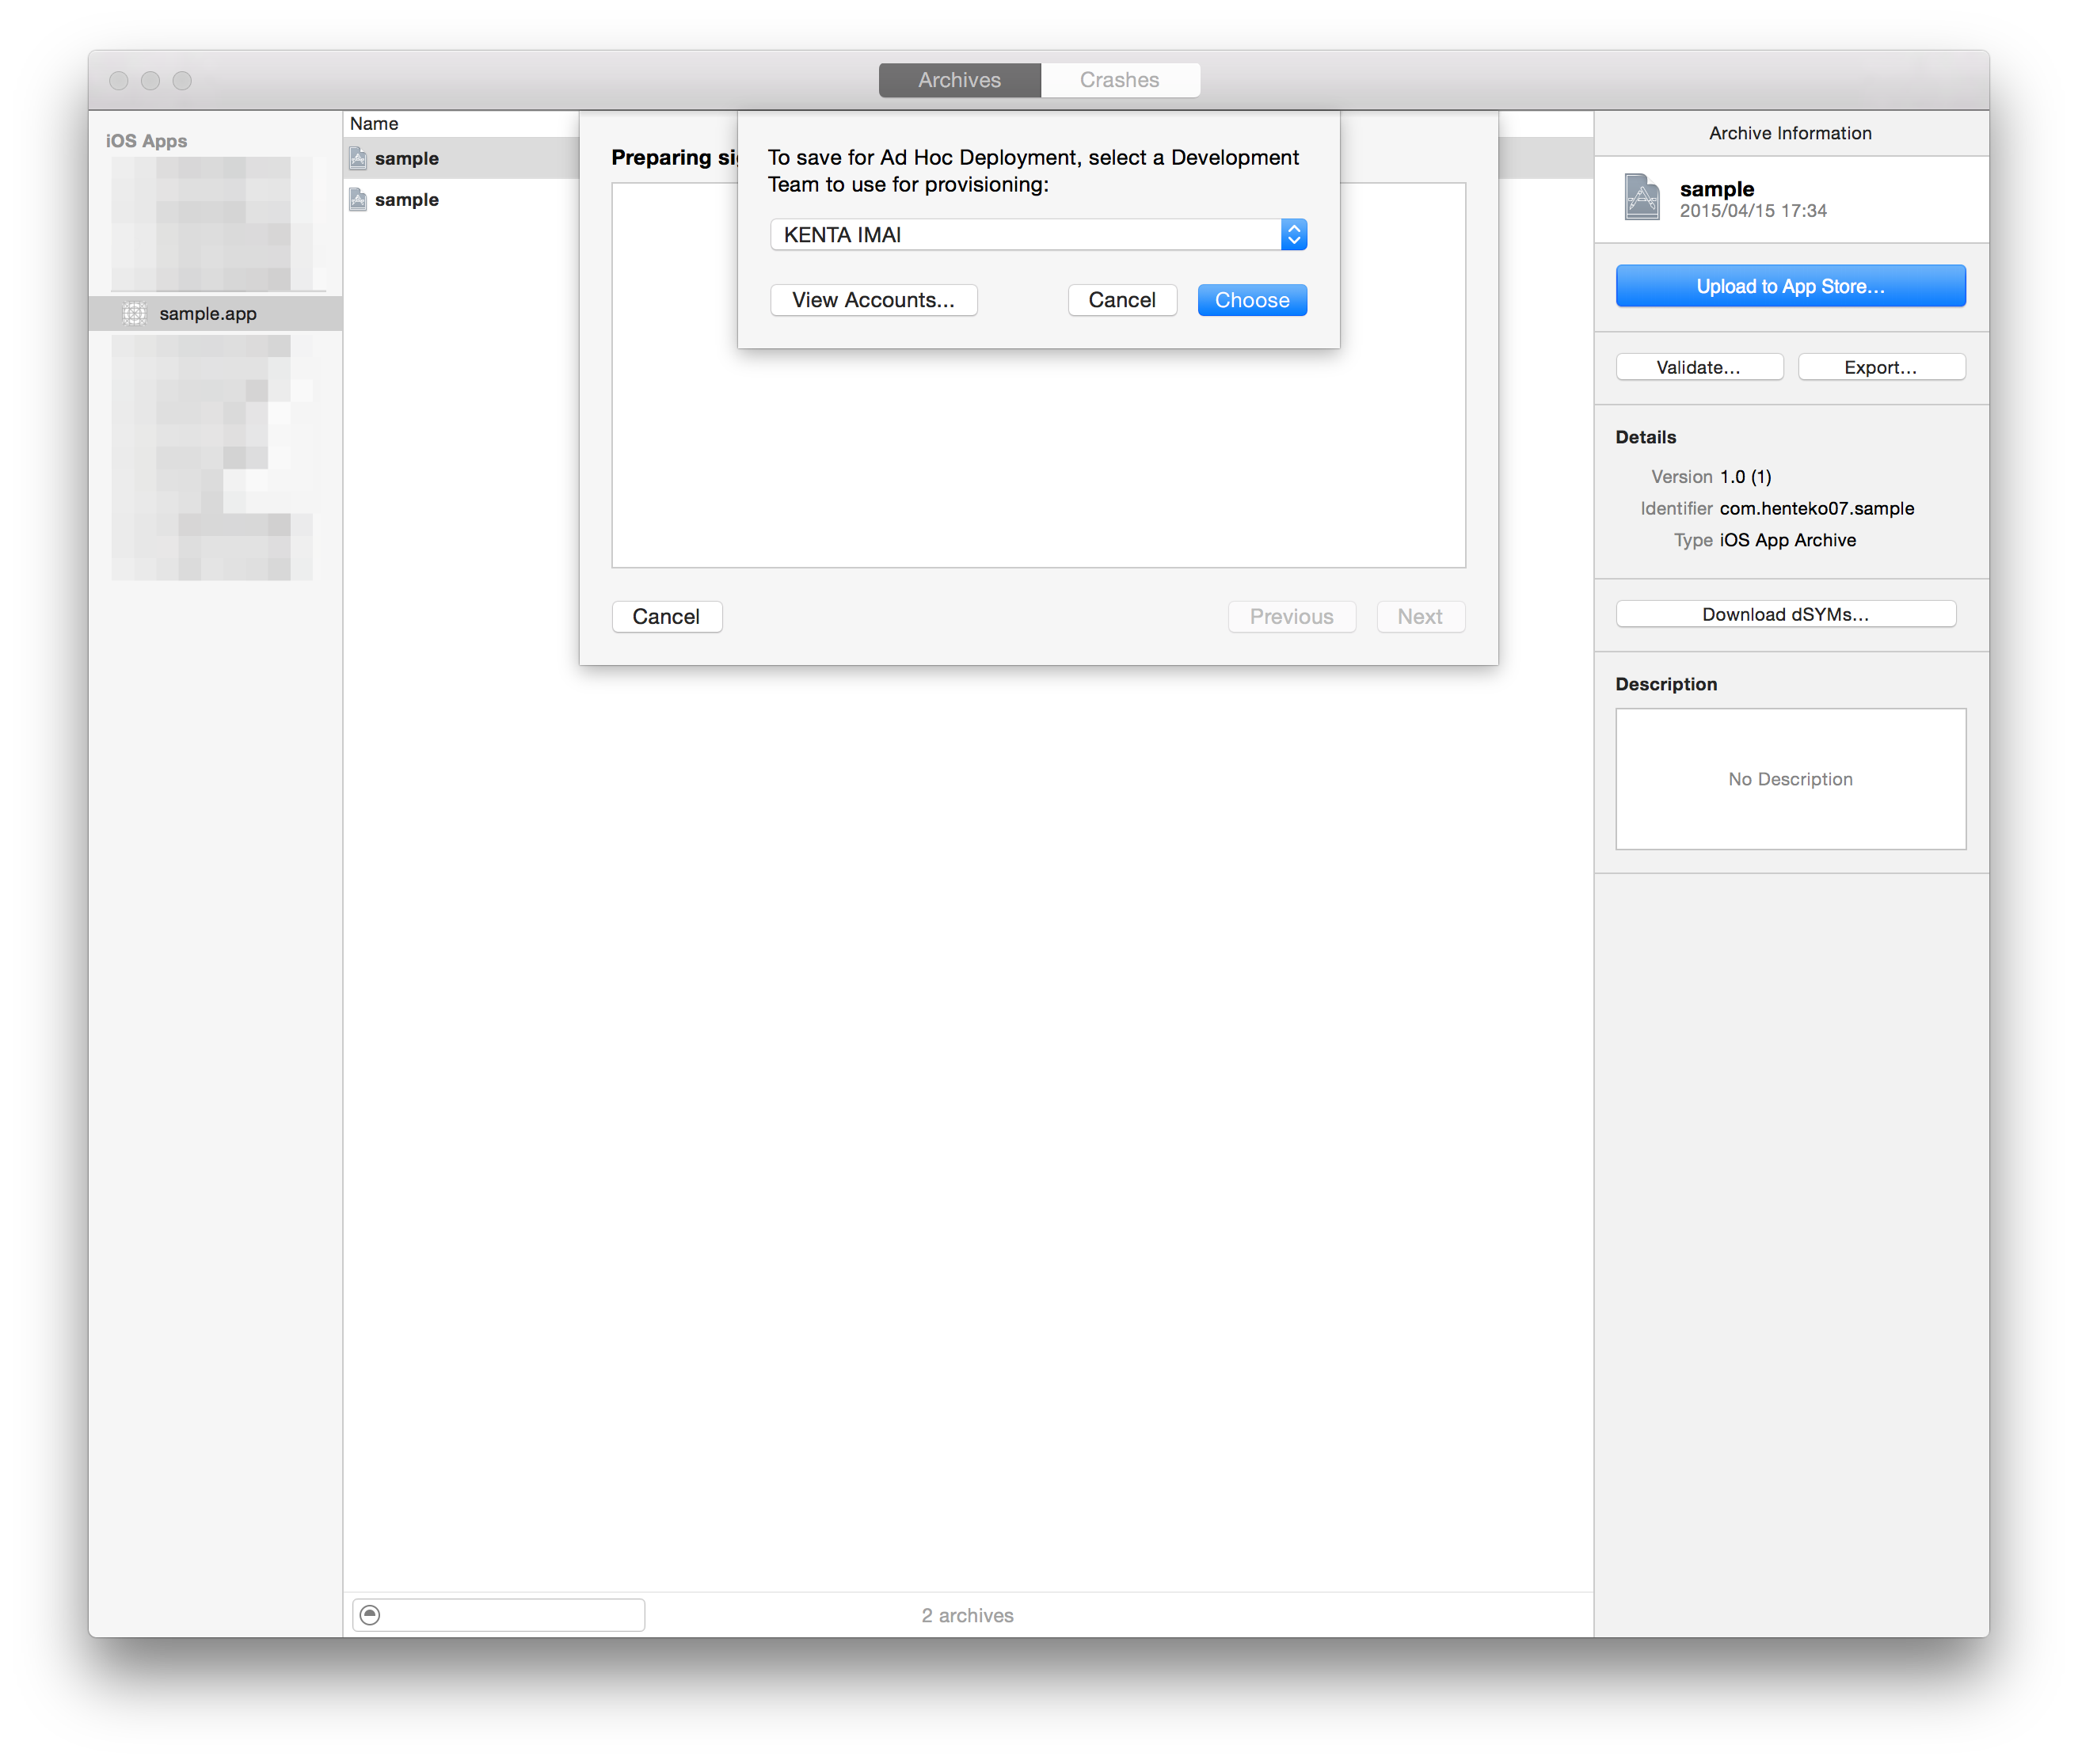
Select your Apple ID and click on "Choose."
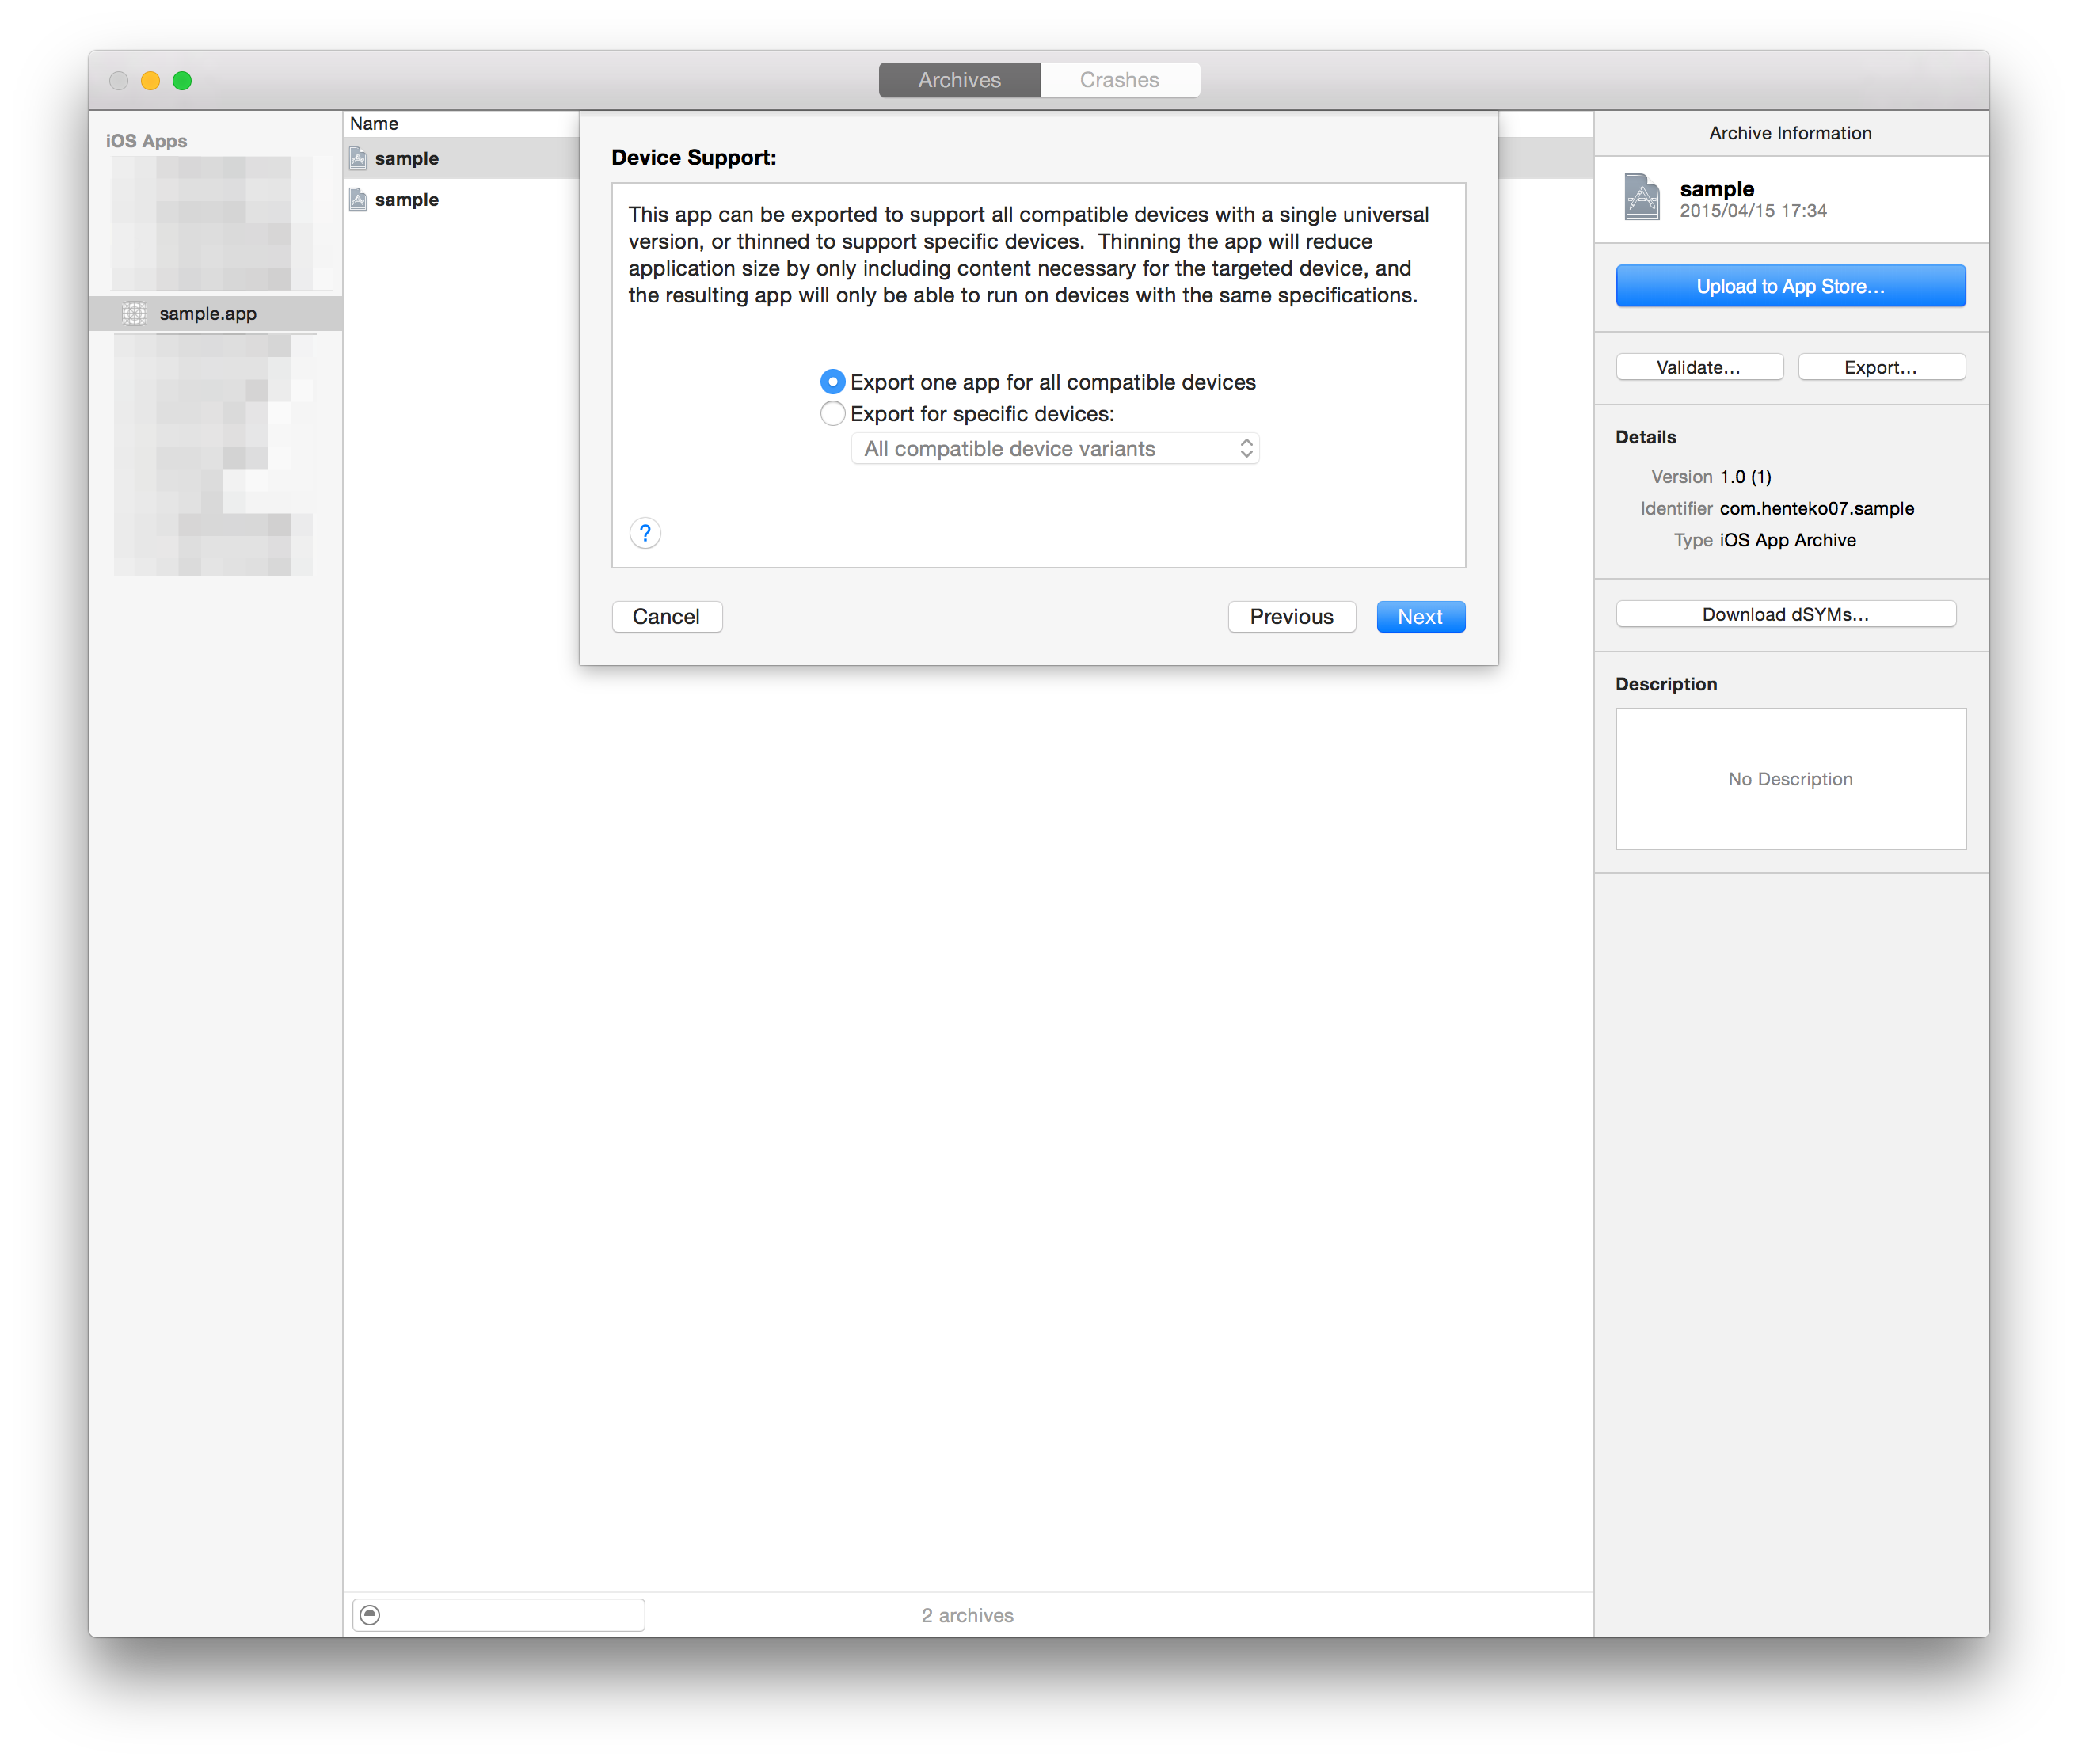
Click on the "Next" button to create the IPA.

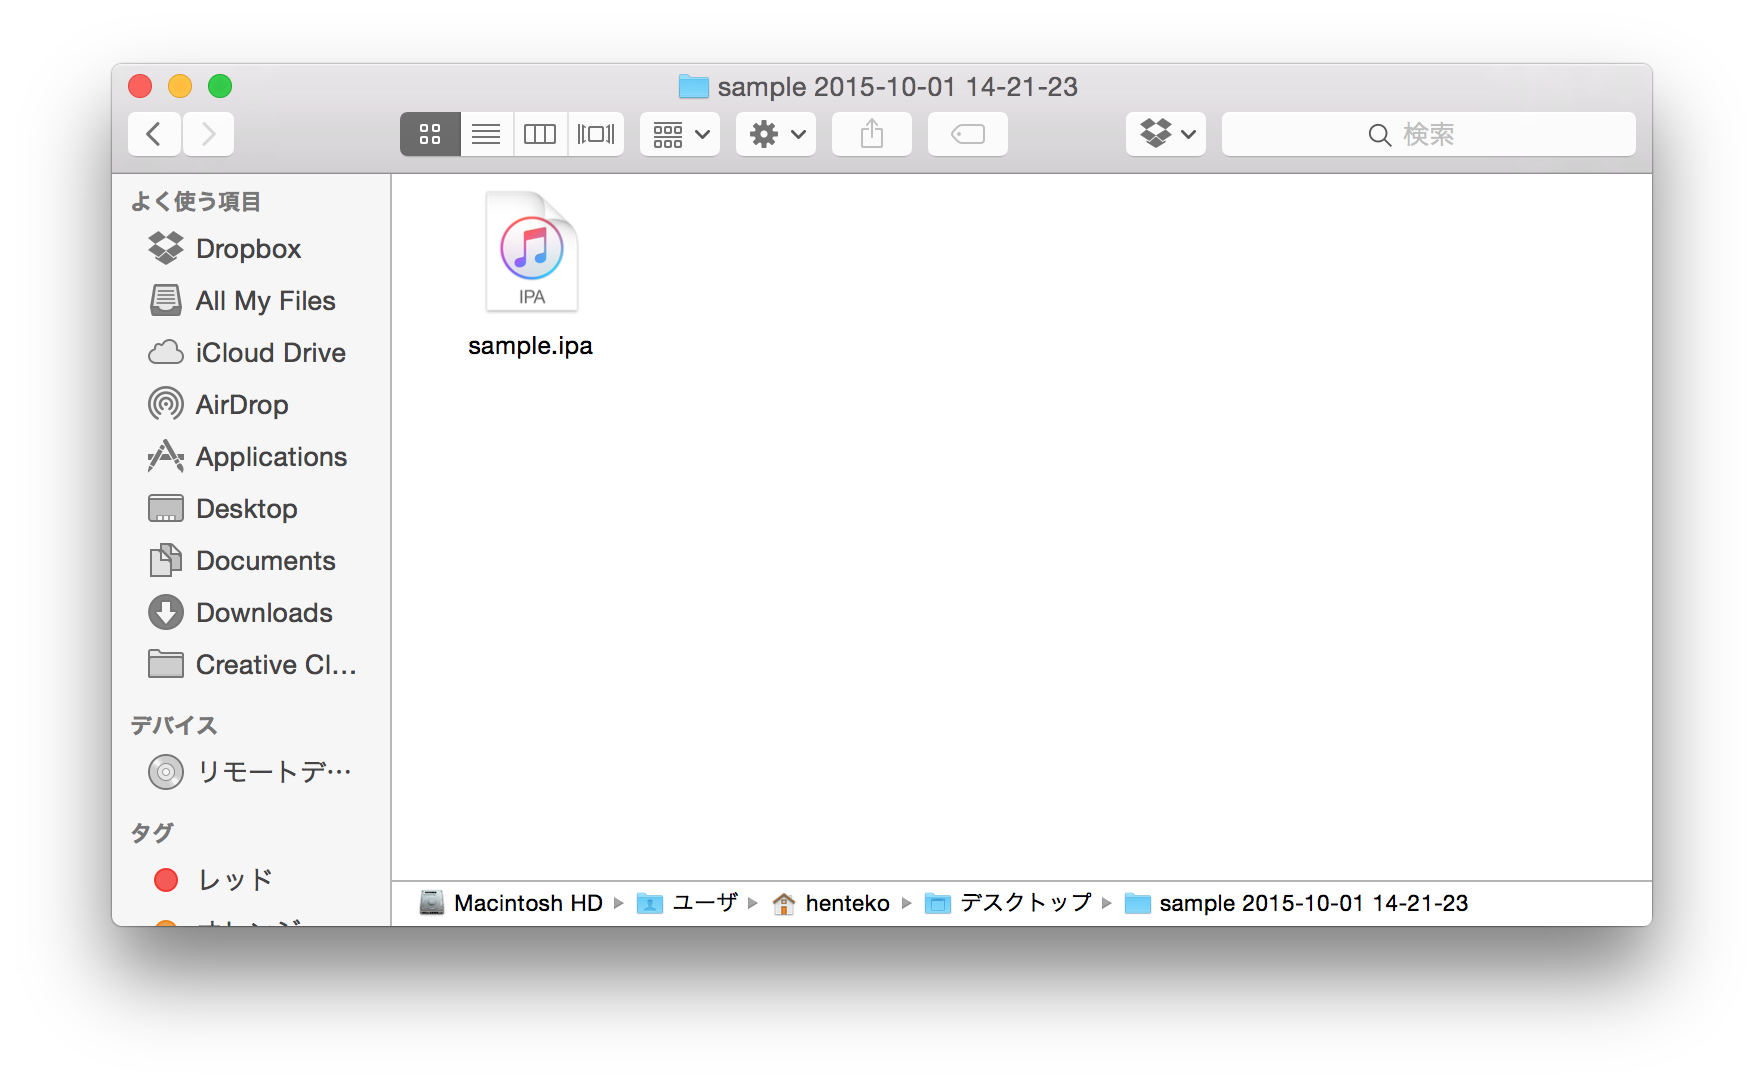
The "Finder" automatically launches, and you should be able to view the IPA file.
Upload the IPA file to DeployGate.