Getting Started with the DeployGate Agent Plugin
This guide takes you from installing the plugin to your first upload. The whole flow takes about 5 minutes for Android, or 10–15 minutes for iOS (the iOS provisioning step is the slowest part).
Prerequisites
- One of Claude Code or Codex, installed and signed in
- A project that can produce an Android (APK/AAB) or iOS (IPA) build. If you don't have the source at hand, a pre-built binary works too
- A DeployGate account is not required up front — the guided setup will walk you through signing up if needed
You do not need to install Node.js or paste an API token anywhere. The plugin runs as a self-contained MCP server, and login happens in your browser.
1. Install the plugin
Claude Code — run these two commands inside the agent:
/plugin marketplace add DeployGate/deploygate-agent-plugin
/plugin install deploygate@deploygate-marketplace
Codex — register the marketplace from your shell, then enable the deploygate plugin from within Codex:
codex plugin marketplace add DeployGate/deploygate-agent-plugin
After installation, the deploygate:* commands become available — /deploygate:setup in Claude Code, $deploygate:setup in Codex.
The rest of this page uses Claude Code's /deploygate:* syntax. If you are on Codex, substitute $deploygate:* (e.g. $deploygate:setup for /deploygate:setup).
2. Run the guided setup
For first-time users, the recommended starting point is the guided onboarding command:
/deploygate:setup
This single command walks you through everything you need to ship a build to your team:
| Step | What happens |
|---|---|
| 1. Sign in | Sign up if needed, then approve a one-tap login in your browser |
| 2. Upload your app | Build your project and upload the IPA / APK / AAB |
| 3. Create a distribution page | Get a shareable URL for testers (Development / QA / Beta) |
| 4. Connect notifications | Optionally route upload / install notifications to Slack, Microsoft Teams, or Chatwork |
| 5. Register iOS testers | iOS only: collect tester device IDs and rebuild with the updated provisioning profile |
A progress indicator is shown at every step, and you'll be asked before any decision (which page to create, which notification channel to use, and so on). You can stop at any point and resume later.
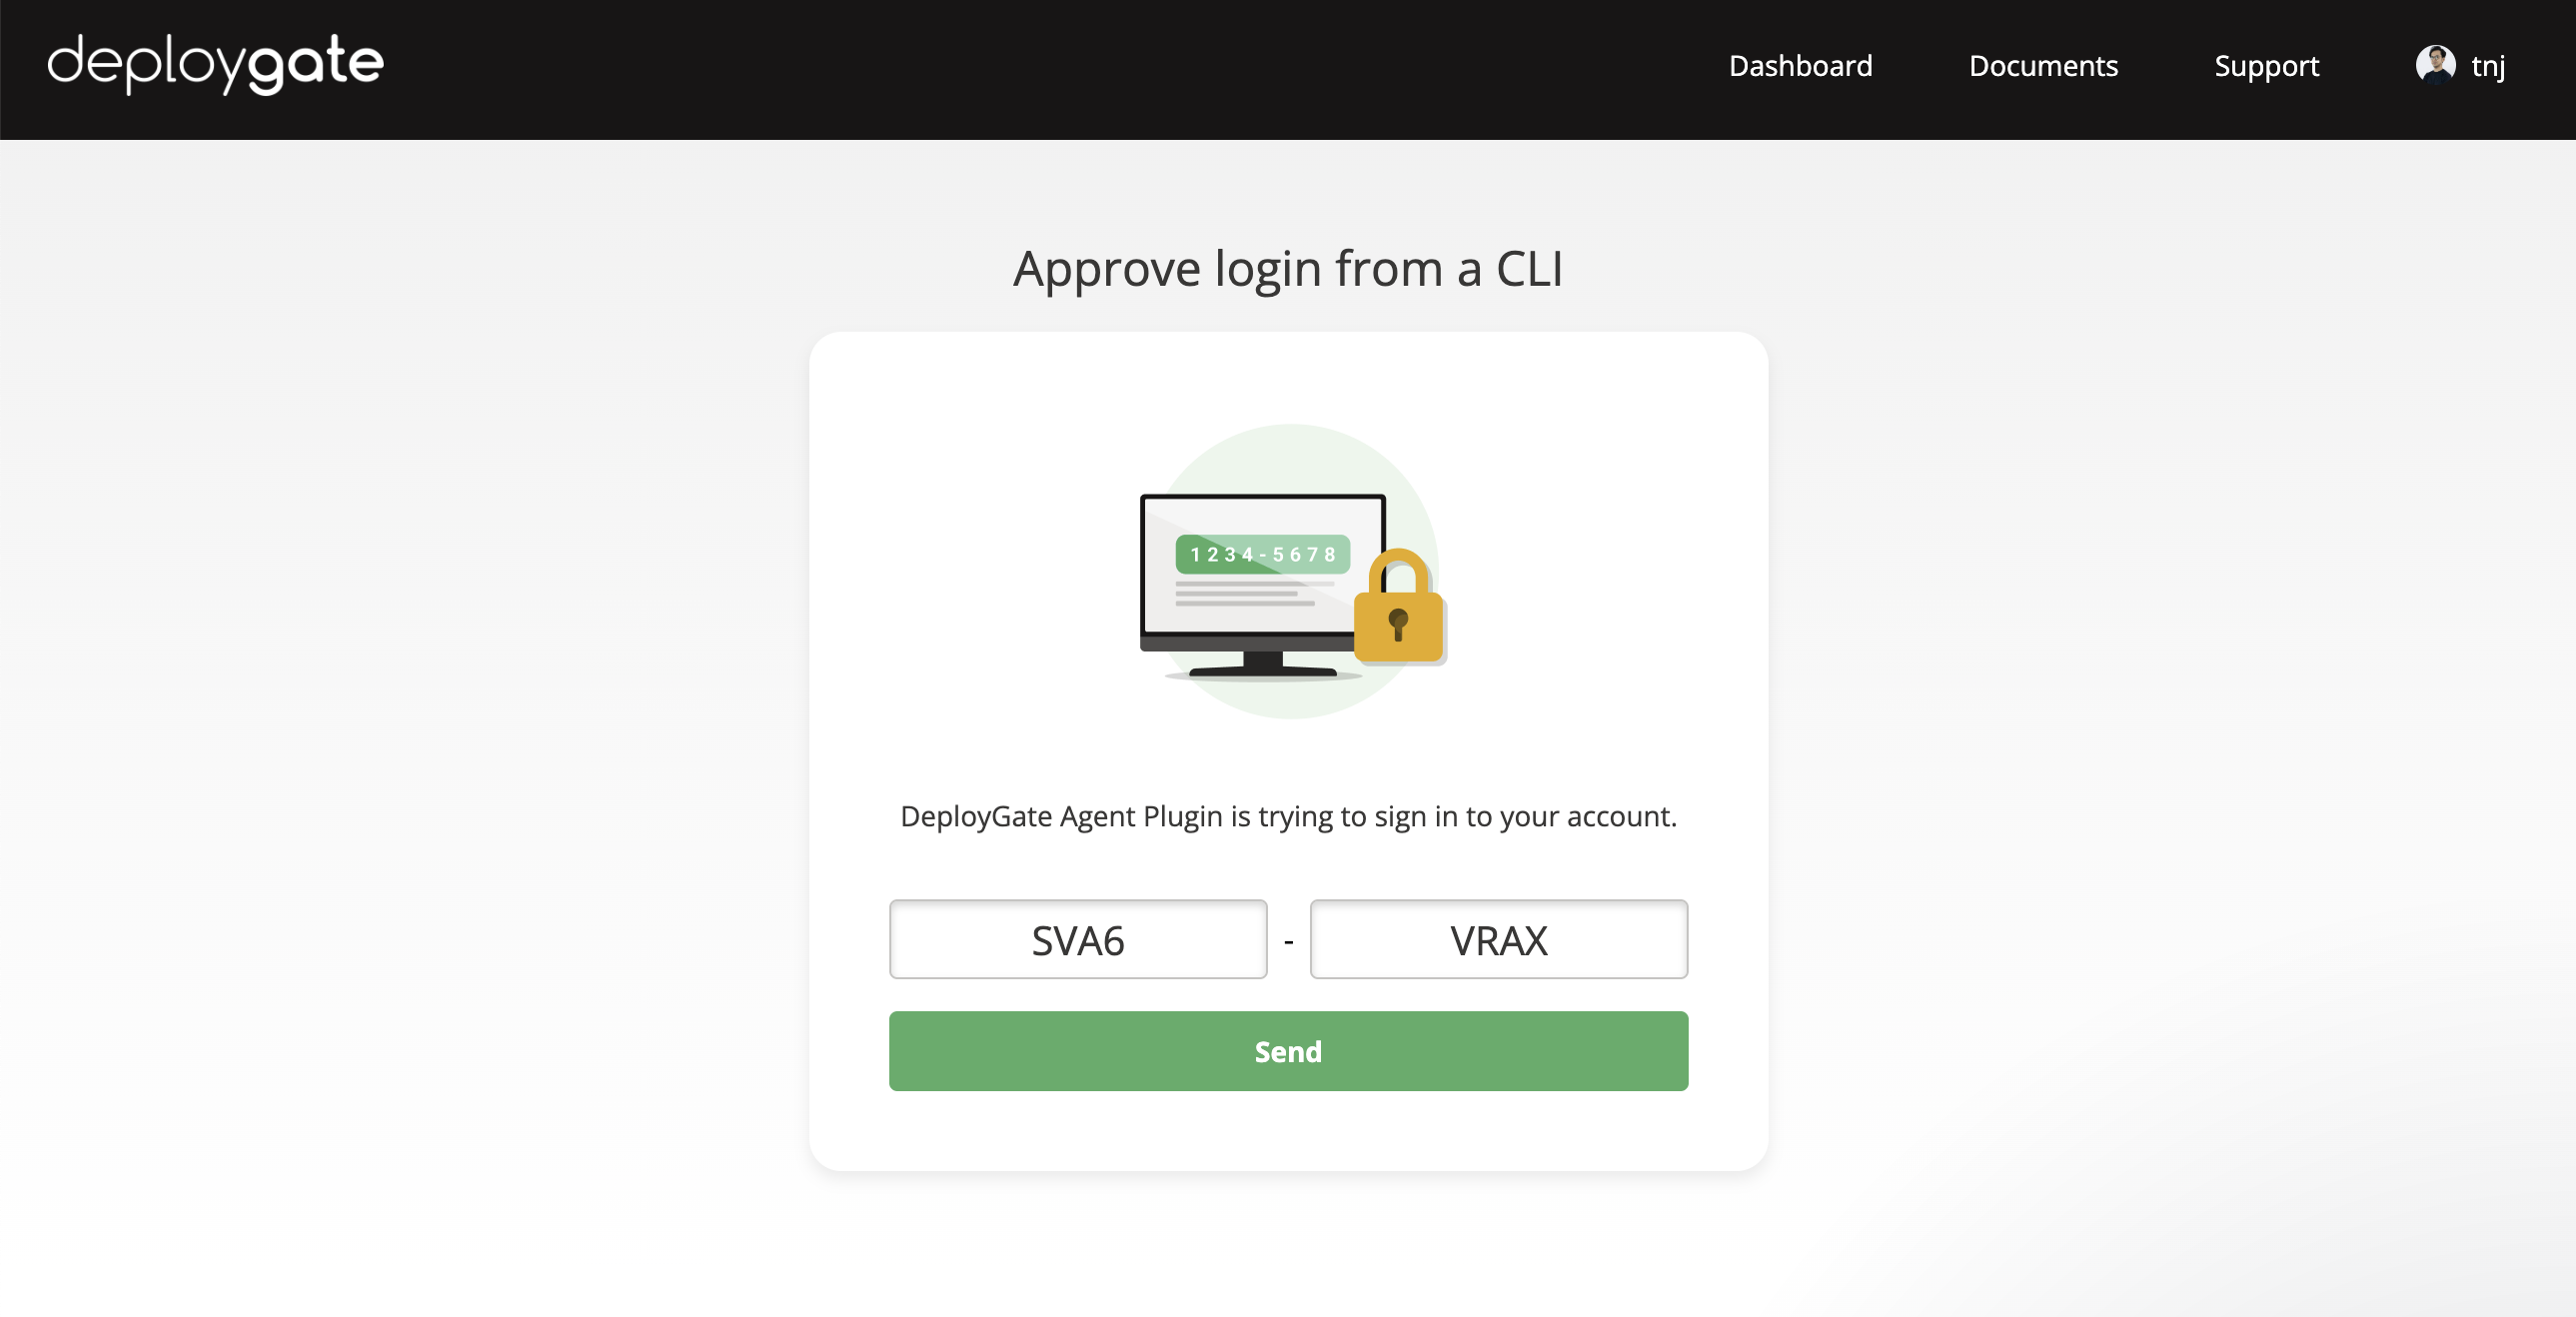
3. About the login
When the guided setup reaches the sign-in step, it will display a short URL together with a verification code. Open the URL in a browser where you're signed in to DeployGate, confirm the code on the page matches what your agent showed, and click Send to approve.
The login persists across future agent sessions, so you only do this once per machine. To sign out, ask the agent to run the logout tool.
For CI workflows, do not reuse this personal login — see Set up CI/CD below.
4. Deploy follow-up builds
Once setup is complete, subsequent uploads are a single command:
/deploygate:deploy
This builds your app, uploads it, and posts the new revision to whatever distribution page you set up earlier. To target a specific distribution page, pass its name or key:
/deploygate:deploy to "Beta"
/deploygate:deploy to key:abc123def456
If something goes wrong (iOS code signing, a tester who can't install, missing configuration), /deploygate:deploy will hand you back to /deploygate:setup, which knows how to fix these cases.
5. Set up CI/CD (optional)
To upload from CI on every push, run:
/deploygate:ci-setup
The command detects your existing CI configuration (.github/workflows/, bitrise.yml, .circleci/config.yml, codemagic.yaml) and generates the right workflow. For GitHub Actions it installs one or both of the bundled templates:
deploygate-upload.yml— upload on every push to your main branchdeploygate-pr.yml— a per-PR distribution page with a QR code, automatically cleaned up when the PR closes
The command also walks you through adding the required repository secrets. For CI, use a project API key (issued from https://deploygate.com/organizations/{PROJECT_NAME}/settings/api_key) rather than a personal one — that way the workflow keeps working even when team members come and go.
See GitHub Actions Templates for the full template details and customization checklist.
6. Add the Android SDK (optional)
To enable crash reporting, remote logging, and screen-capture bug reports on Android:
/deploygate:sdk-setup
The command adds the SDK with a debug/release split — the real SDK is included only in debug builds, and a no-op stub is used for release. No initialization code is required for typical apps.
The DeployGate SDK for iOS is currently being redesigned and is not recommended for new projects. App distribution, Instant Device, and notifications all work without the SDK on iOS.
Troubleshooting
The login URL expired before I could approve it. The verification code is valid for 5 minutes. Just run the previous command again to get a fresh URL.
A command says I need to log in again. Your saved login is no longer valid (for example, you signed out from the DeployGate web UI). The plugin will prompt you to log in again — just follow the new URL.
iOS testers can't install the build. Their device IDs are not yet in your provisioning profile. Run /deploygate:setup again — it will collect the missing IDs, regenerate the profile, and re-upload the build for you.
Adding a member fails with a seat limit error. The Free plan allows 2 members. Upgrade your plan at https://deploygate.com/settings/plan.
Next steps
- Slash Commands — what each
/deploygate:*command does and when to reach for it - GitHub Actions Templates — full template details for CI customization