Set Up SAML with Microsoft Entra ID (Formerly known as Azure AD)
This document outlines the process to setup SAML with Microsoft Entra ID. This operation requires “Administrator” privileges.
Specify urn:oasis:names:tc:SAML:2.0:nameid-format:persistent for the format of Unique User Identifier (Name ID) and user.objectid for the value. For Additional claims, provide user.email as “email”.
Microsoft Entra ID supports SAML authentication, and you can manage DeployGate accounts using your company’s Microsoft Entra authentication infrastructure. For specific configuration instructions, please refer to the official Microsoft Entra ID document, “Quickstart: Add an enterprise application.”
Please see the following table for the corresponding values between Microsoft Entra ID and DeployGate.
| Microsoft Entra ID | DeployGate |
|---|---|
| Sign on URL | SSO URL |
| Identifier (Entity ID) | Entity ID |
| Reply URL (Assertion Consumer Service URL) | ACS URL |
| RelayState | Optional: Specify Enterprise's main page. Otherwise, omit. |
| Claim | Attribute |
After enabling SAML authentication, you must assign users to the application. Please assign DeployGate as a service provider for the account.
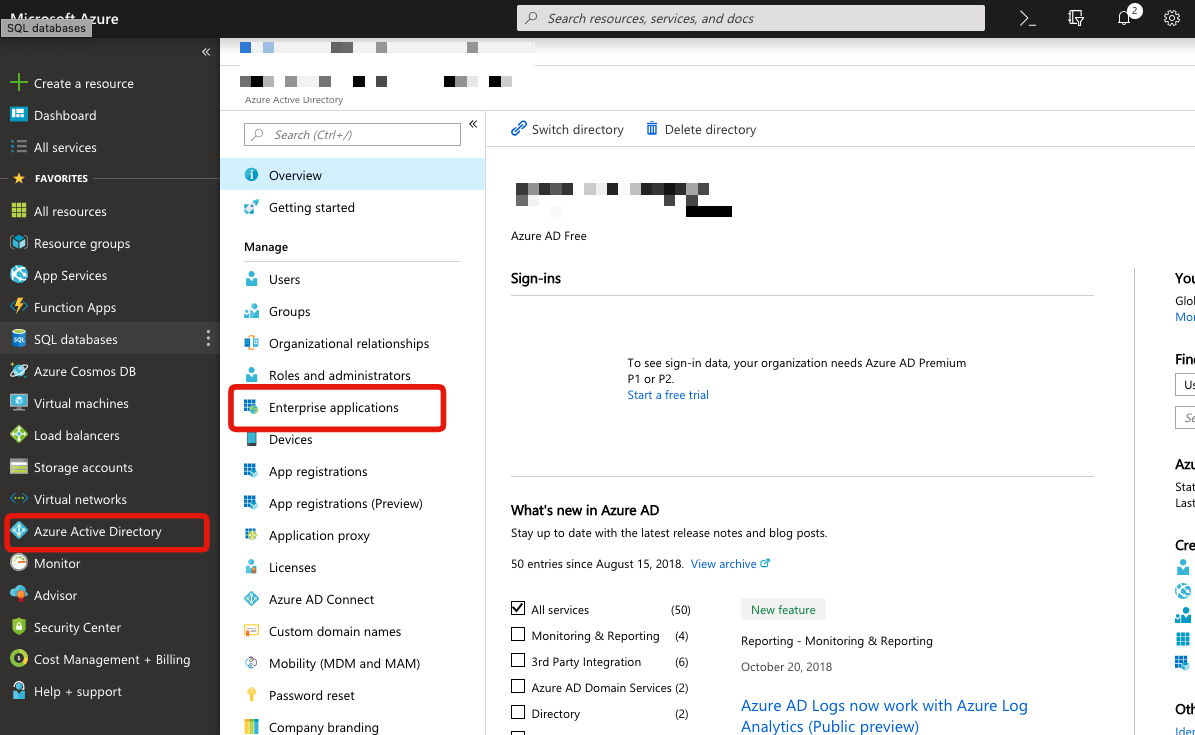
To register the app, go to Microsoft Entra ID, select Enterprise applications, and select Add an application.
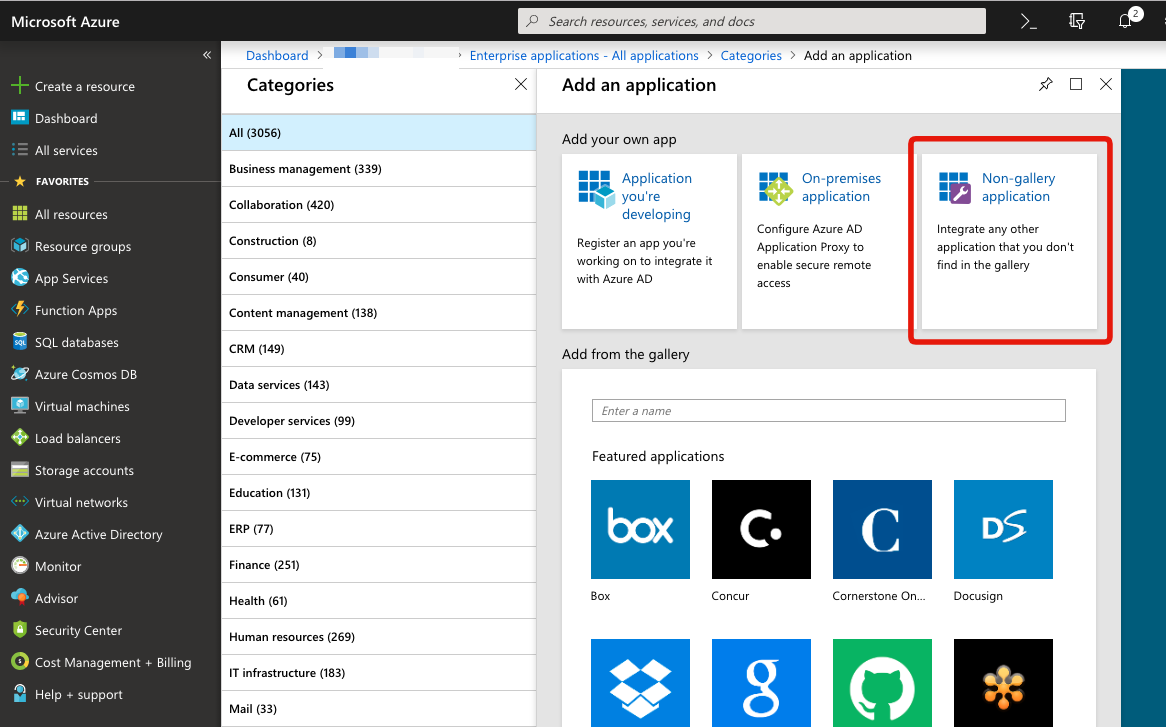 To register DeployGate, select “non-Gallery application” to configure the settings.