Add and Invite Member
On this page, we will explain how to invite a new member to your Workspace.
Inviting Members from the Workspace Admin Console
-
Login to DeployGate and choose your Workspace name at the upper right in the corner.

-
To add a member, visit the menu on the left of the Workspace Management Screen and open
Member Management.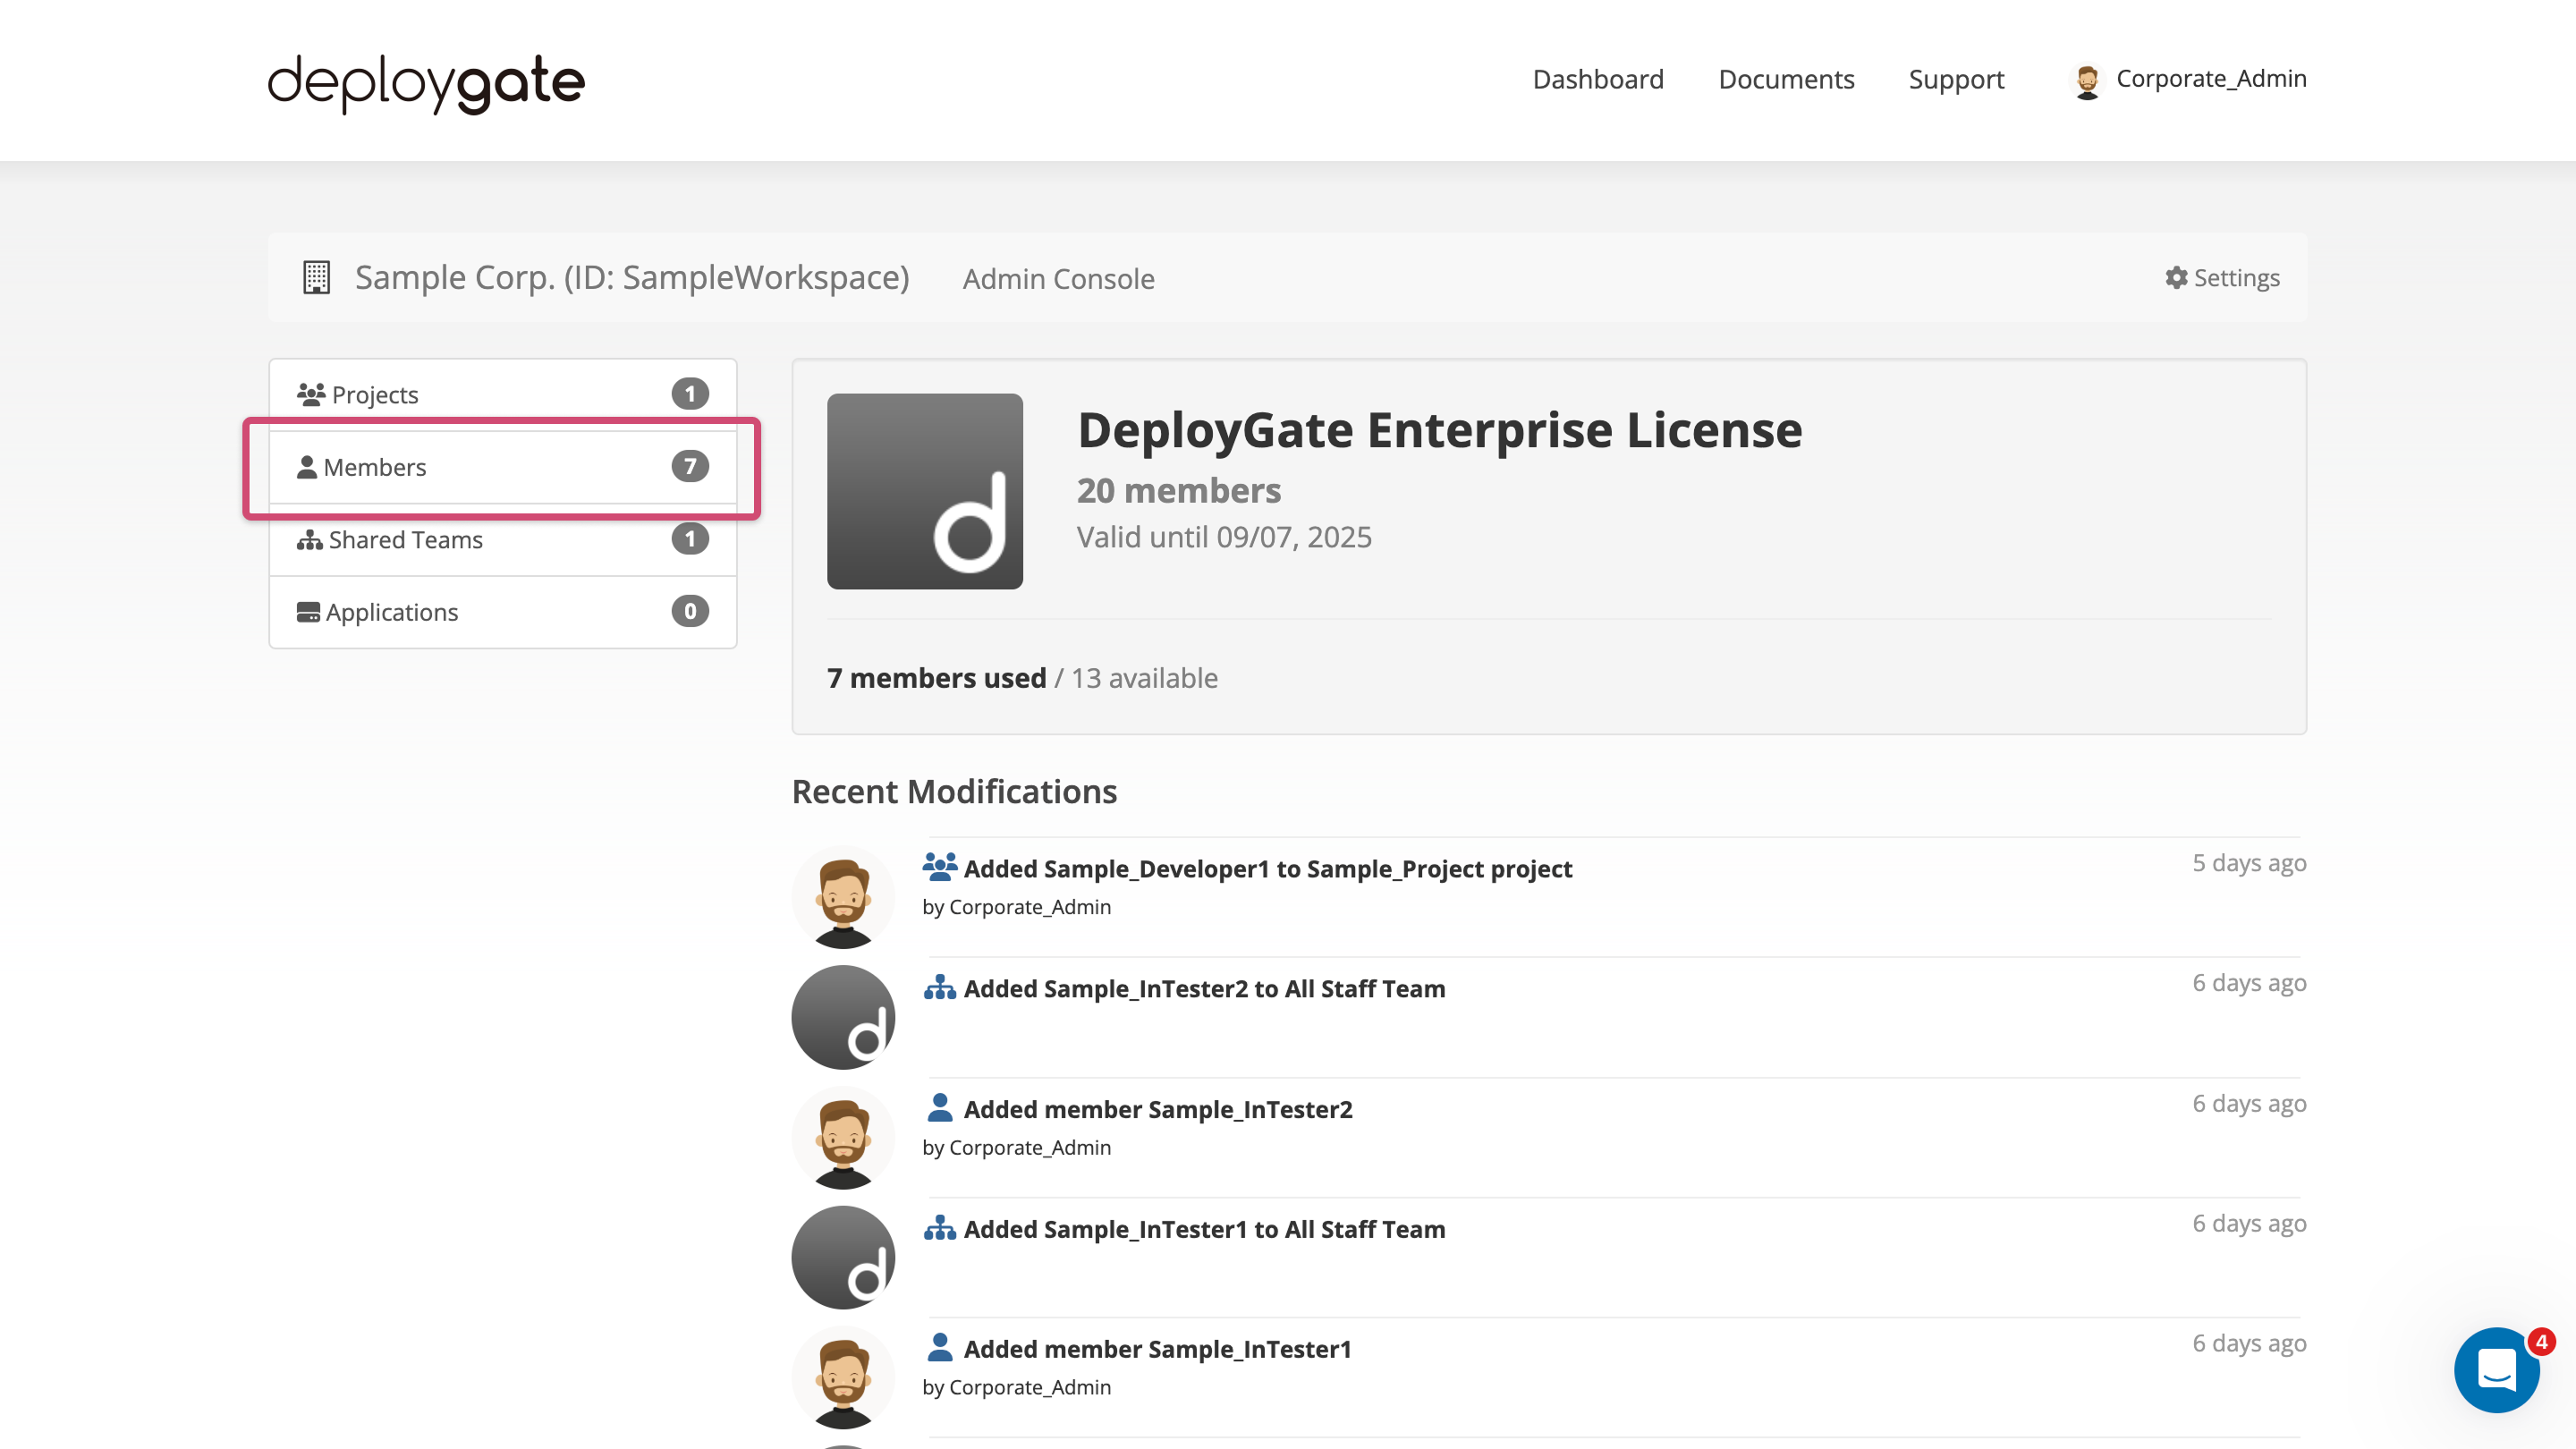
-
A member list will appear, and click
Invite New Memberon the top right of the list.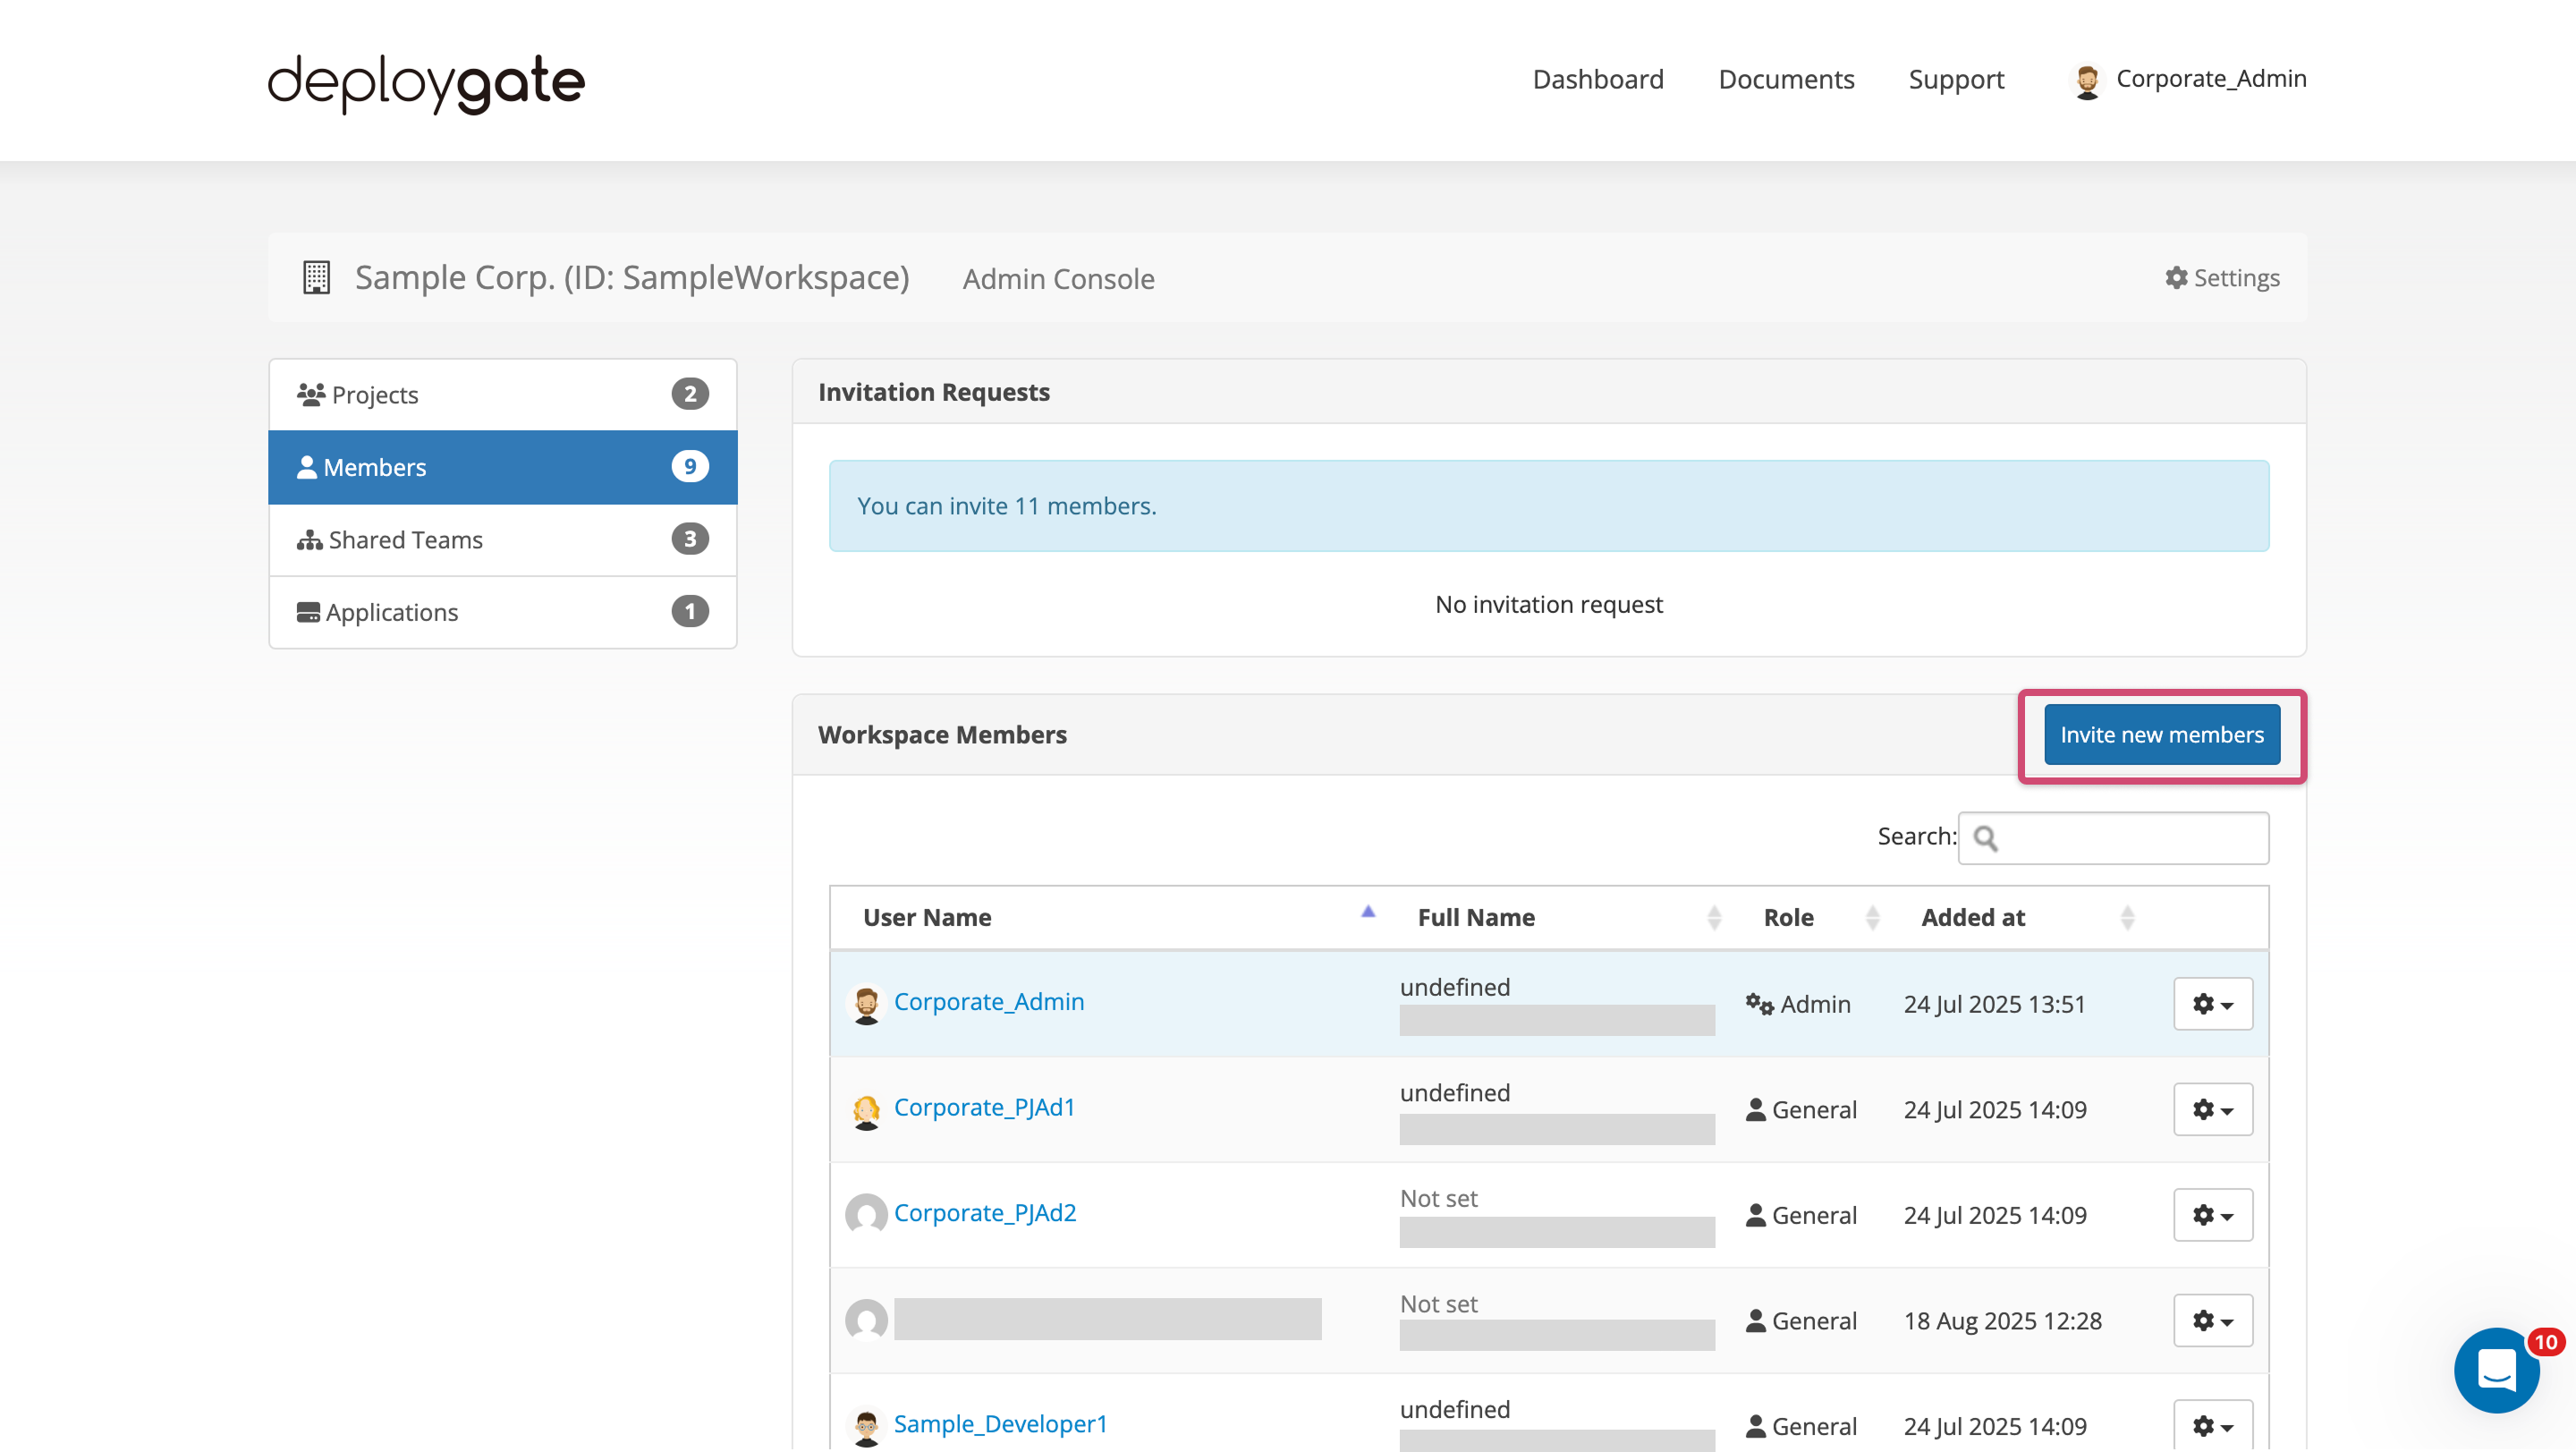
-
On the invitation form, enter the email address of the person to be added.
- If the email address is already registered with DeployGate, the full name field will not be displayed.
-
Select the
Invite New Memberbutton when completed. -
An invitation email will be sent and the member will be added to the member list.
- Once a new member creates a DeployGate account, their membername will be displayed instead of their email address.
- Existing DeployGate members will have their membername displayed.
- The member can be added to organizations and have their administrative permissions set, even if they have not created an account and their invitation is still pending.
Invited members cannot do anything until they are either granted Workspace administrative privileges or added to a Project and assigned to a team. If there is an app associated with the "All Employees" shared team, users will be able to access that app. (→Using Workspace)
Inviting Members Directly from a Project
Members with Workspace administrator privileges can invite people who are not yet part of the Workspace directly from the Project management page. For instructions, see “Inviting members who are not in the workspace from the project.”
Members without Workspace administrator privileges must ask an administrator to approve the invitation. For details on approving member invitations, see “Approving member invitation requests” in the next section.