Tutorial
On this page, we will outline the steps to distribute apps to others. This tutorial is designed for new DeployGate users.
1. Create an account and try it out yourself
We will guide you through the entire process, from creating a DeployGate account to uploading an app and installing it onto a device.
1.1 Create a DeployGate account
First, create a free DeployGate account.
Go to https://deploygate.com/users/signup and follow the instructions to create an account. Visit Create Account for more details on how to create an account.
1.2 Upload an app to DeployGate
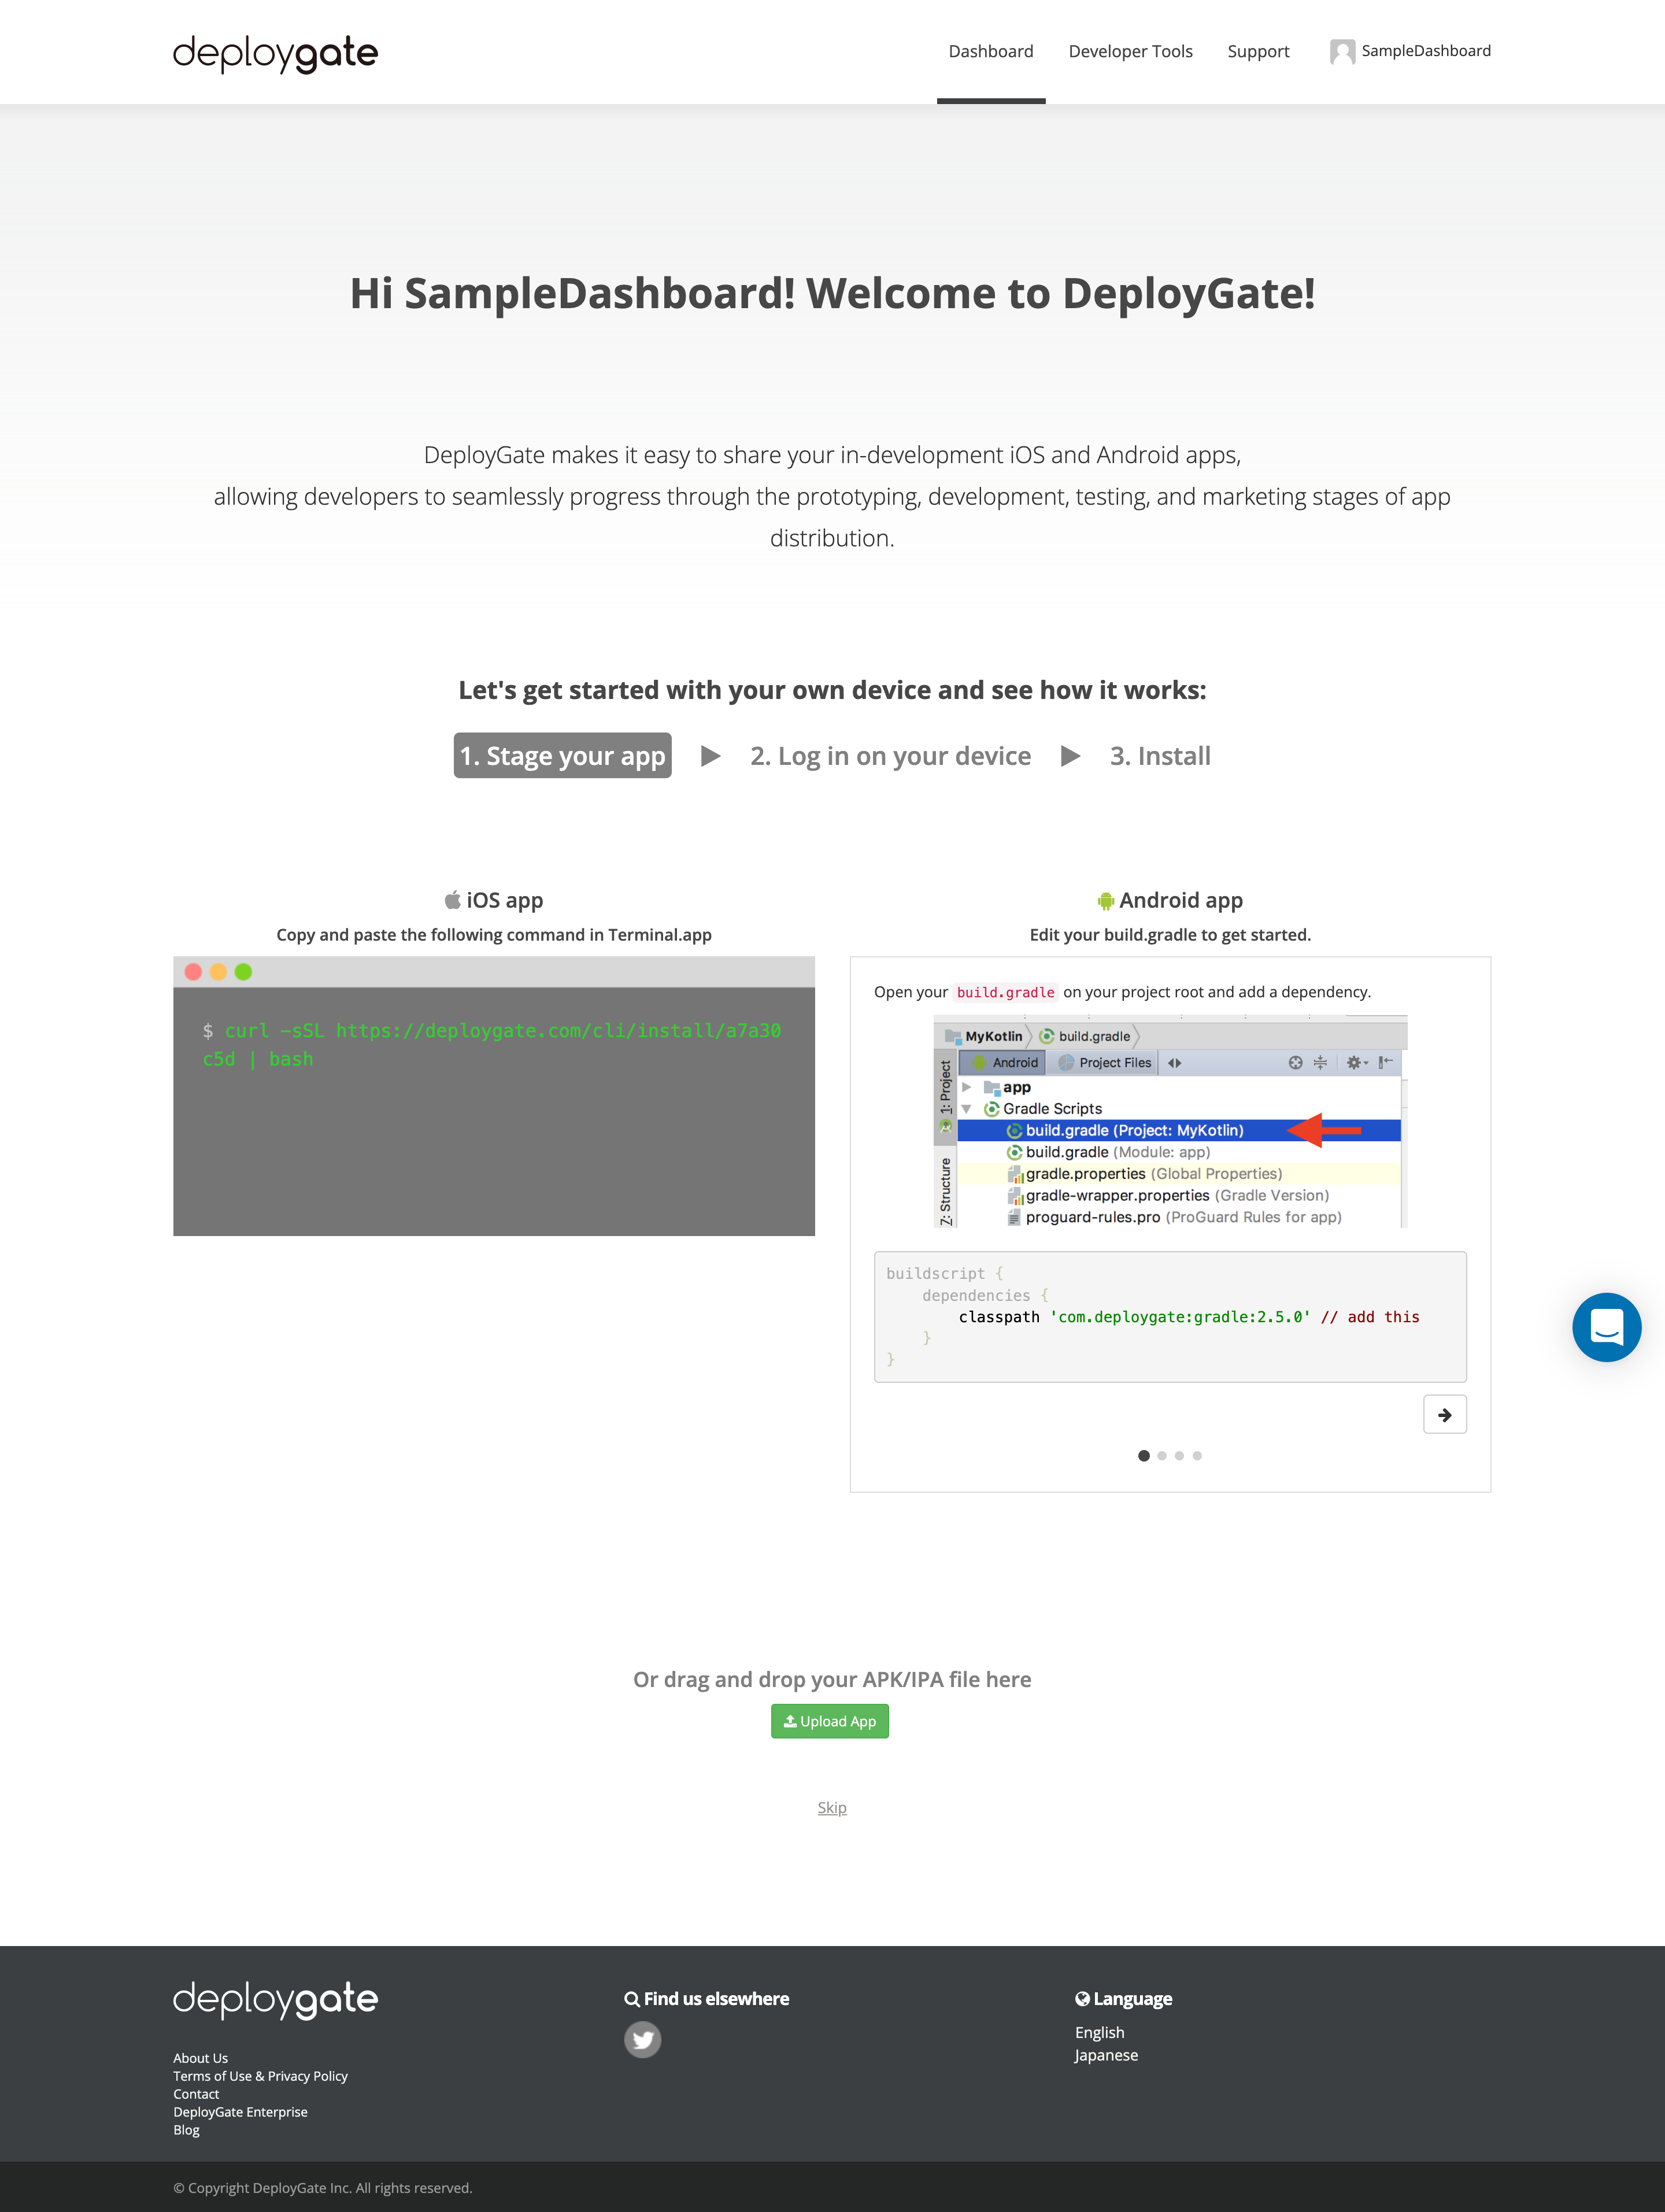
Upload your application to DeployGate. When you log in to the DeployGate account you just created, the following screen will appear.
*Note that this screen will only appear to users who have yet to upload an application.
For more details on how to upload an application, visit Upload App.
1.3 Download to your smartphone
Install the previously uploaded application to your device.
For more details about downloading to your device, visit download to device.
2. Select the best distribution method
DeployGate offers two distribution methods to meet user needs - Member distribution and Link distribution. Select the distribution method that best suits your distribution needs.
2.1 Imagine your distributions
It will be easier to select a distribution method if you can imagine how your distributions will be used.
-
Tester type
- Distribute to testers who are deeply involved in the app development process, such as internal tester teams
- Distribute to many testers, including external groups of people who are not regularly involved in the development process
-
Number of testers
- How many people need to be involved?
-
How often will the app be distributed to testers?
- (Constantly) Develop multiple revisions of a single app and distribute them to testers after each update
- (One-off) Create an app once, distribute it for testing, and you’re done
2.2 Decide on a distribution method
-
Member distribution
- Member distribution is suitable when distribution is limited to a select group of people and when constant testing is required. It also allows you to manage members while distributing.
-
Link distribution
- Link distribution is suitable when distributing to a large number of people at once, such as when you’re conducting a single test.
For more details about the differences between the two methods, please visit here.
(Example)
Up to a specific revision, distribute to the development members of a department and have them test the app after each update.
→ Use member distribution to maximize management
Later, when conducting a large-scale beta test, distribute to other departments for final testing.
→ Use link distribution to maximize the number of testers and obtain feedback
3. Distribute
Once you’ve decided on a distribution method, follow these steps and distribute. This section explains how to distribute apps using Individual Projects, which are available free of charge.
3.1 Distribute apps with Member distribution
3.1.1 Invite members to the Project
Invite people you want to participate in development/testing. You can invite users either by email address or by their existing account name.
For more details about how to invite a user, please visit this page.
Add invited members to a Team
Members invited to a Project must join a team. You can use the default “Administrator” or “Tester” teams or create new teams.
- For more details about how to create a team, visit here.
- For more details about how to add members to a newly created team (or to the default “Administrator” or “Tester” teams), visit here.
For Projects, you can manage roles on a per-team basis.
For more details about roles, please visit here.
3.1.3 Link App with a Team
Link the app uploaded to the aforementioned team and Project. For more details about how to link an app to a team, please visit here.
Now member distribution is complete.
For more details about post-distribution event management and notifications, please visit here.
If a tester would like to install an app that used member distribution, please follow these instructions.
3.2 Distribute apps with Link distribution
Please follow these instructions for link distribution.
3.2.1 Create a distribution page
For link distribution, create a distribution page for each app.
For information on how to create a distribution page and how to modify settings, please visit here.
3.2.2 Notify testers about the distribution page QR code or URL
Once you’ve created a distribution page, share the URL on the distribution page or send an email to testers from the distribution page.
Now member distribution is complete.
If a tester would like to install an app that used link distribution, please follow these instructions.