Set Up Project
On this page, we will explain how to set up the Project under the Workspace.
Please visit this page for details on the differences between a Individual Project and a Workspace Project.
If You Do Not Have a DeployGate Account
If you do not have a DeployGate account, you must have a DeployGate account that can serve as an administrator before you can create a Project. Please visit this page for information on how to create an account.
If You Have a DeployGate Account
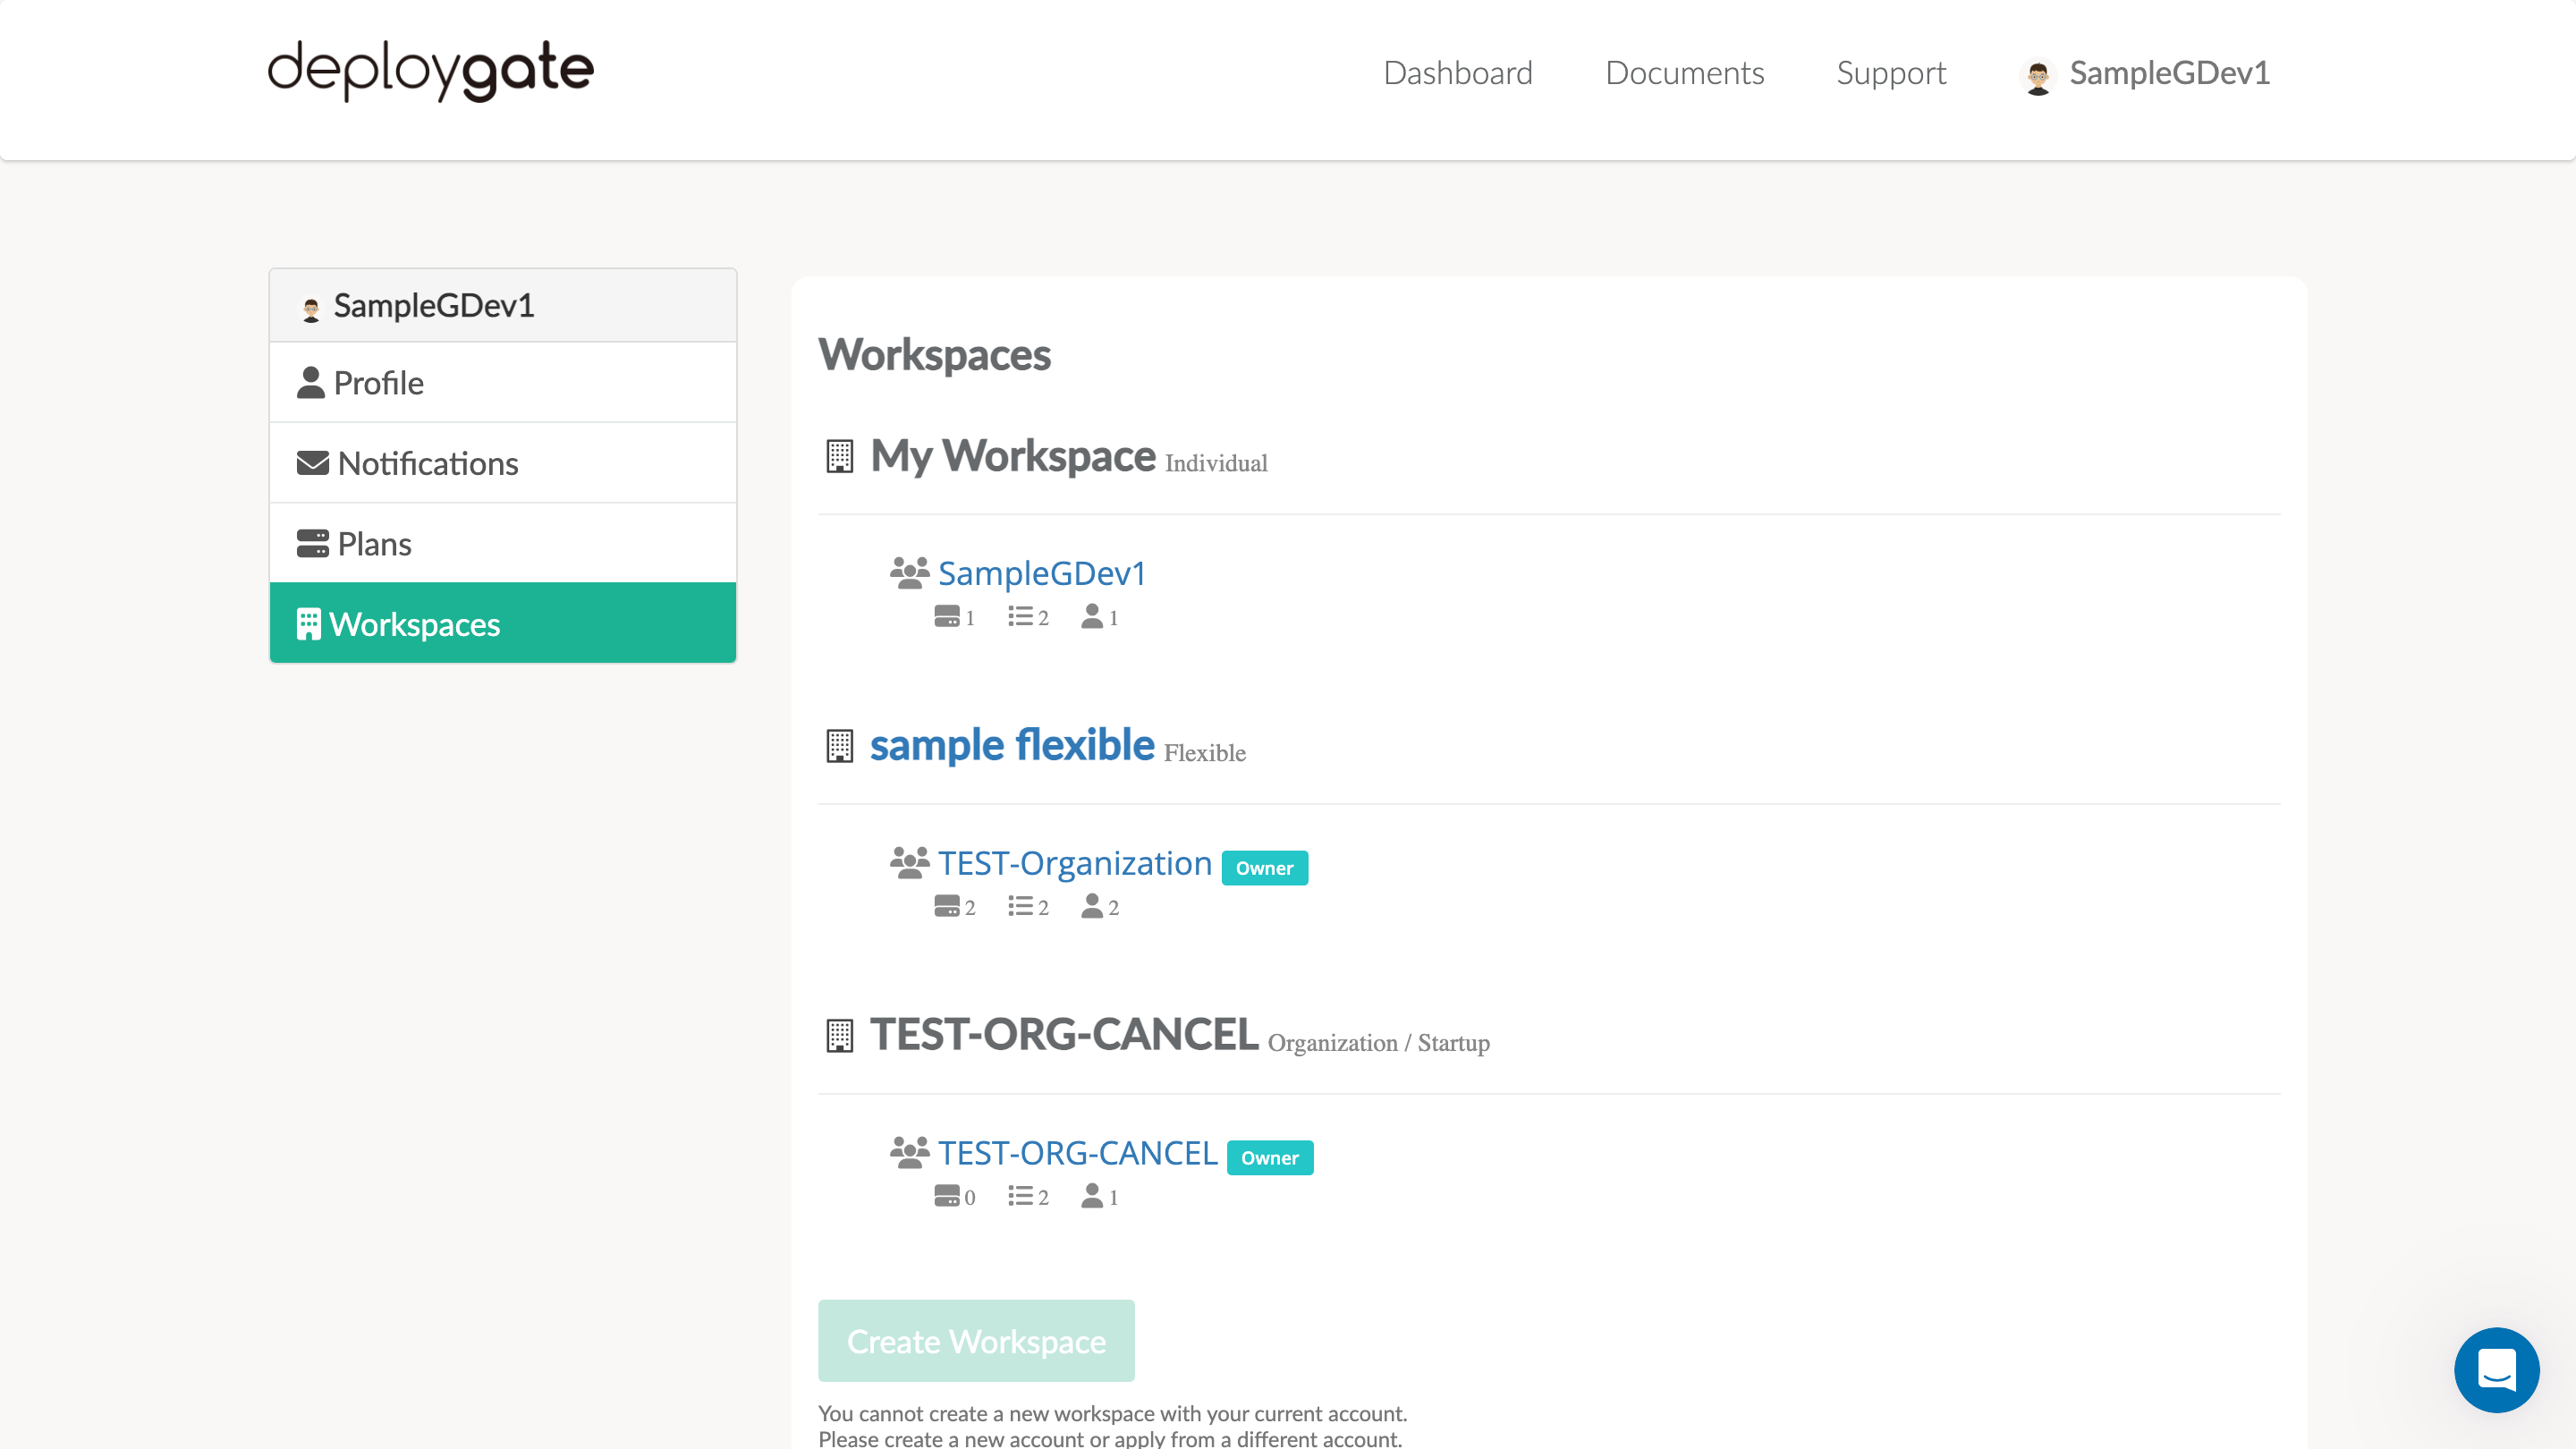
If you have a DeployGate account, log in to DeployGate and visit this page to view a list of all of your Projects.
Set Up Project
The following screen will appear when you access your Project.
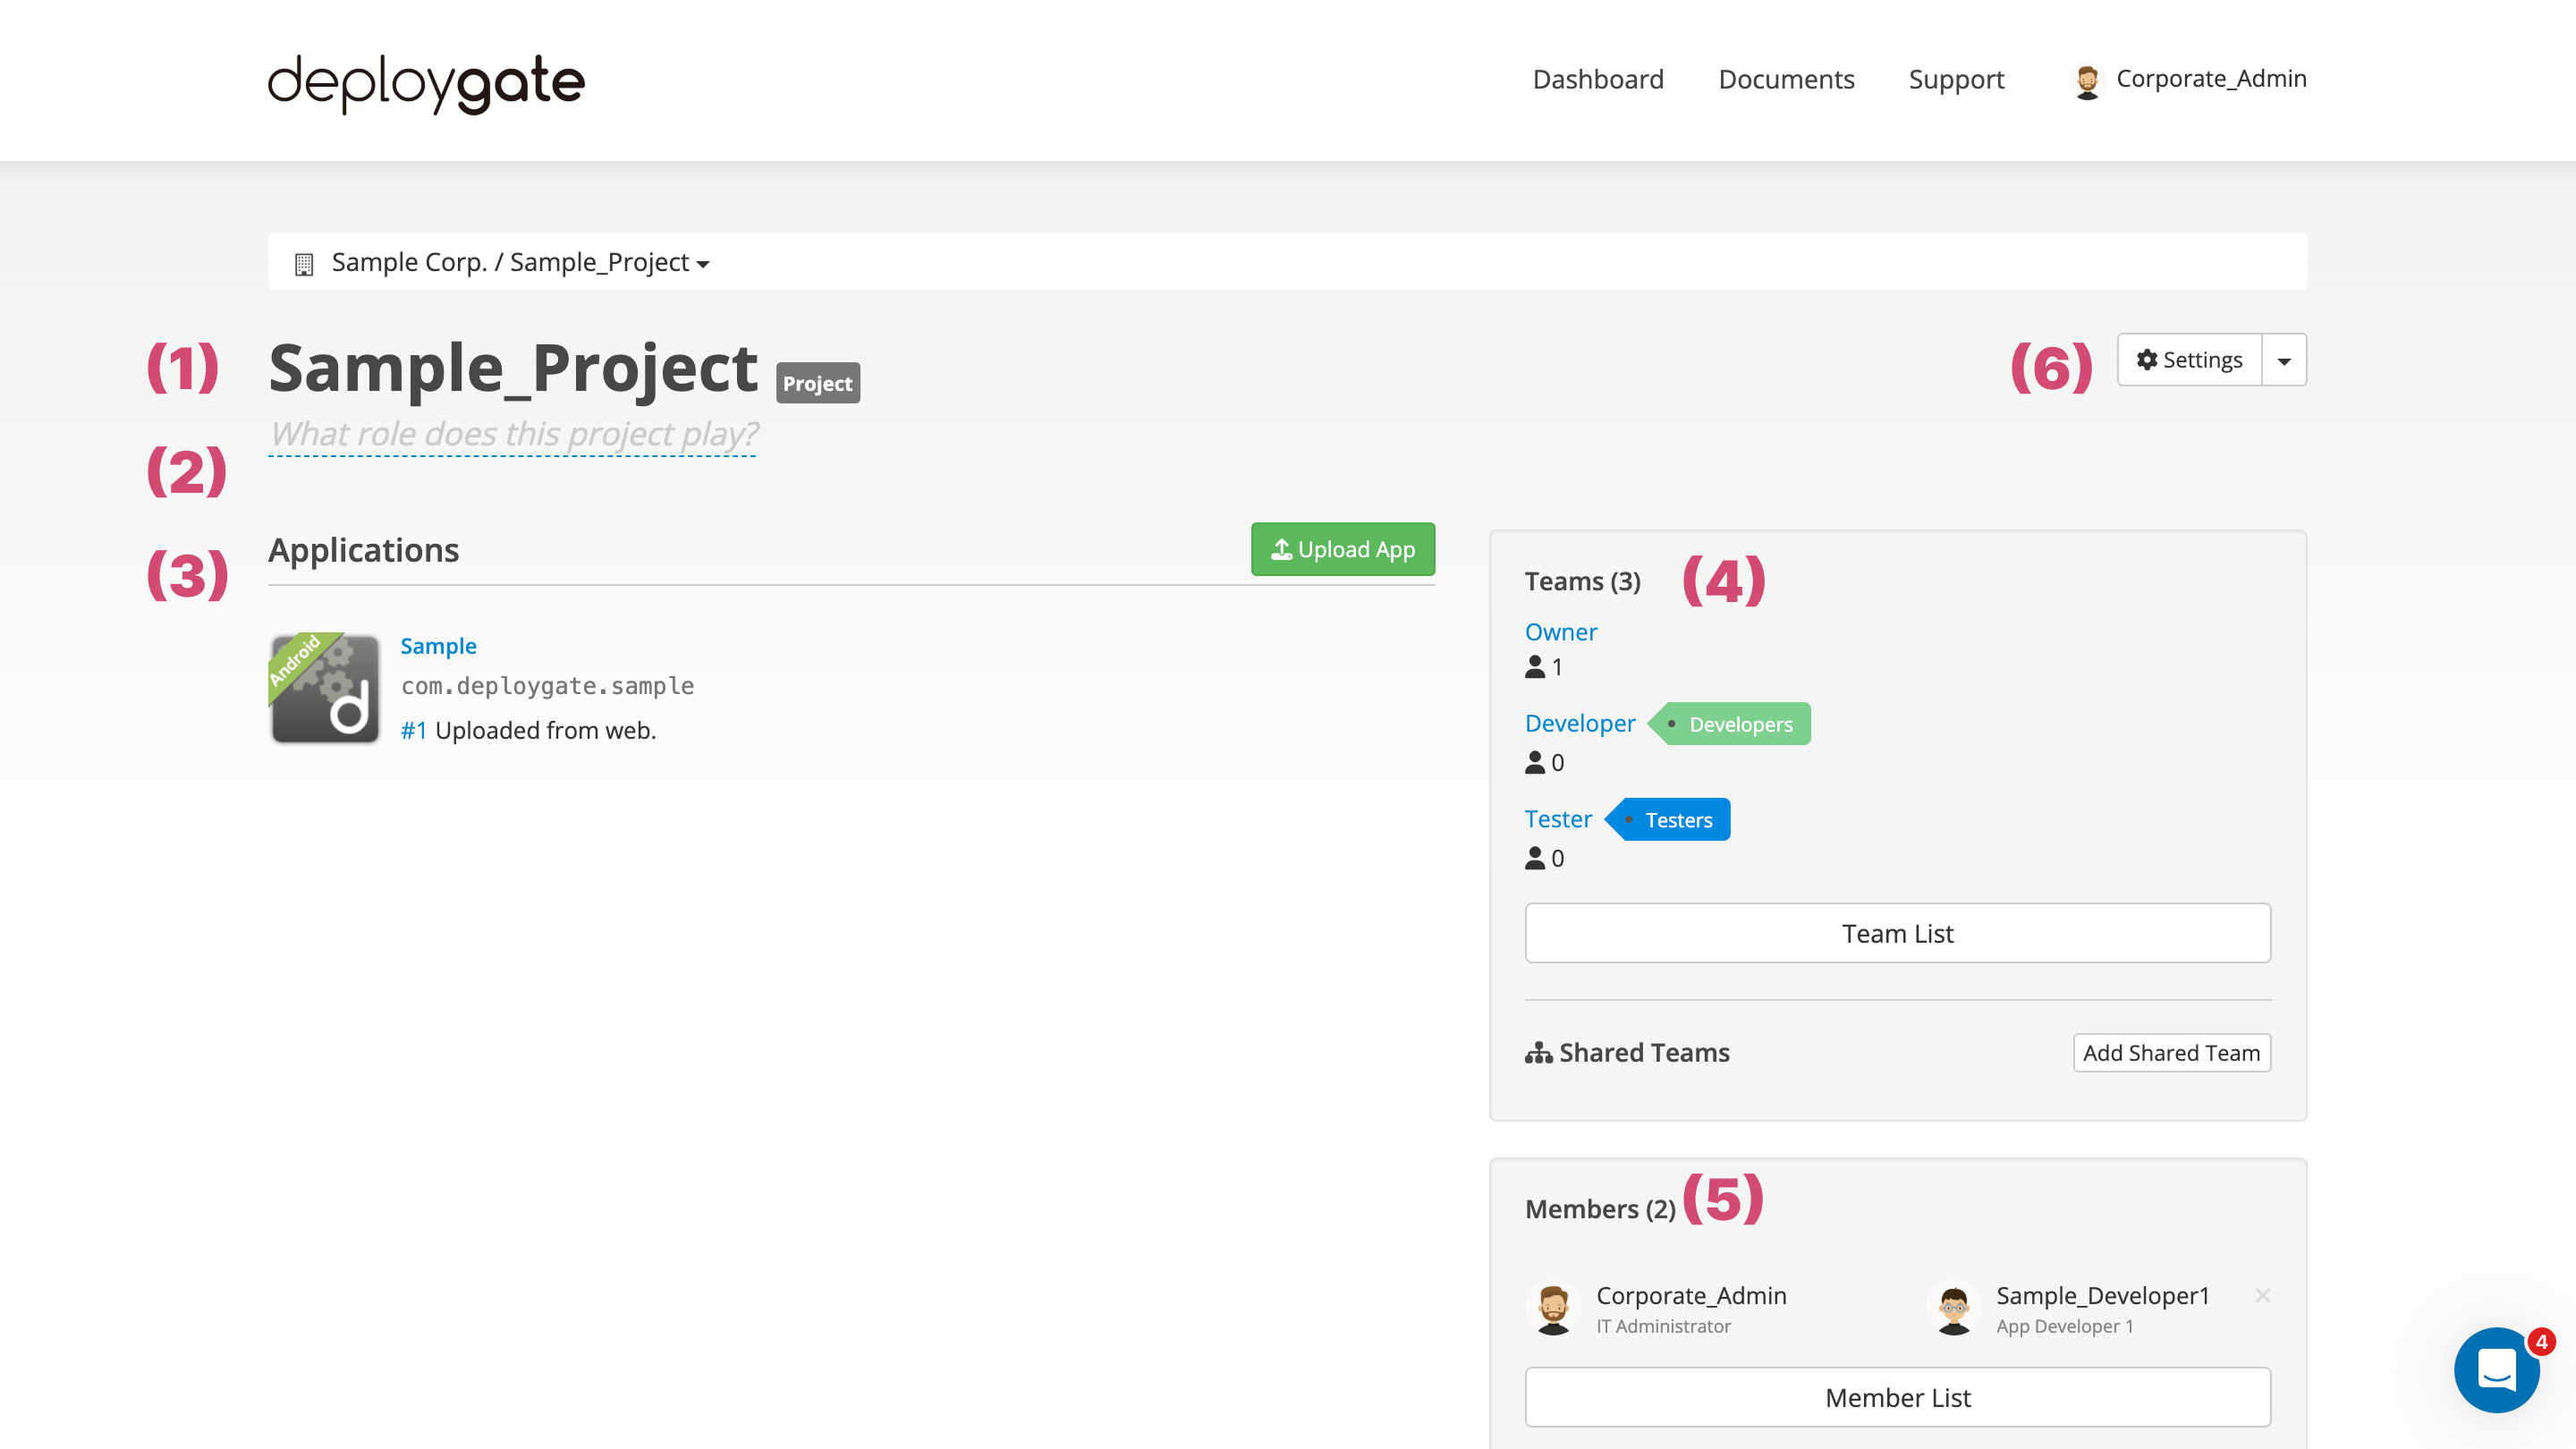
(1) Project Name
The name of your Project will be displayed here.
The name of Individual Project is same as username you chose when you created an account and it cannot be changed.
(2) Project Description
Clicking on the box under the Project name will allow you to enter a brief description of your Project. (English/Japanese)
(3) Applications
Applications uploaded to the Project are listed here.
(4) Teams
“Owners” and “Testers” teams are created by default and cannot be changed the team names. Please visit here for information on team permissions.
(5) Members
The Member List shows other users who have joined the Project. Please visit this page for information on how to invite users to a Project.
(6) Project Settings
The following screen will appear when you click on the “Settings” button.
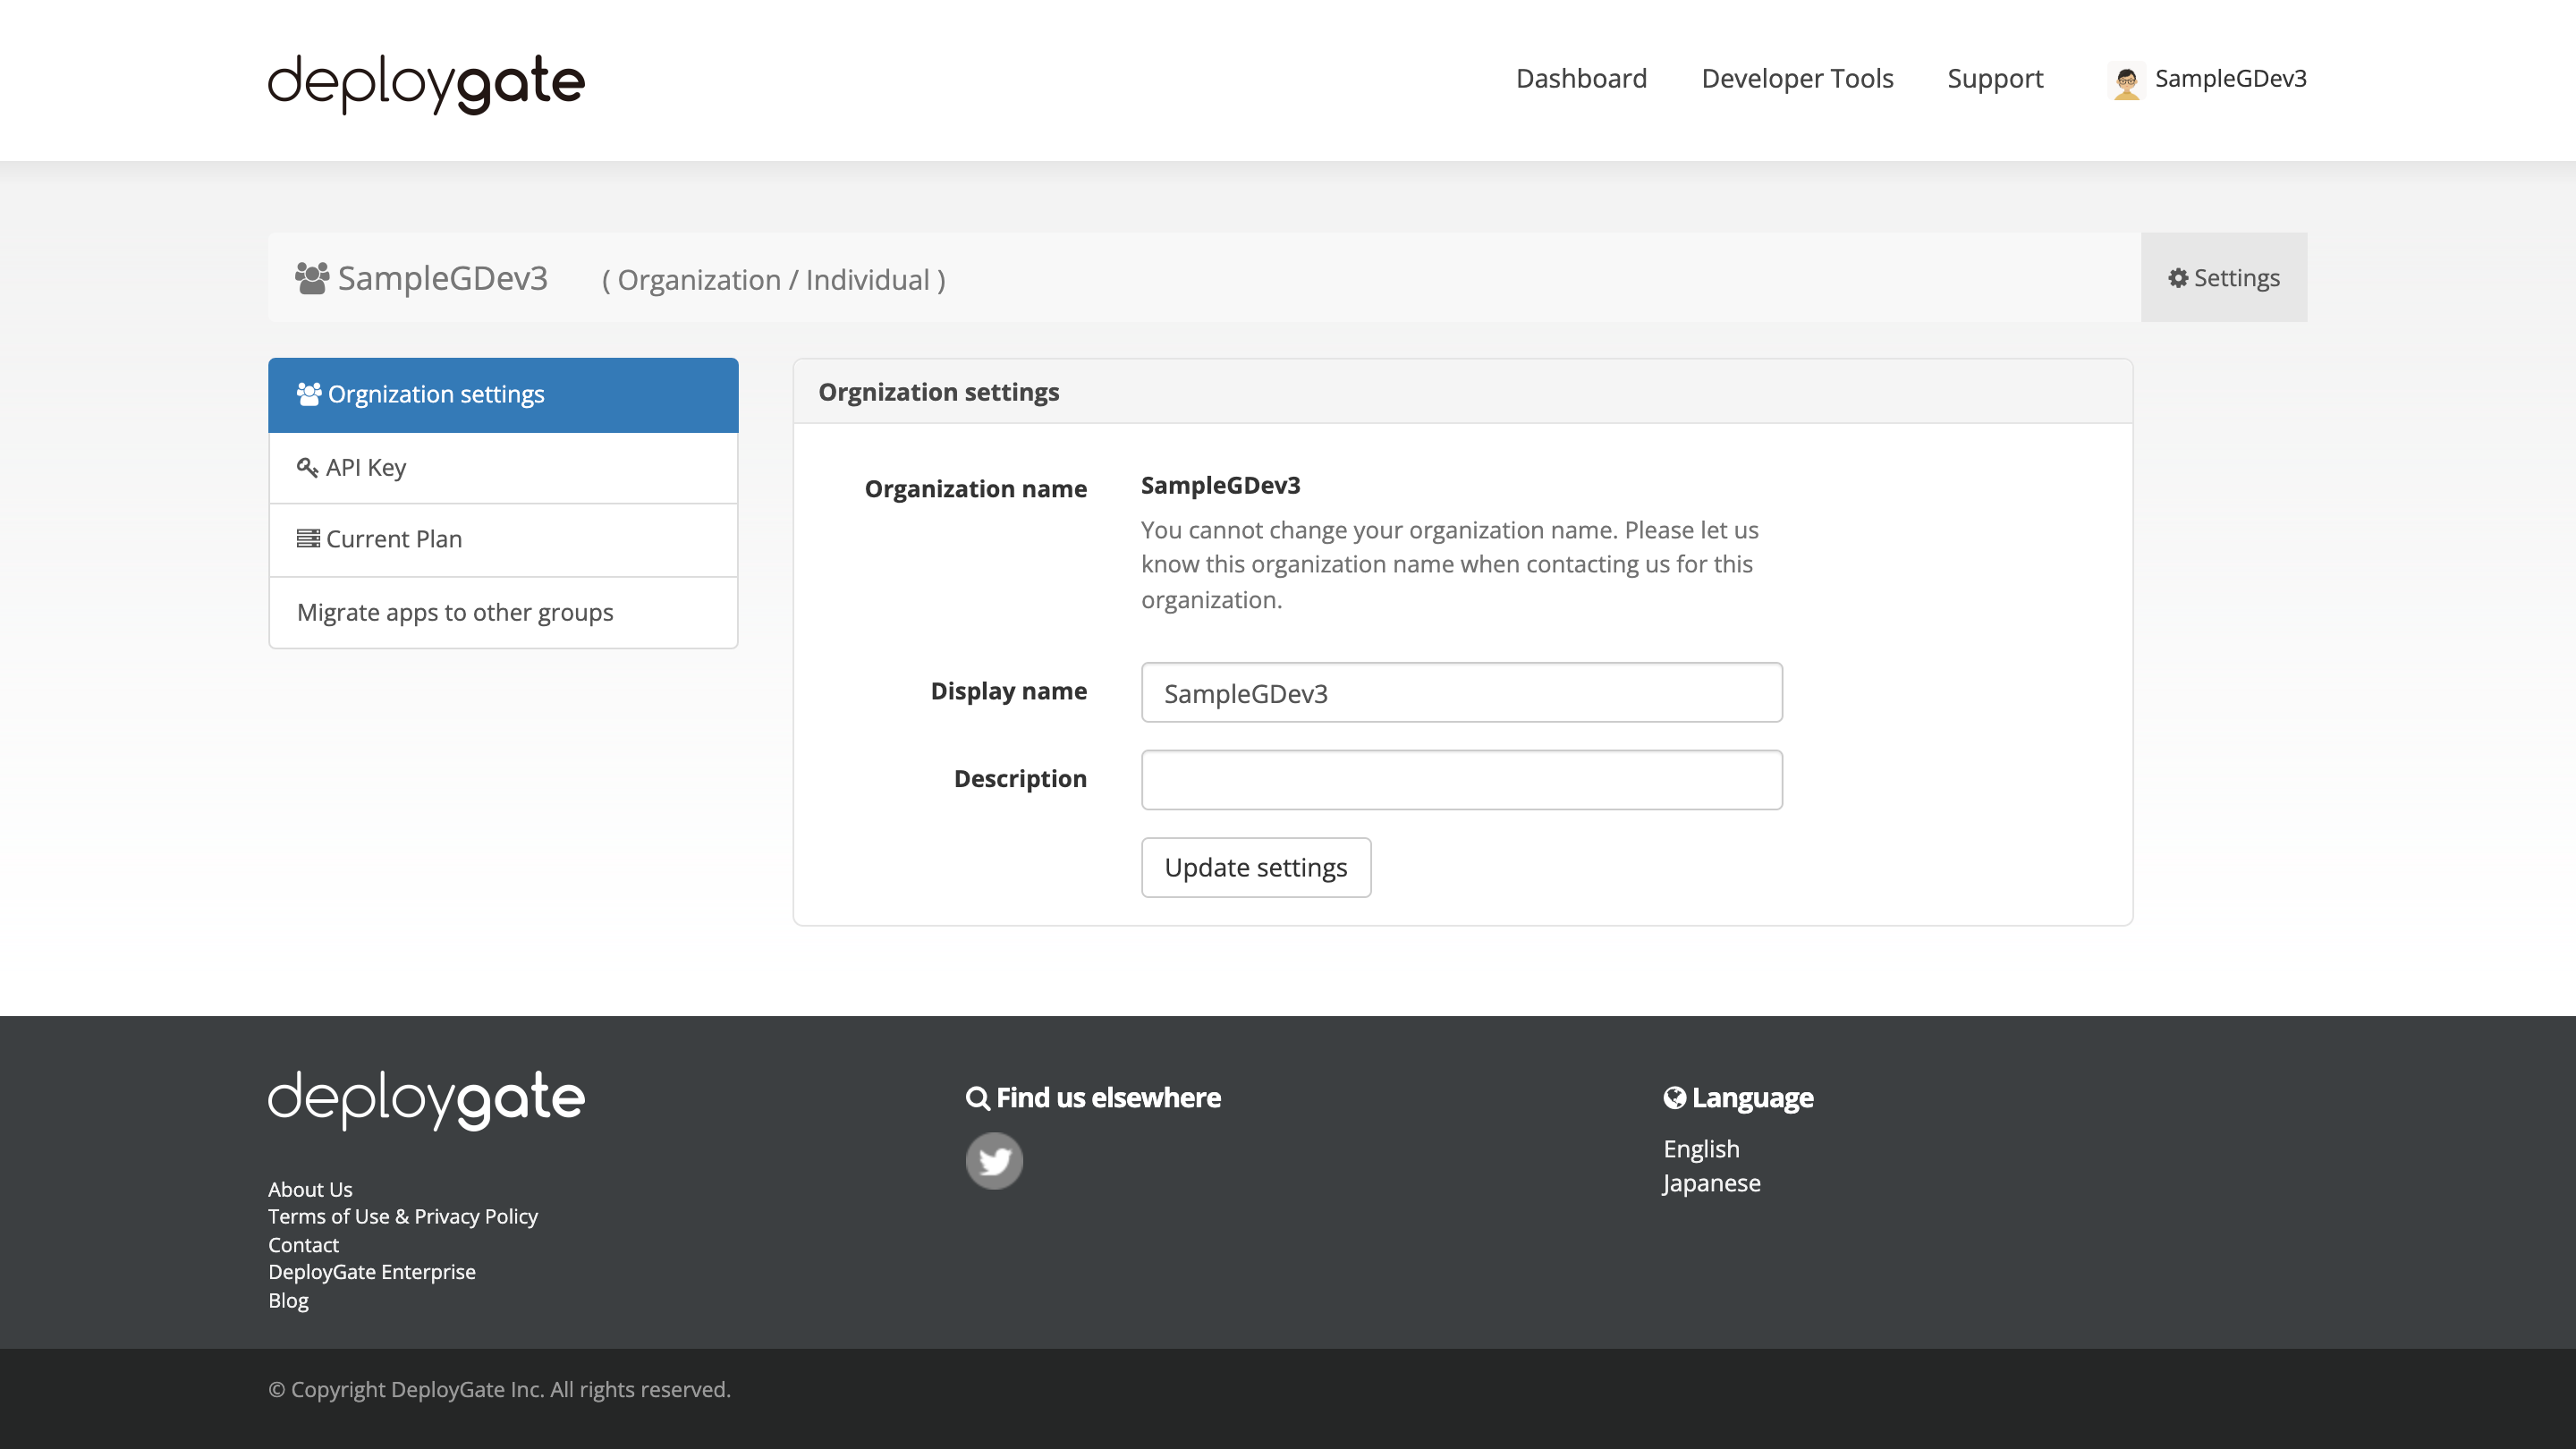
While you cannot change the Project name, you can modify the display name to make you find the Project easier.