Getting Started with Instant Device
This feature is provided as a beta version. Features may be changed or restricted without prior notice.
This page explains the steps to get started with Instant Device for first-time users.
Prerequisites
To use Instant Device, you must meet the following conditions:
Supported Plans
Instant Device is available on the following plans:
- Flexible Plan
- Enterprise Plan
For details on plans and how to change your plan, please check your DeployGate Workspace management console.
Instant Device Feature Must Be Enabled
To use Instant Device, you need to enable the feature in your Workspace.
How to Enable:
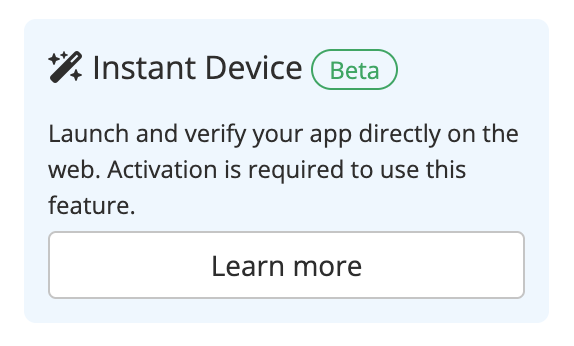
- Access DeployGate and open an uploaded app
- Check the "Instant Device" section displayed in the right column
- Click the "Learn More" button to navigate to the activation page
- Follow the on-screen instructions to enable the feature

You Must Be a Workspace Member
Instant Device is a feature that can only be used by Workspace members.
For instructions on how to add members, please see this page. When accessing a Distribution Page, make sure to log in with a member account.
Your App Must Be Uploaded to DeployGate
The app you want to launch with Instant Device must be uploaded to DeployGate in advance.
For Android Apps:
Upload a standard APK or AAB file.
For iOS Apps:
To use Instant Device, you need to upload a zip file containing the .app directory built for the simulator along with the ipa file.
How to Create a Simulator Build:
- Build your app for the simulator in Xcode
- Locate the built
.appdirectory (usually in theDerivedDatafolder) - Compress the
.appdirectory into a zip file - Upload it to DeployGate along with the ipa file
If a simulator build is not uploaded, you will not be able to launch the app with Instant Device. Please note that it will not work with only the device ipa file.
If you haven't uploaded your app yet, please see How to Upload Apps.
Getting Started Steps
Step 1: Re-Upload Your App
App revisions uploaded after enabling the Instant Device feature will be available for Instant Device.
If you want to use Instant Device with an already uploaded app, please re-upload the app after enabling the feature.
Revisions uploaded before enabling the Instant Device feature cannot be launched with Instant Device. You must upload a new revision after enabling the feature.
For instructions on how to upload apps, please see How to Upload Apps.
Step 2: Prepare a Distribution Page
Since Instant Device is displayed on Distribution Pages, you need to create a Distribution Page for your target app.
When Creating a New Distribution Page
- Log in to DeployGate
- Open the app details page for the app you want to distribute
- Create a Distribution Page
For detailed instructions on creating Distribution Pages, please see this page.
When Using an Existing Distribution Page
If you're using a Distribution Page created before the Instant Device feature was added, you need to update the Distribution Page once.
- Open the target Distribution Page
- Update it by changing the revision to distribute from the
Update Distributionmenu
This will add the Instant Device feature to the Distribution Page.
Step 3: Launch Instant Device
Once your Distribution Page is ready, let's launch Instant Device.
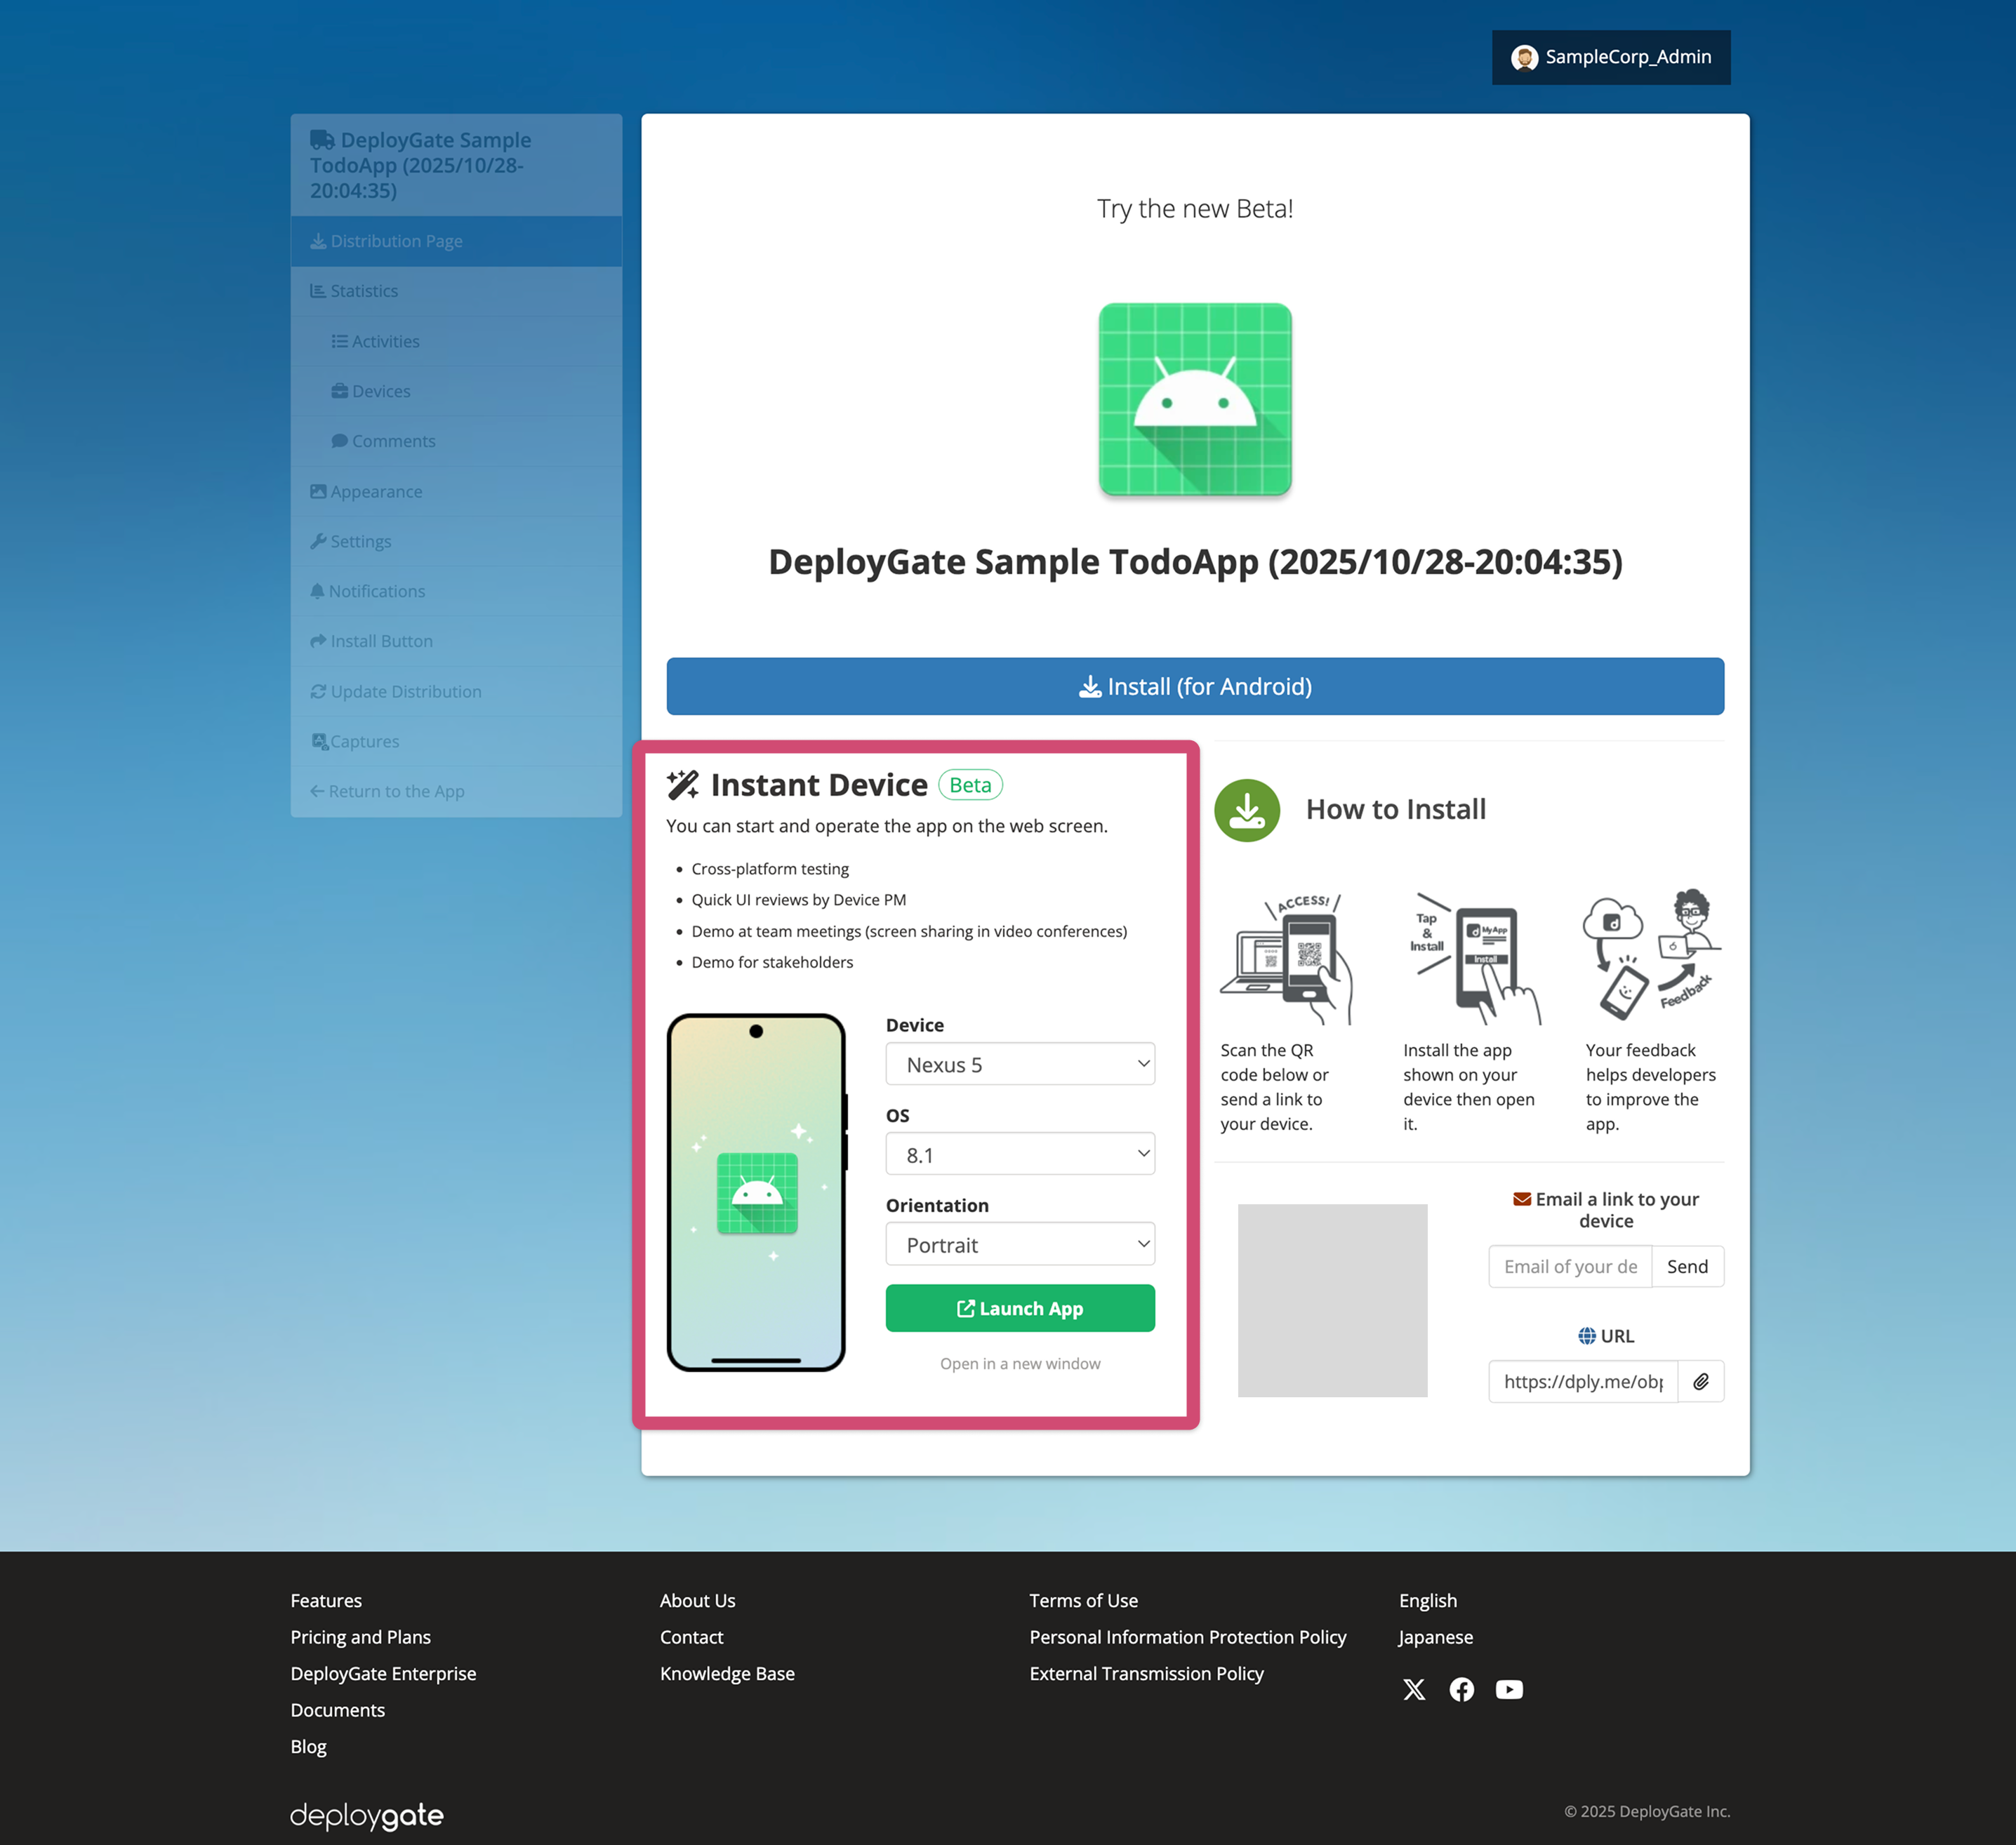
- Open the Distribution Page
- Find the "Instant Device" section on the page
- Select the conditions you want to launch:
- Device: Select the device you want to use (e.g., iPhone 16 Pro, Pixel 9, etc.)
- OS: Select the OS version
- Orientation: Portrait or Landscape
- Click the
Launch Appbutton
Step 4: Verify the App in Your Browser
When you click the Launch App button, a new window or tab will open and your app will launch on the selected device.
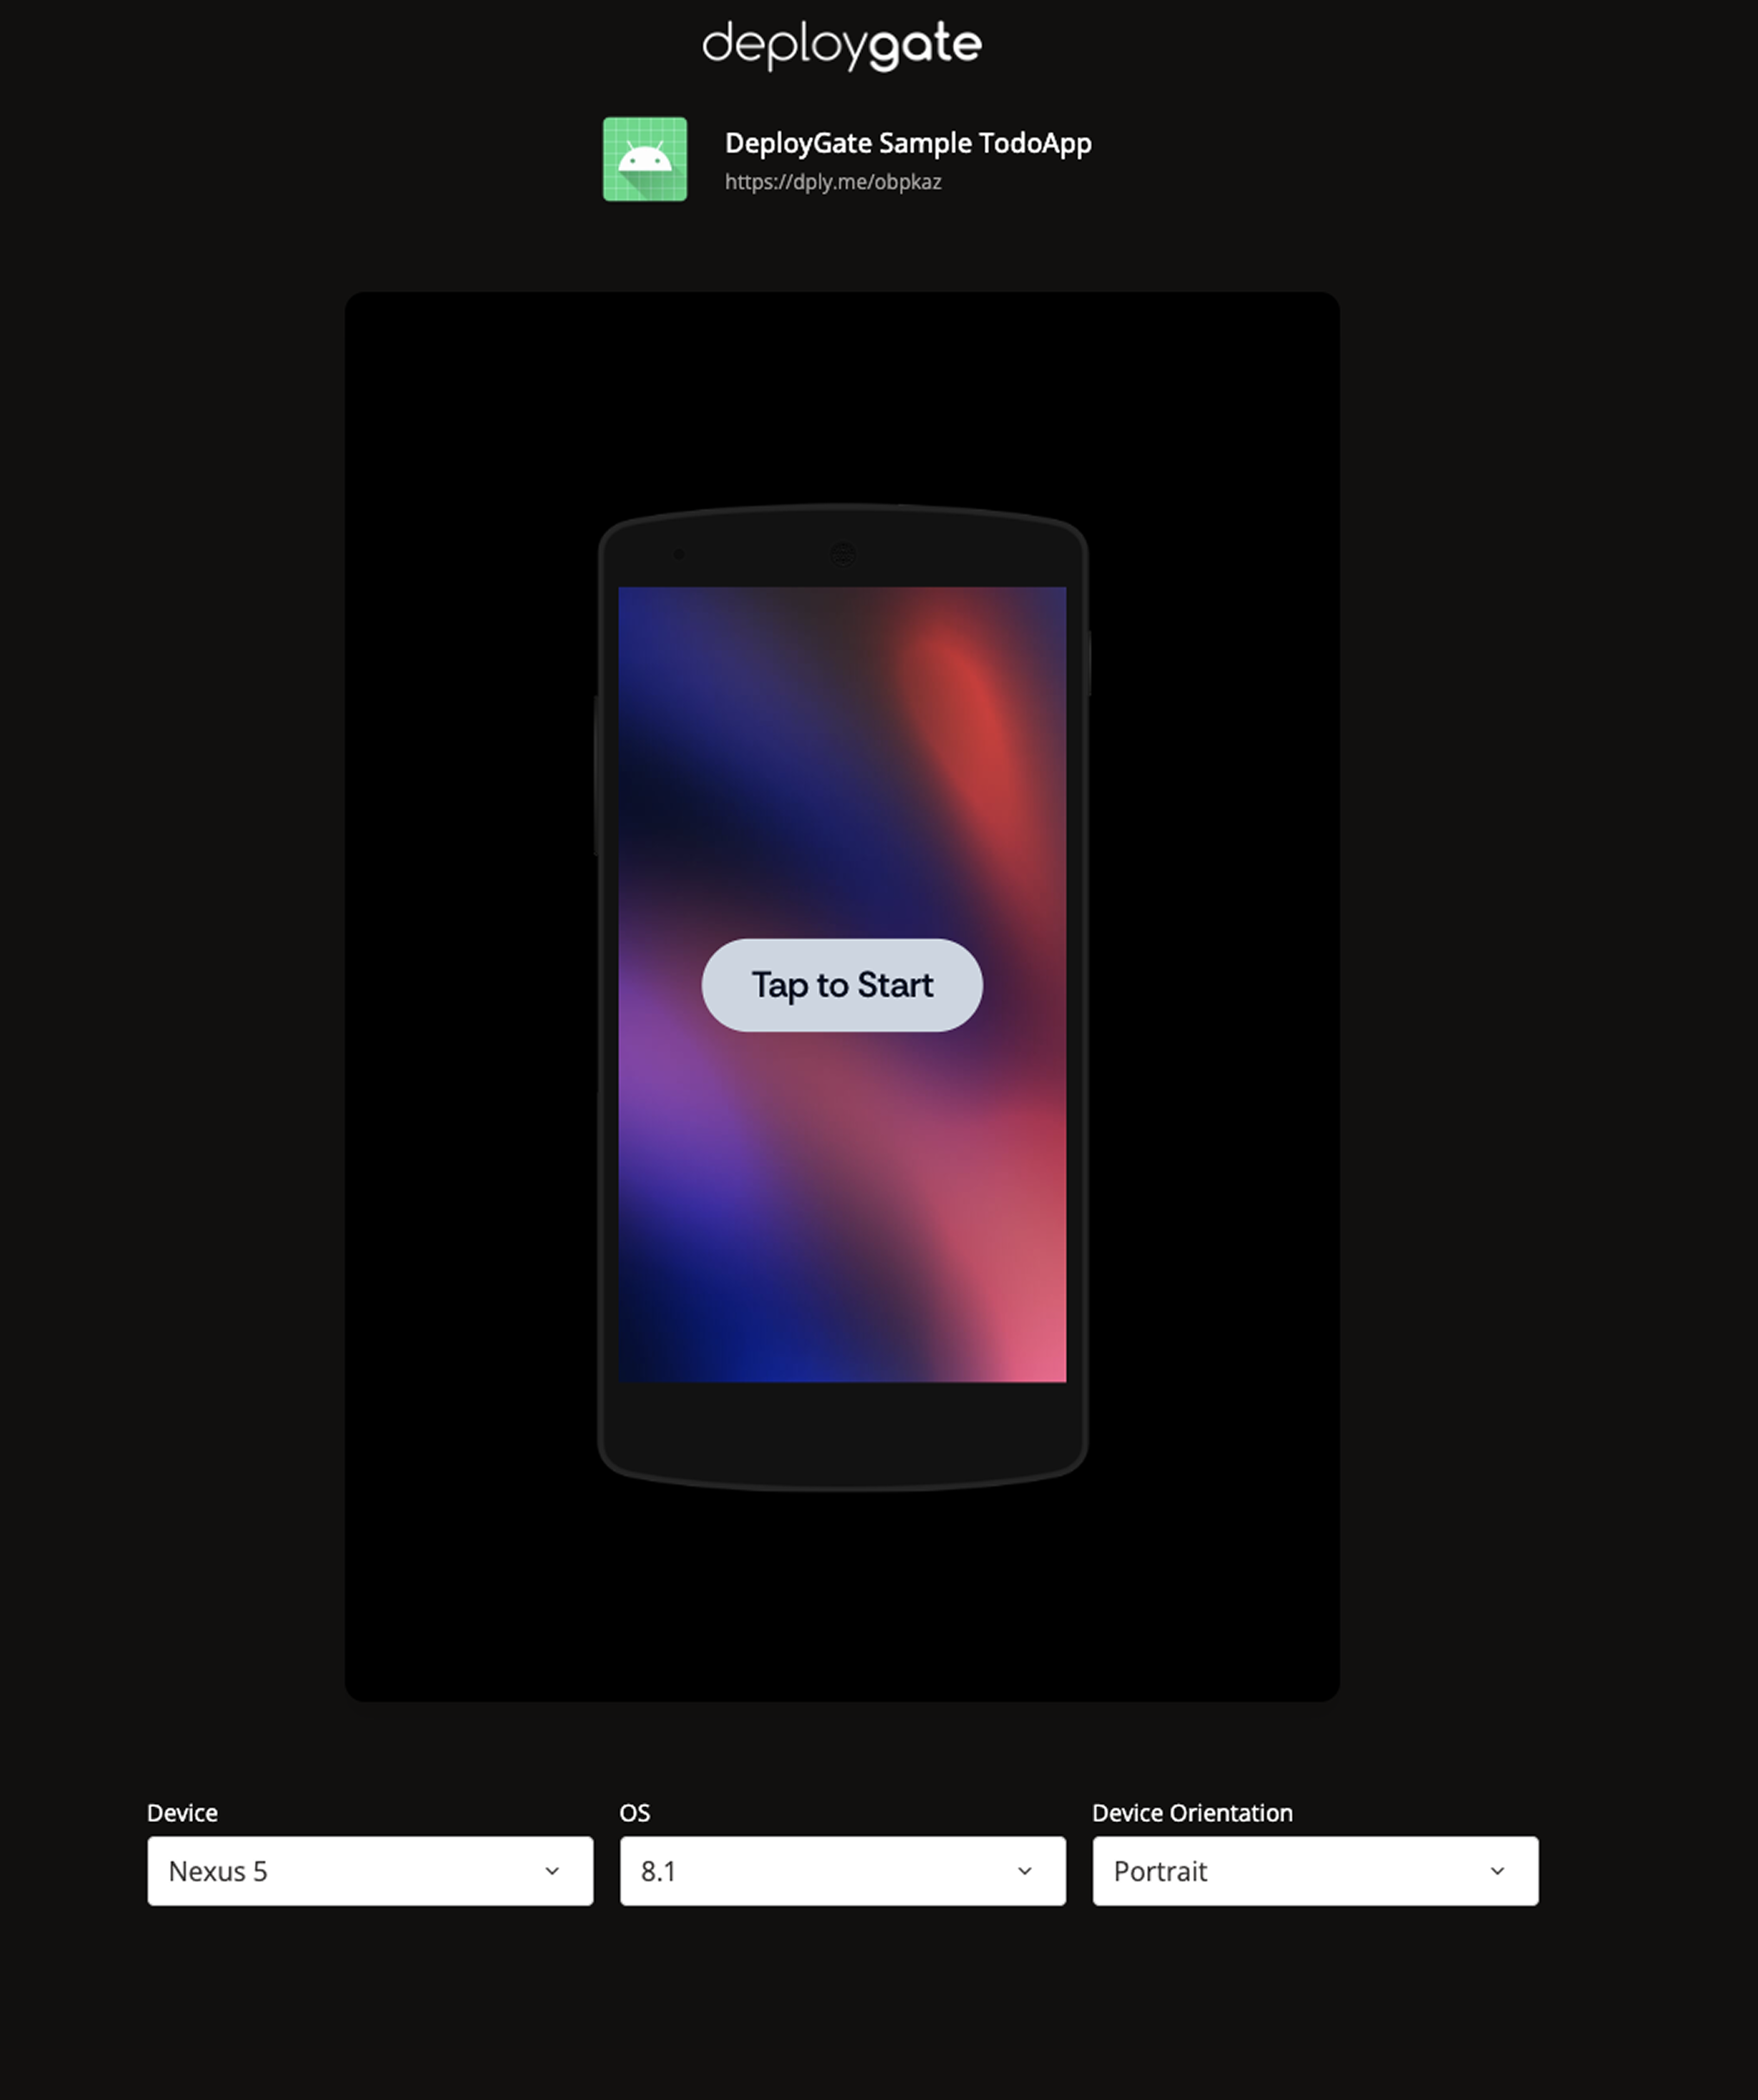
That's it! You've successfully started using Instant Device!
Next Steps
For basic usage and useful features of Instant Device, please see the following pages:
Troubleshooting
Instant Device Doesn't Appear
Please check the following:
- Are you logged in as a Workspace member?
- Is the Distribution Page updated to the latest version?
App Won't Launch
Please check the following:
- Check if your browser's popup blocker is enabled
- Check if your network environment is stable
- Try using a different browser